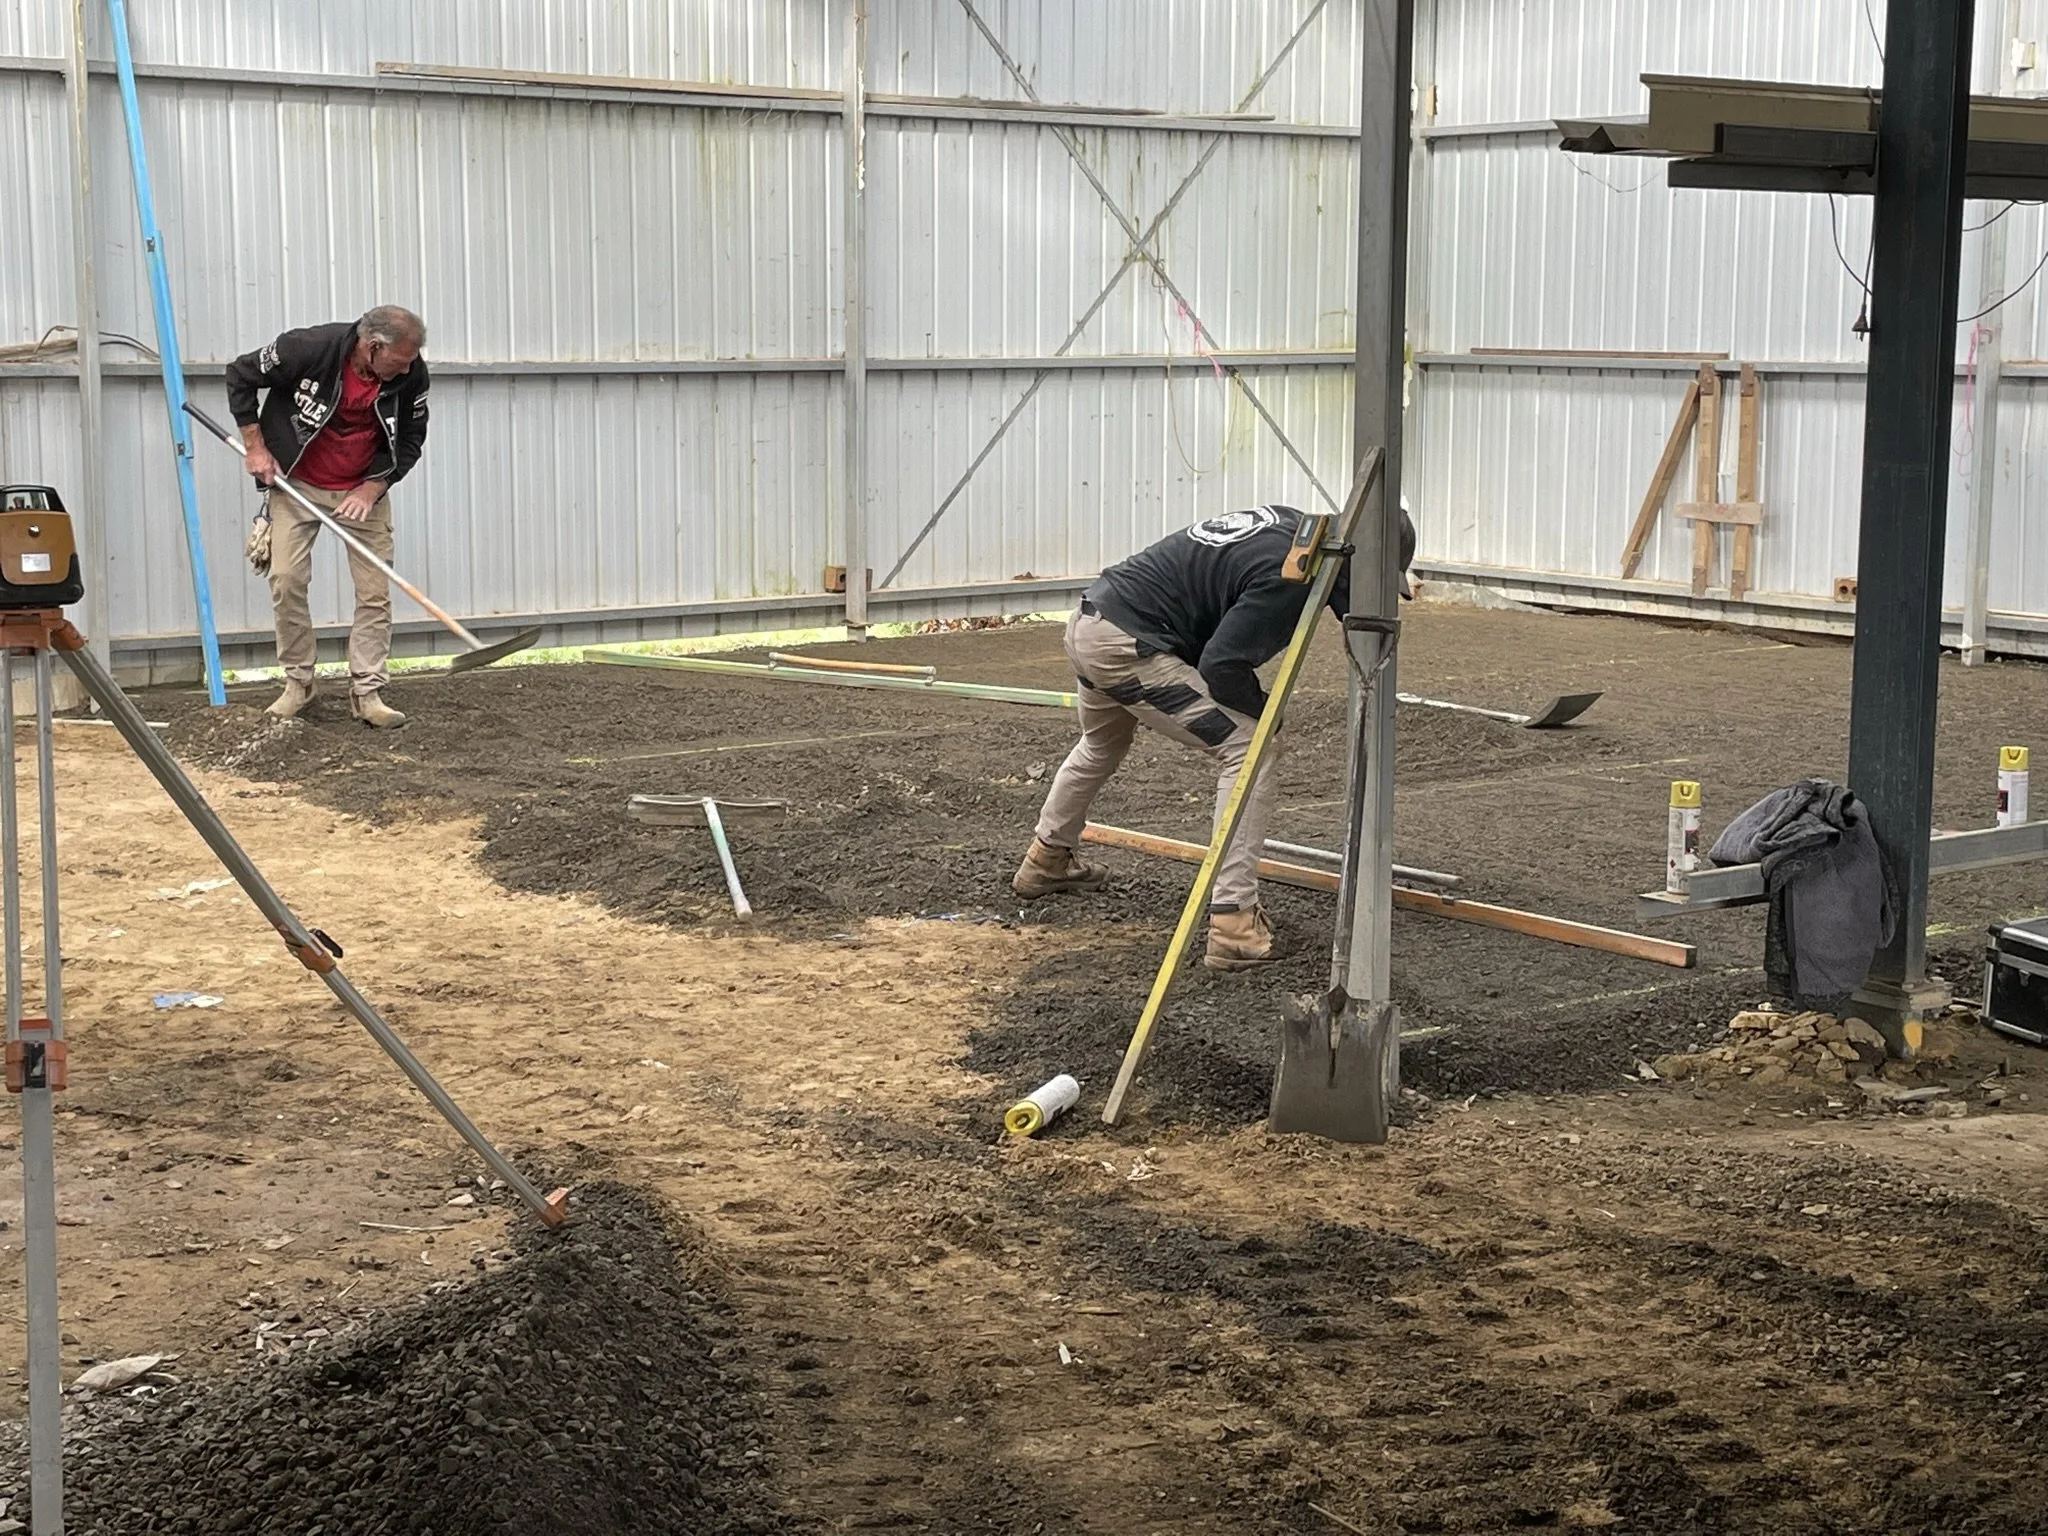
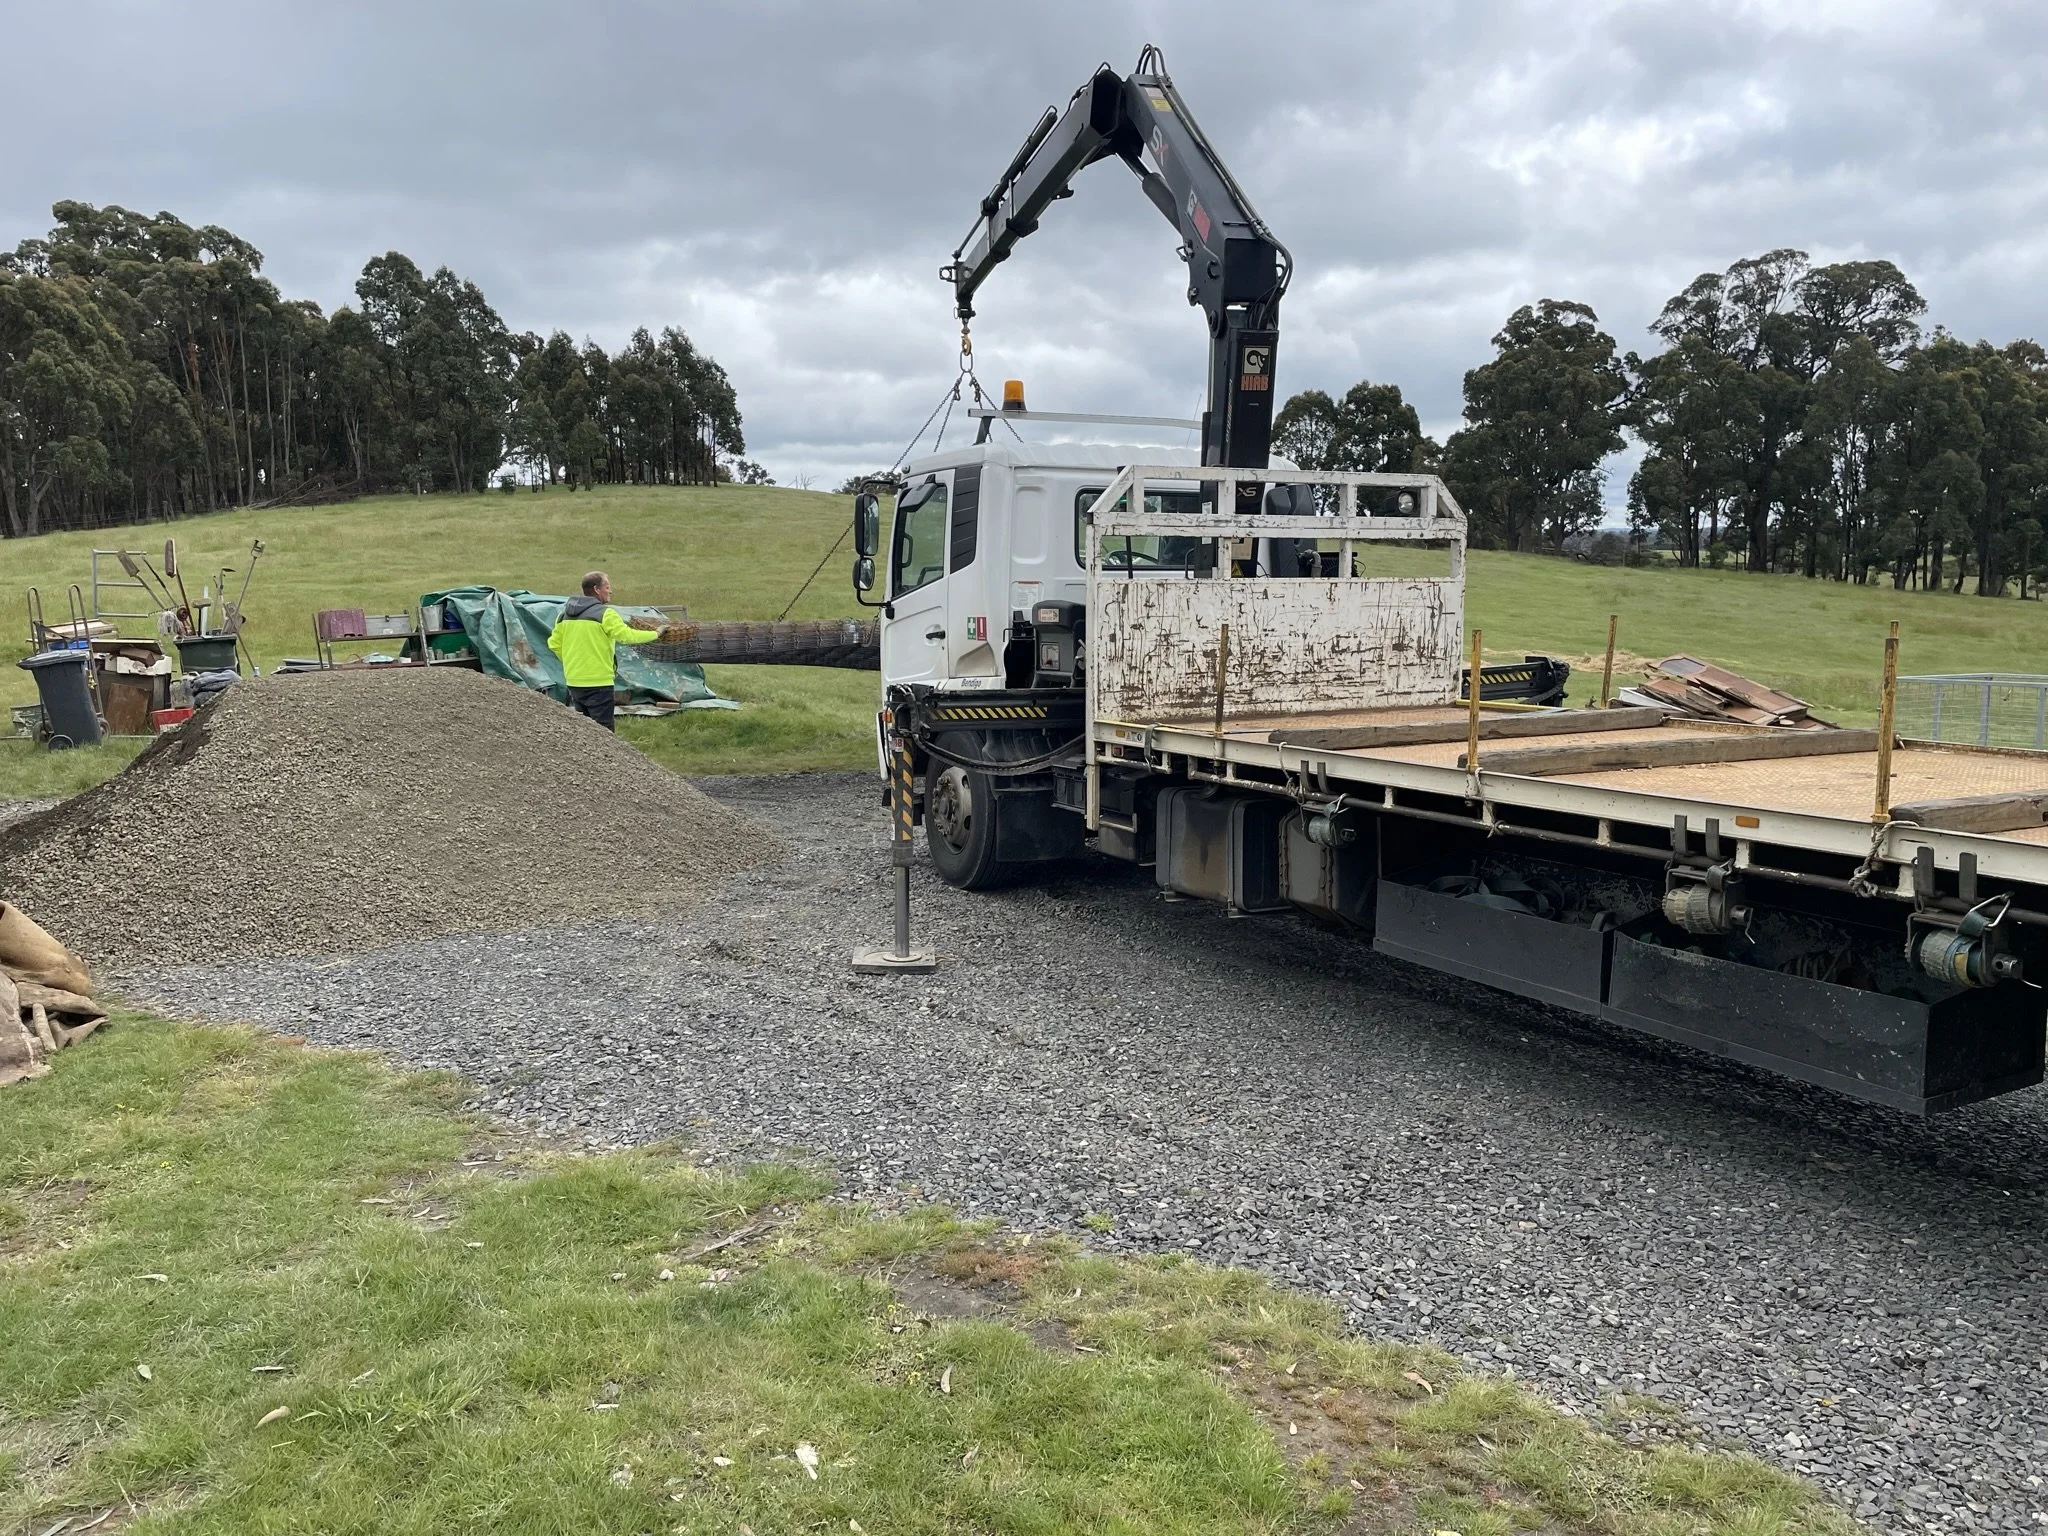
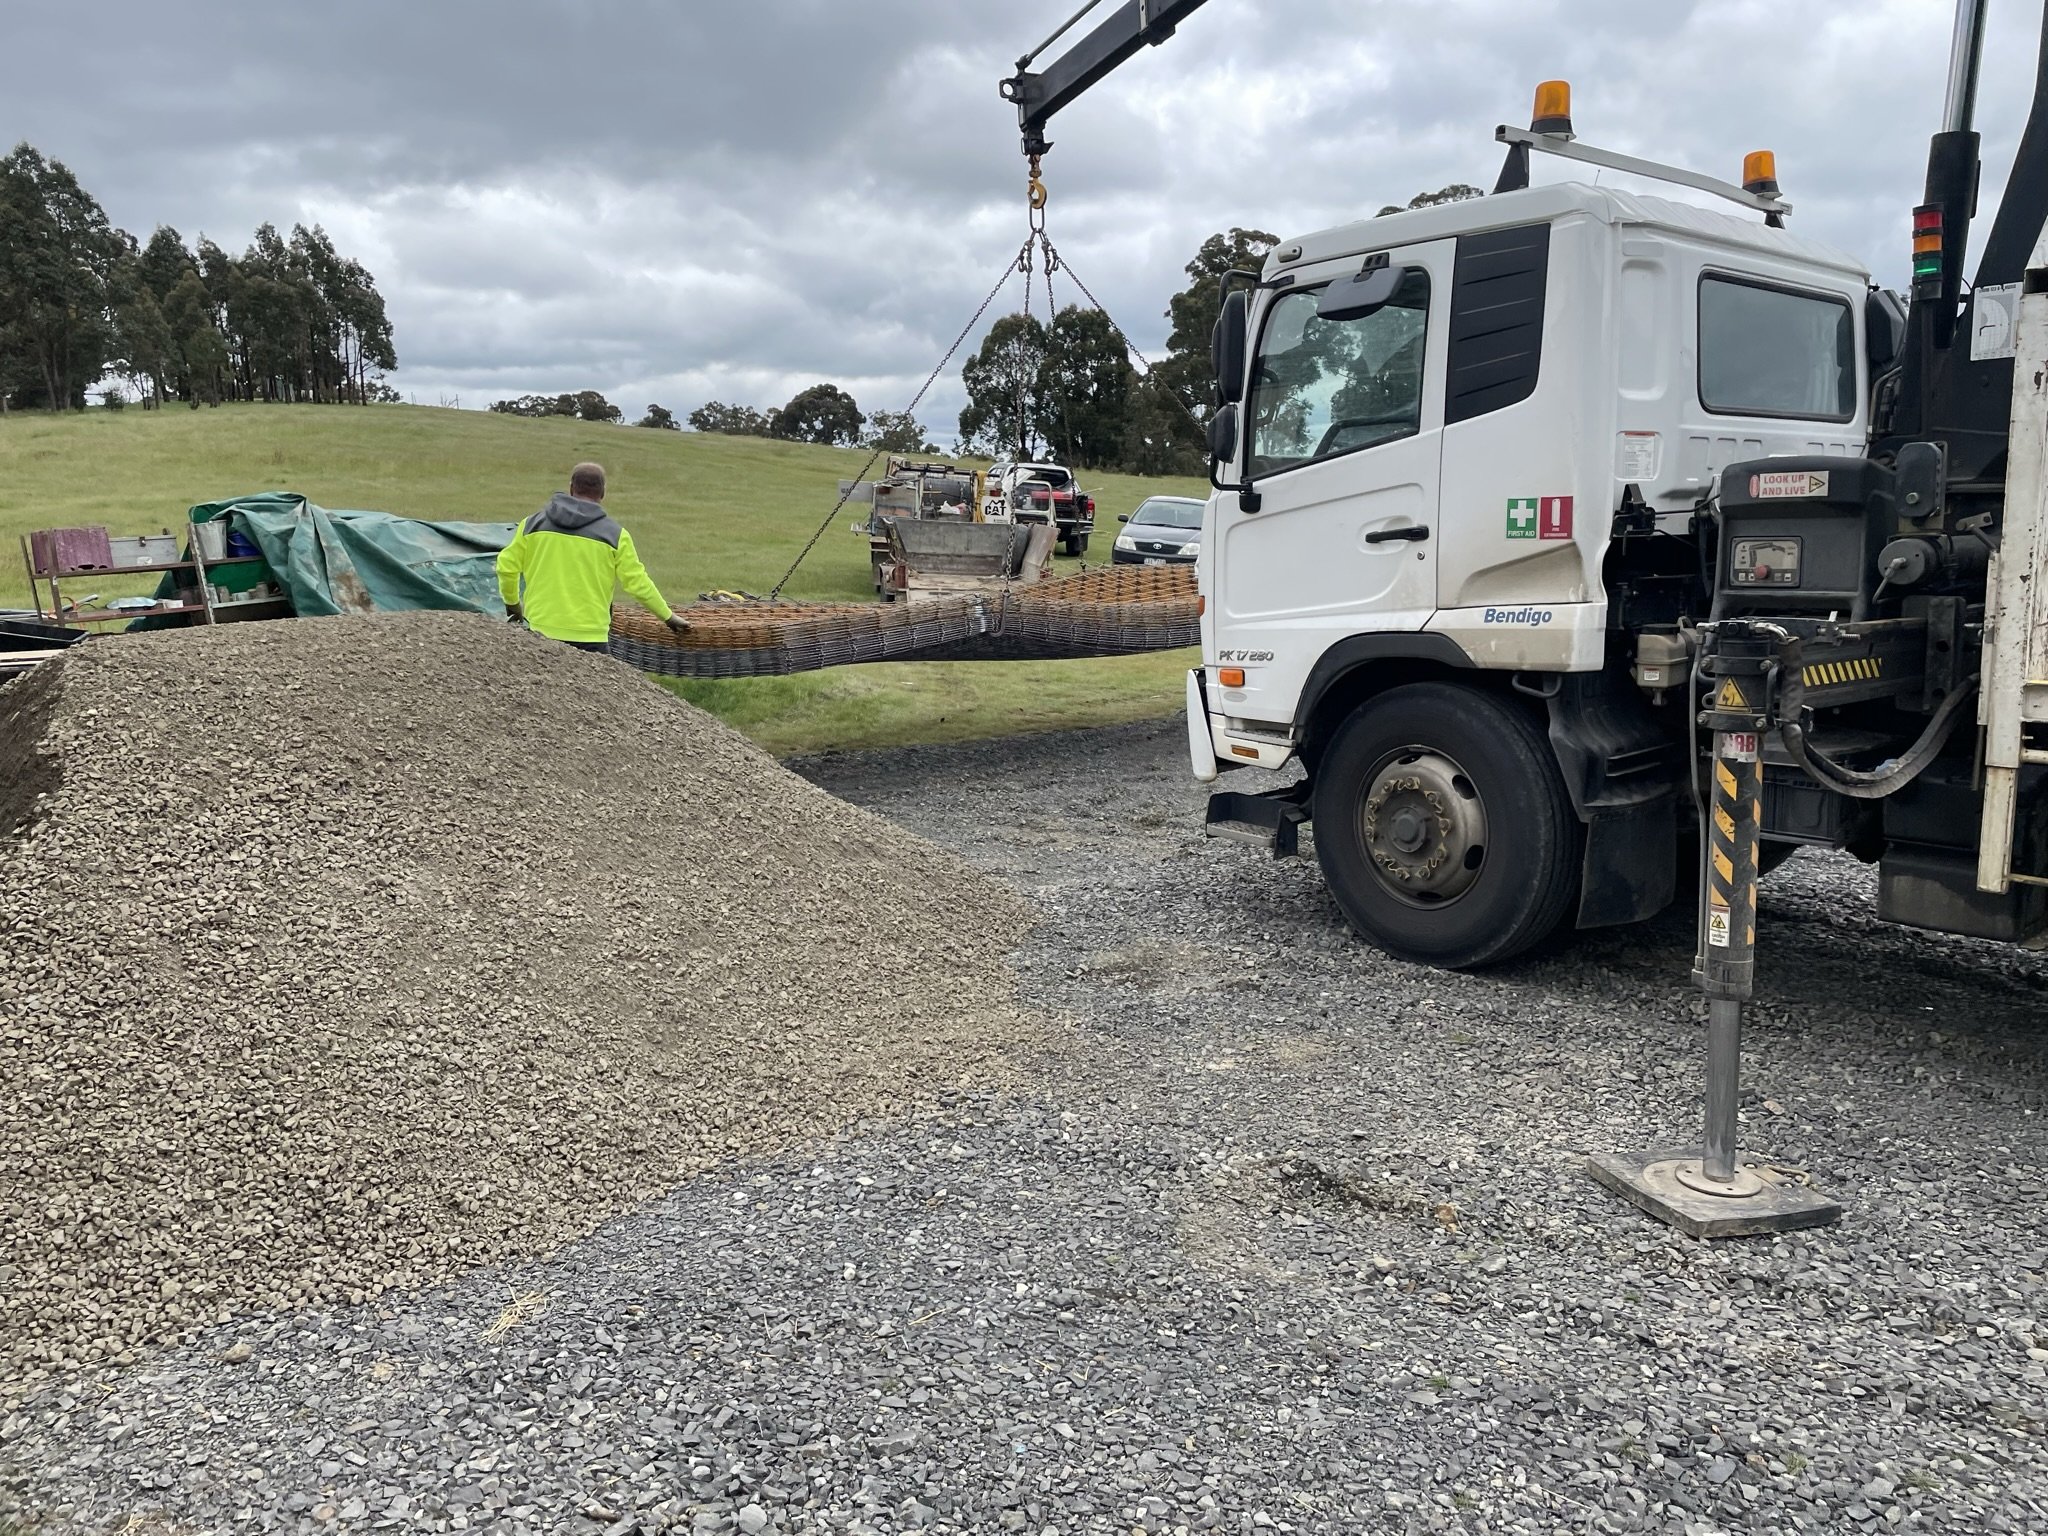
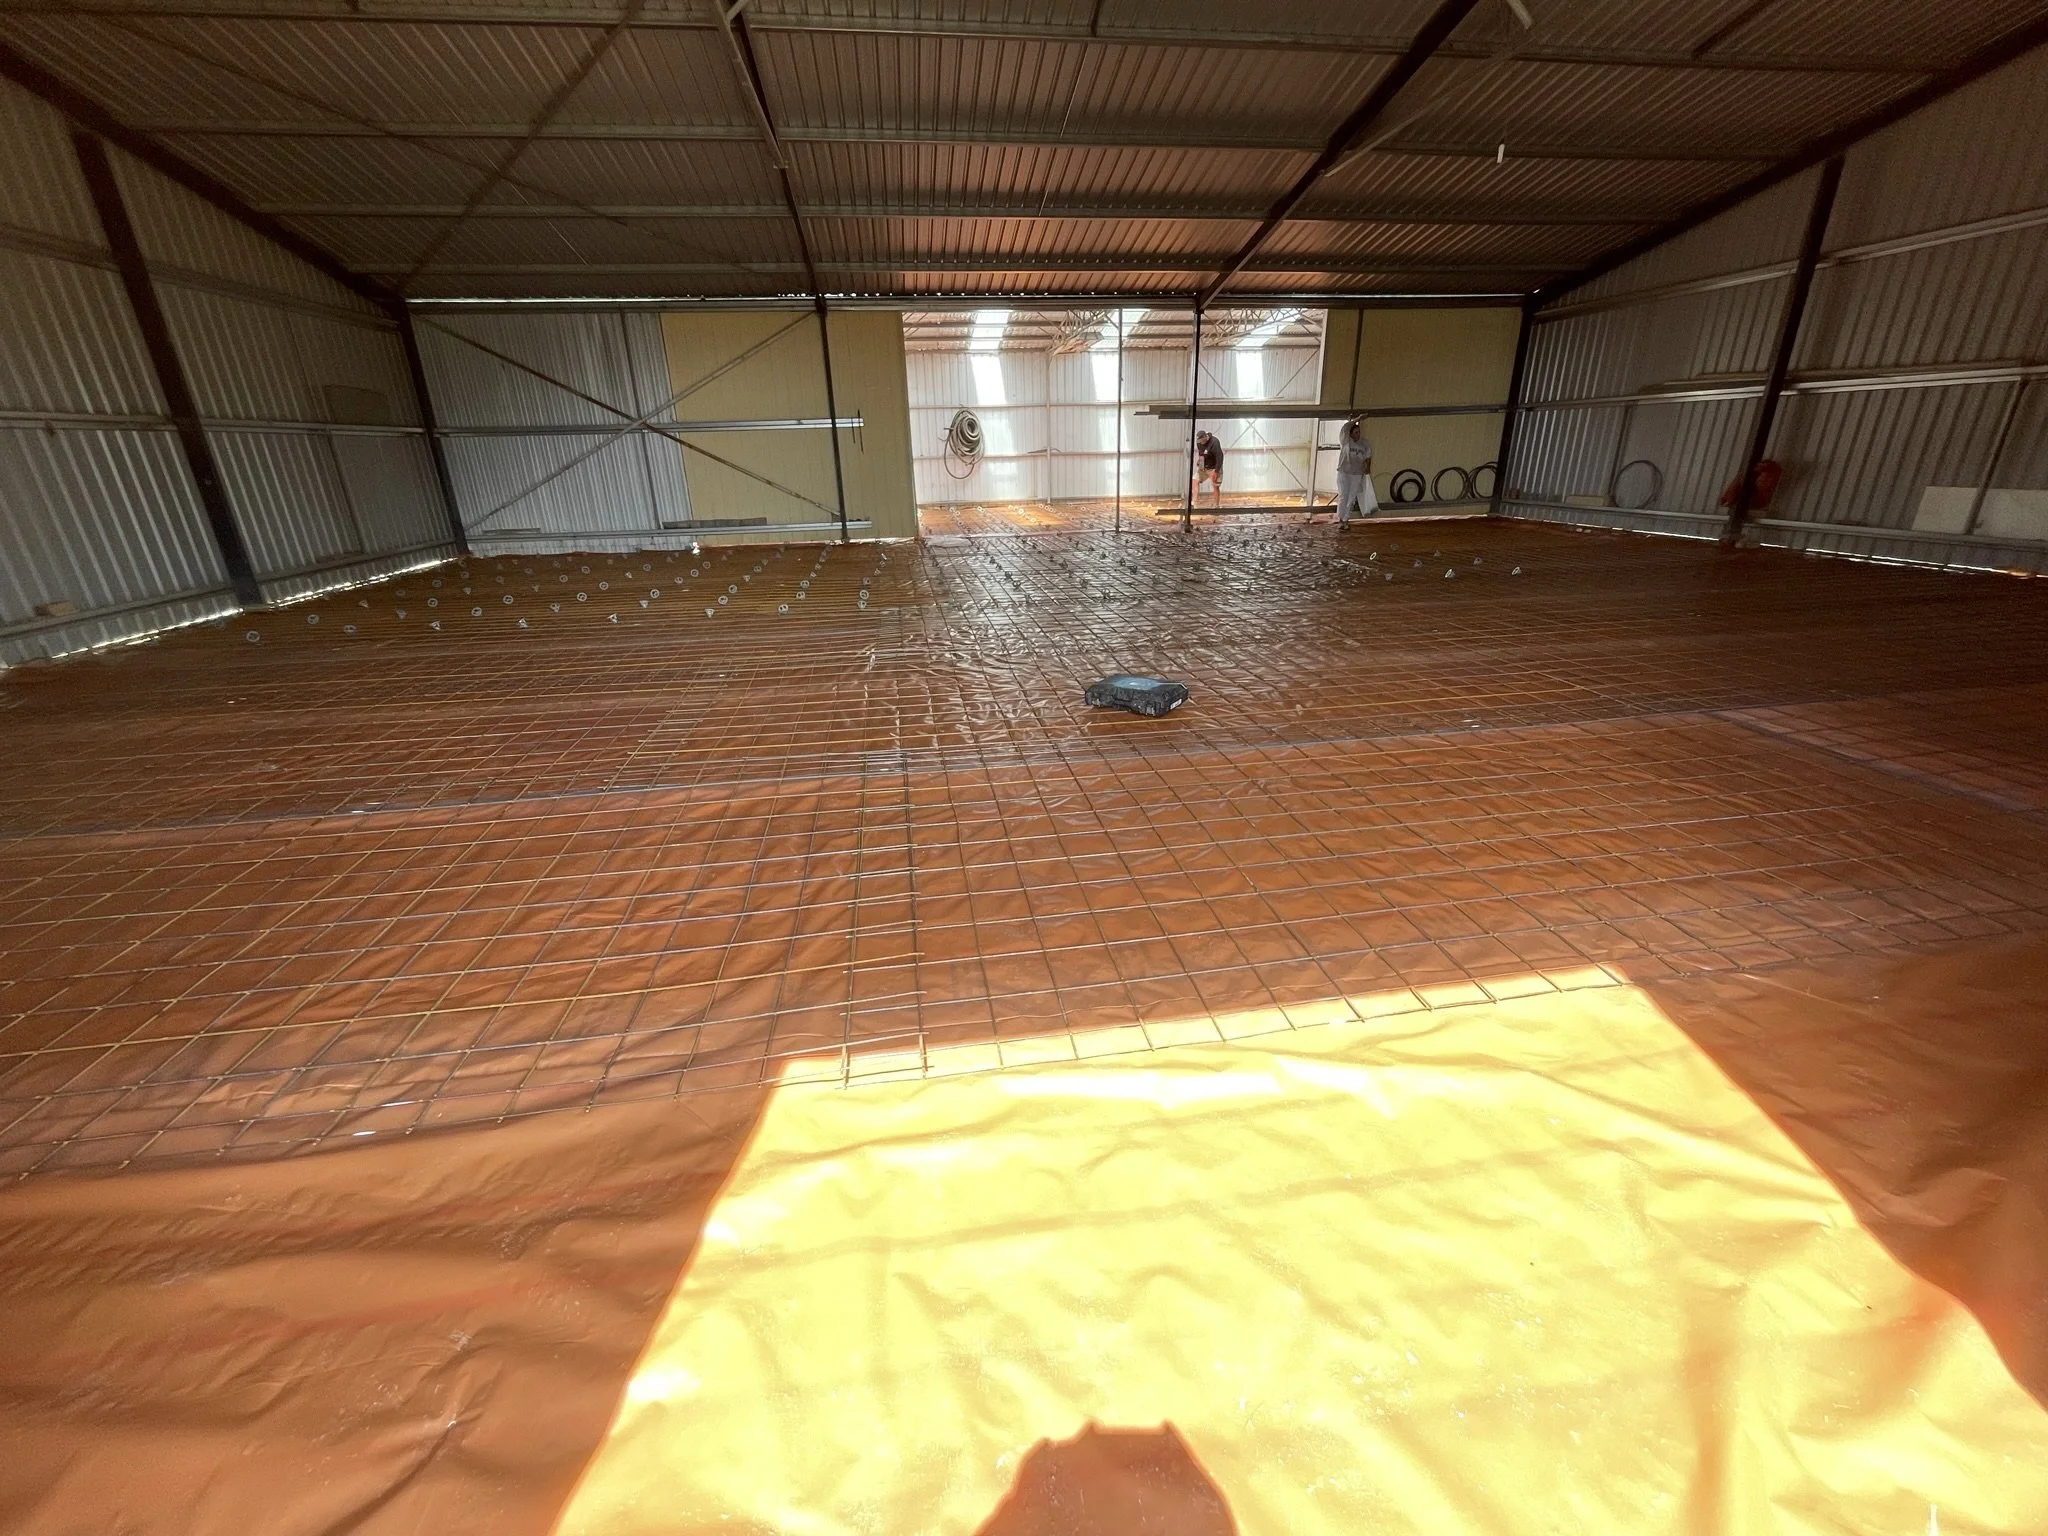
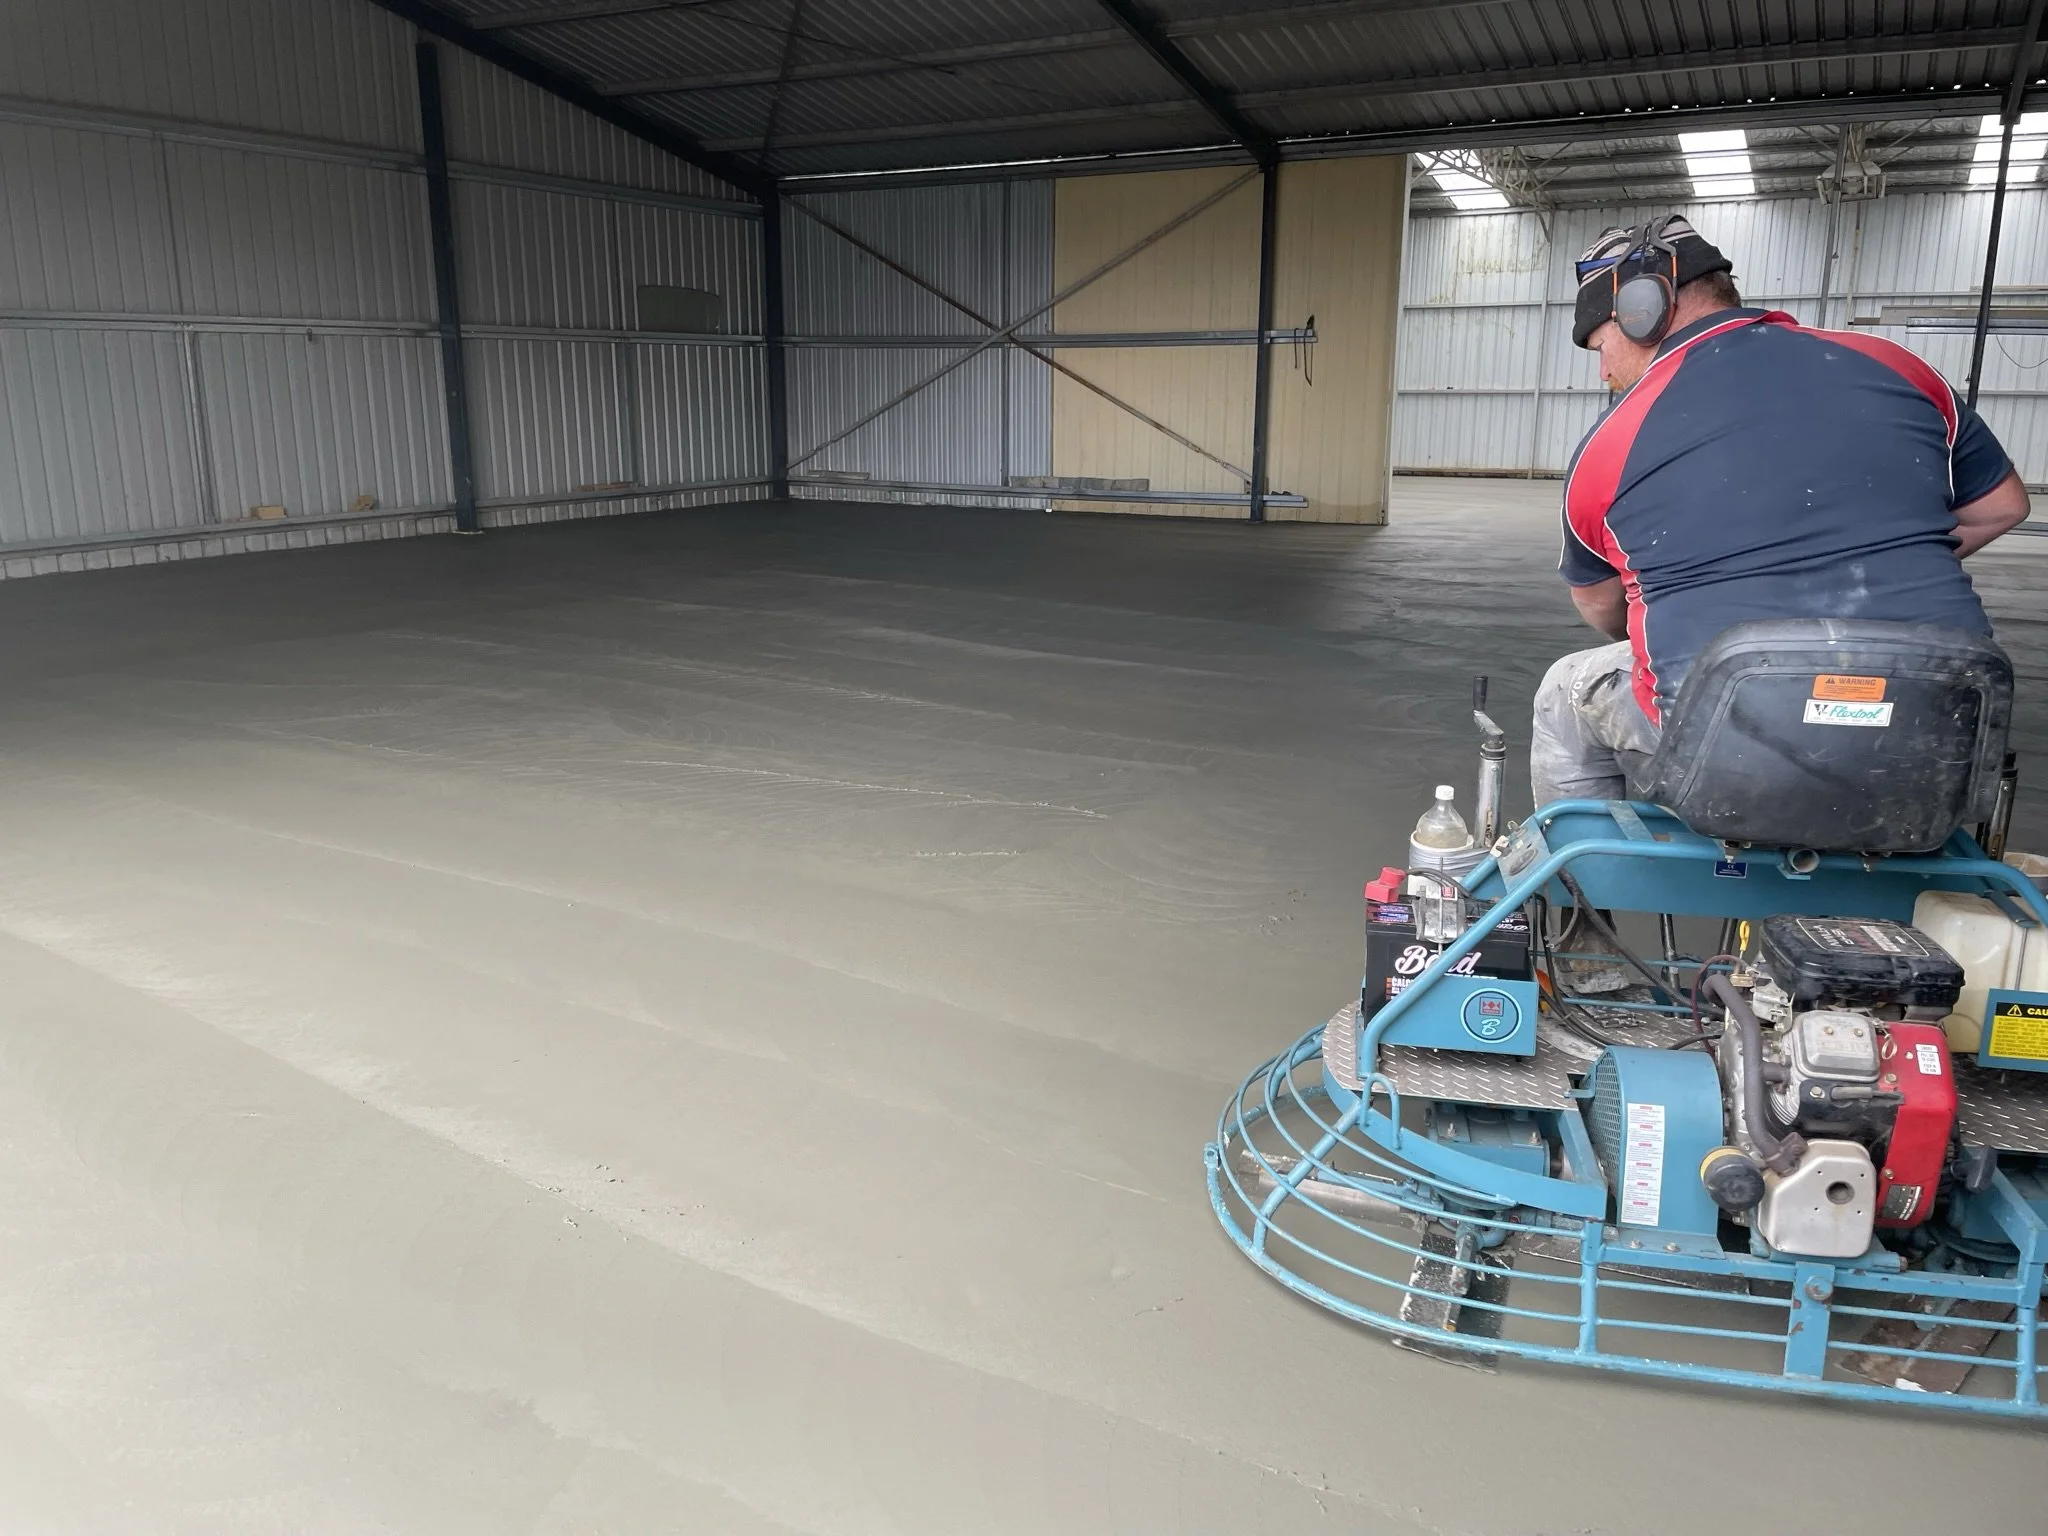
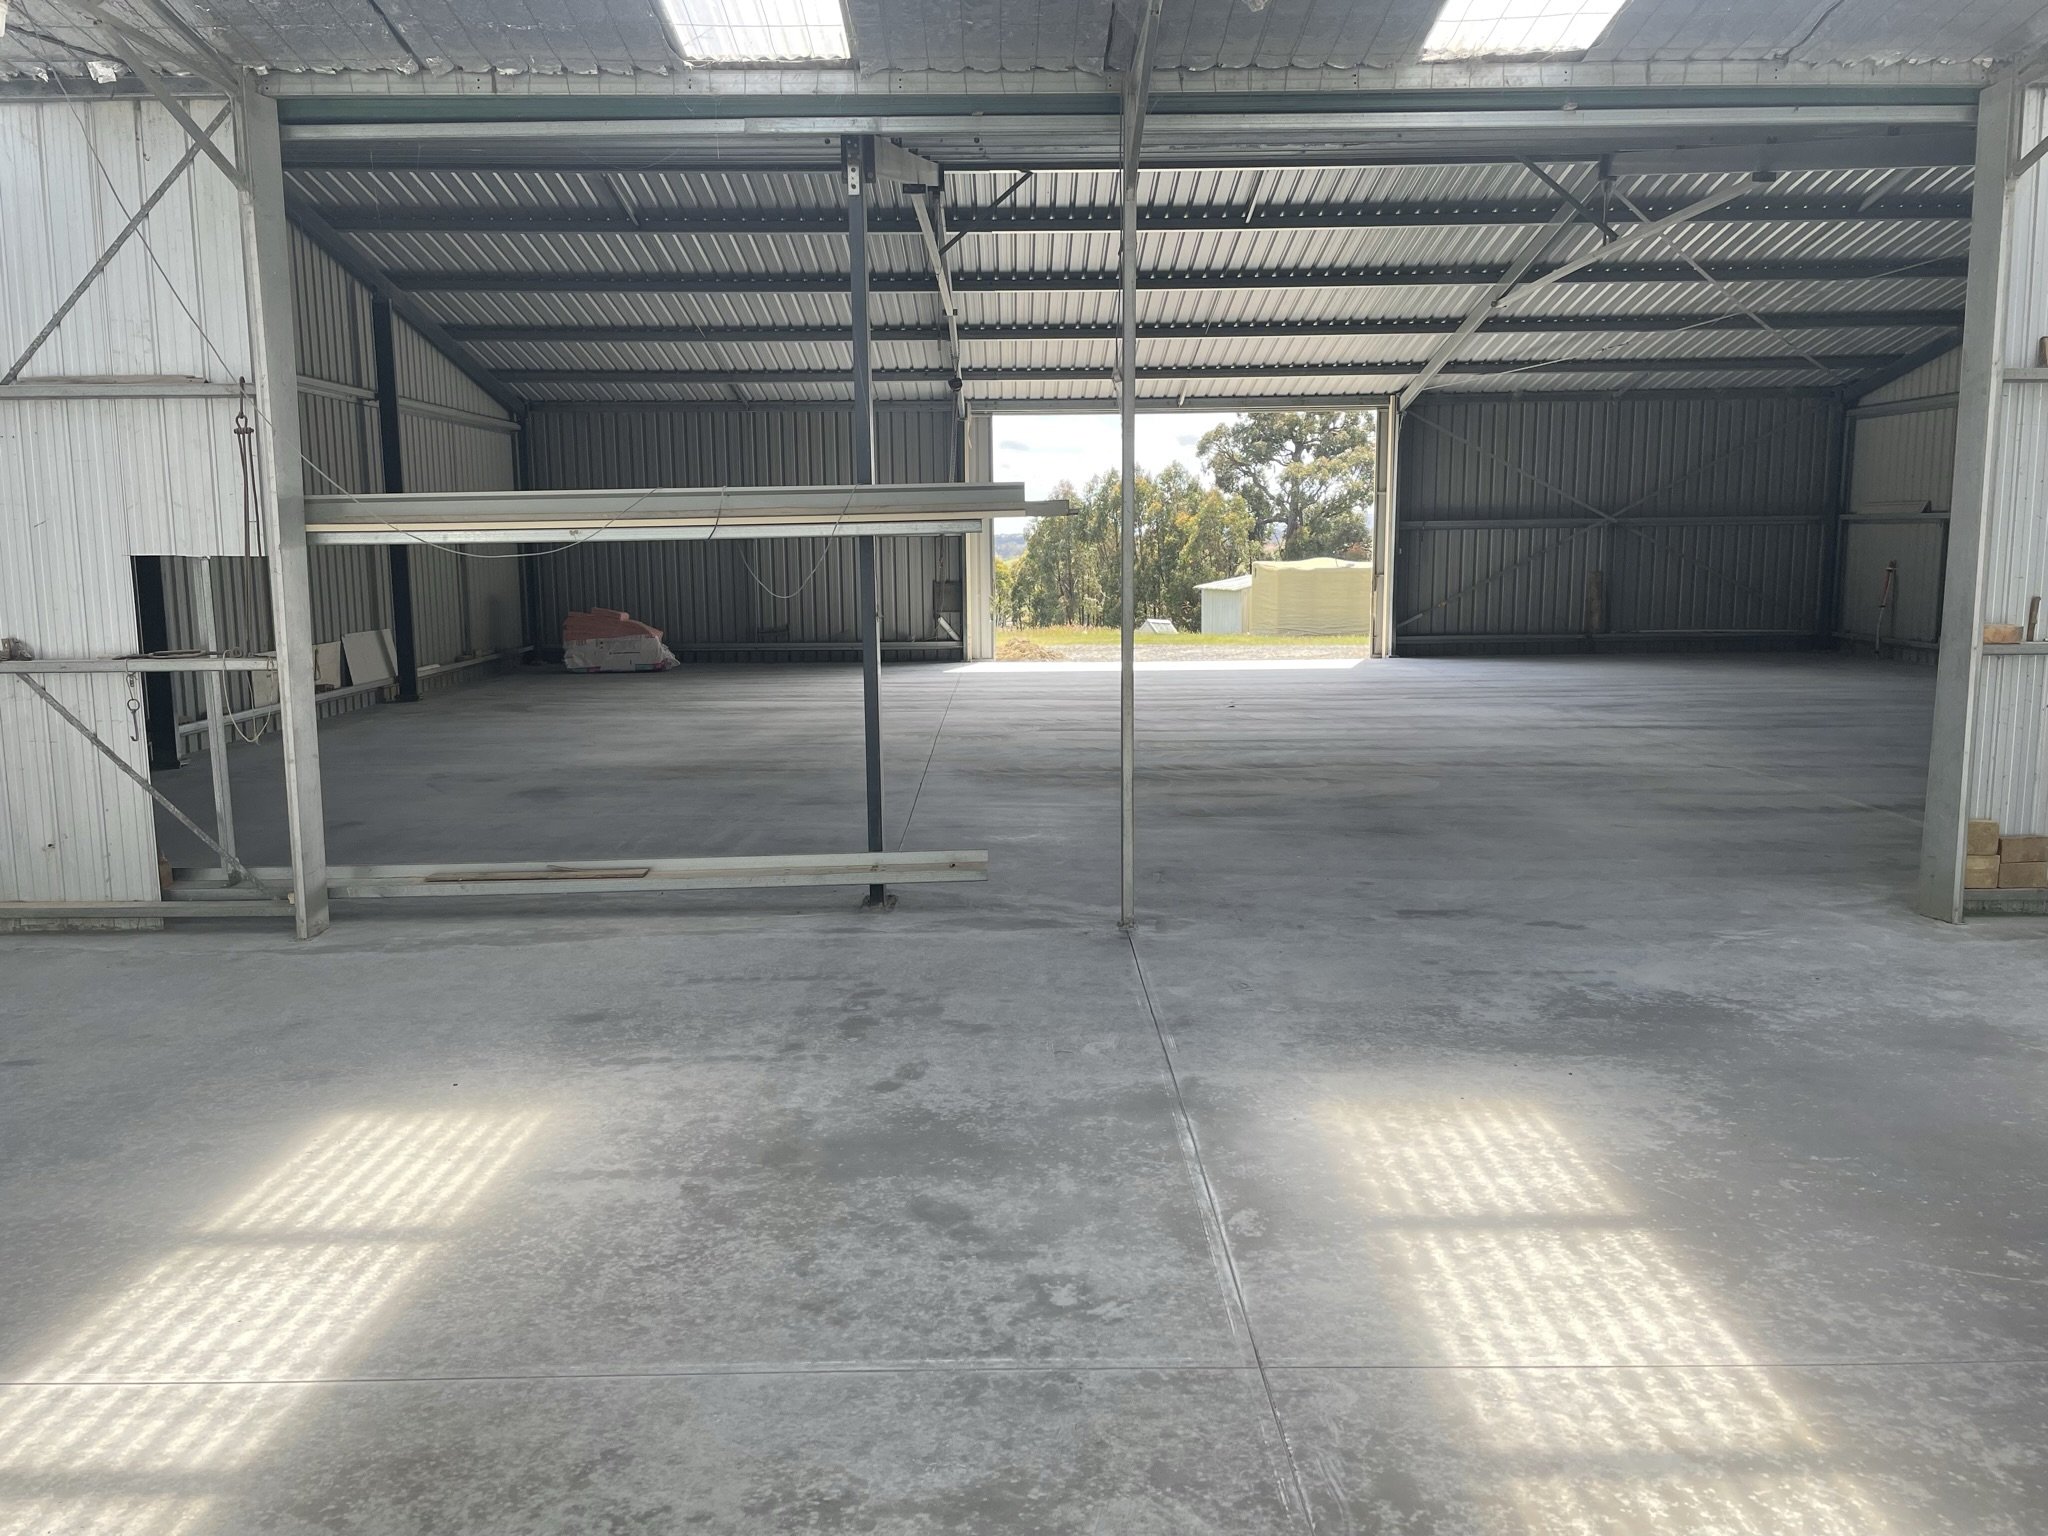
Concrete floor gets laid in the Shed 29/11/22
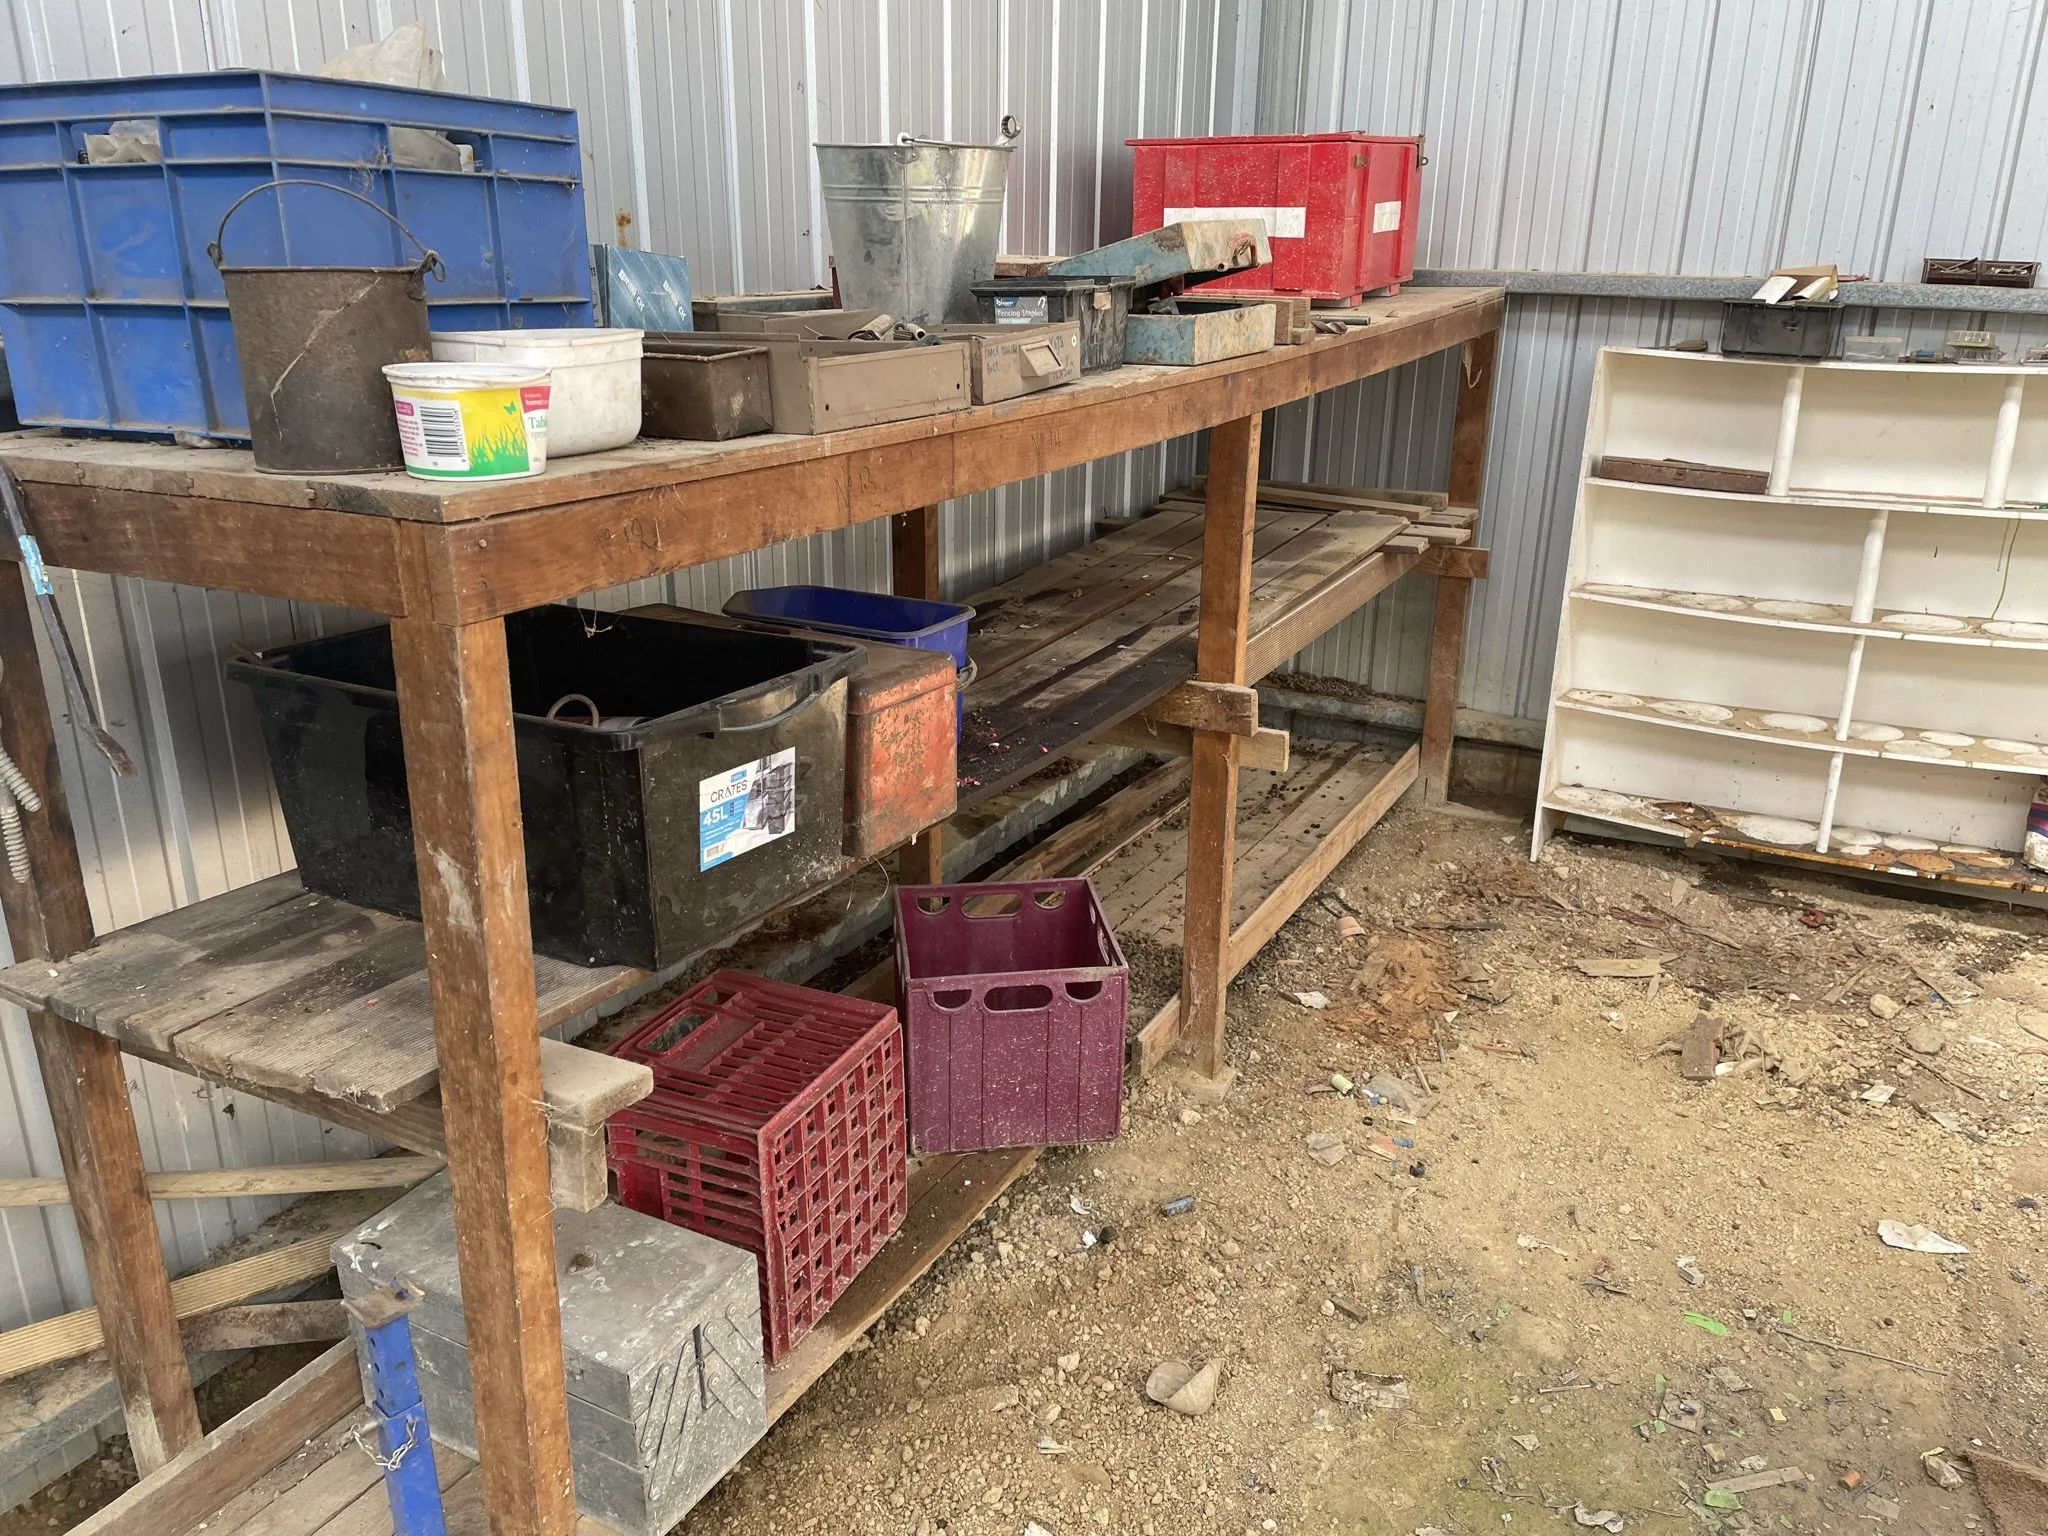
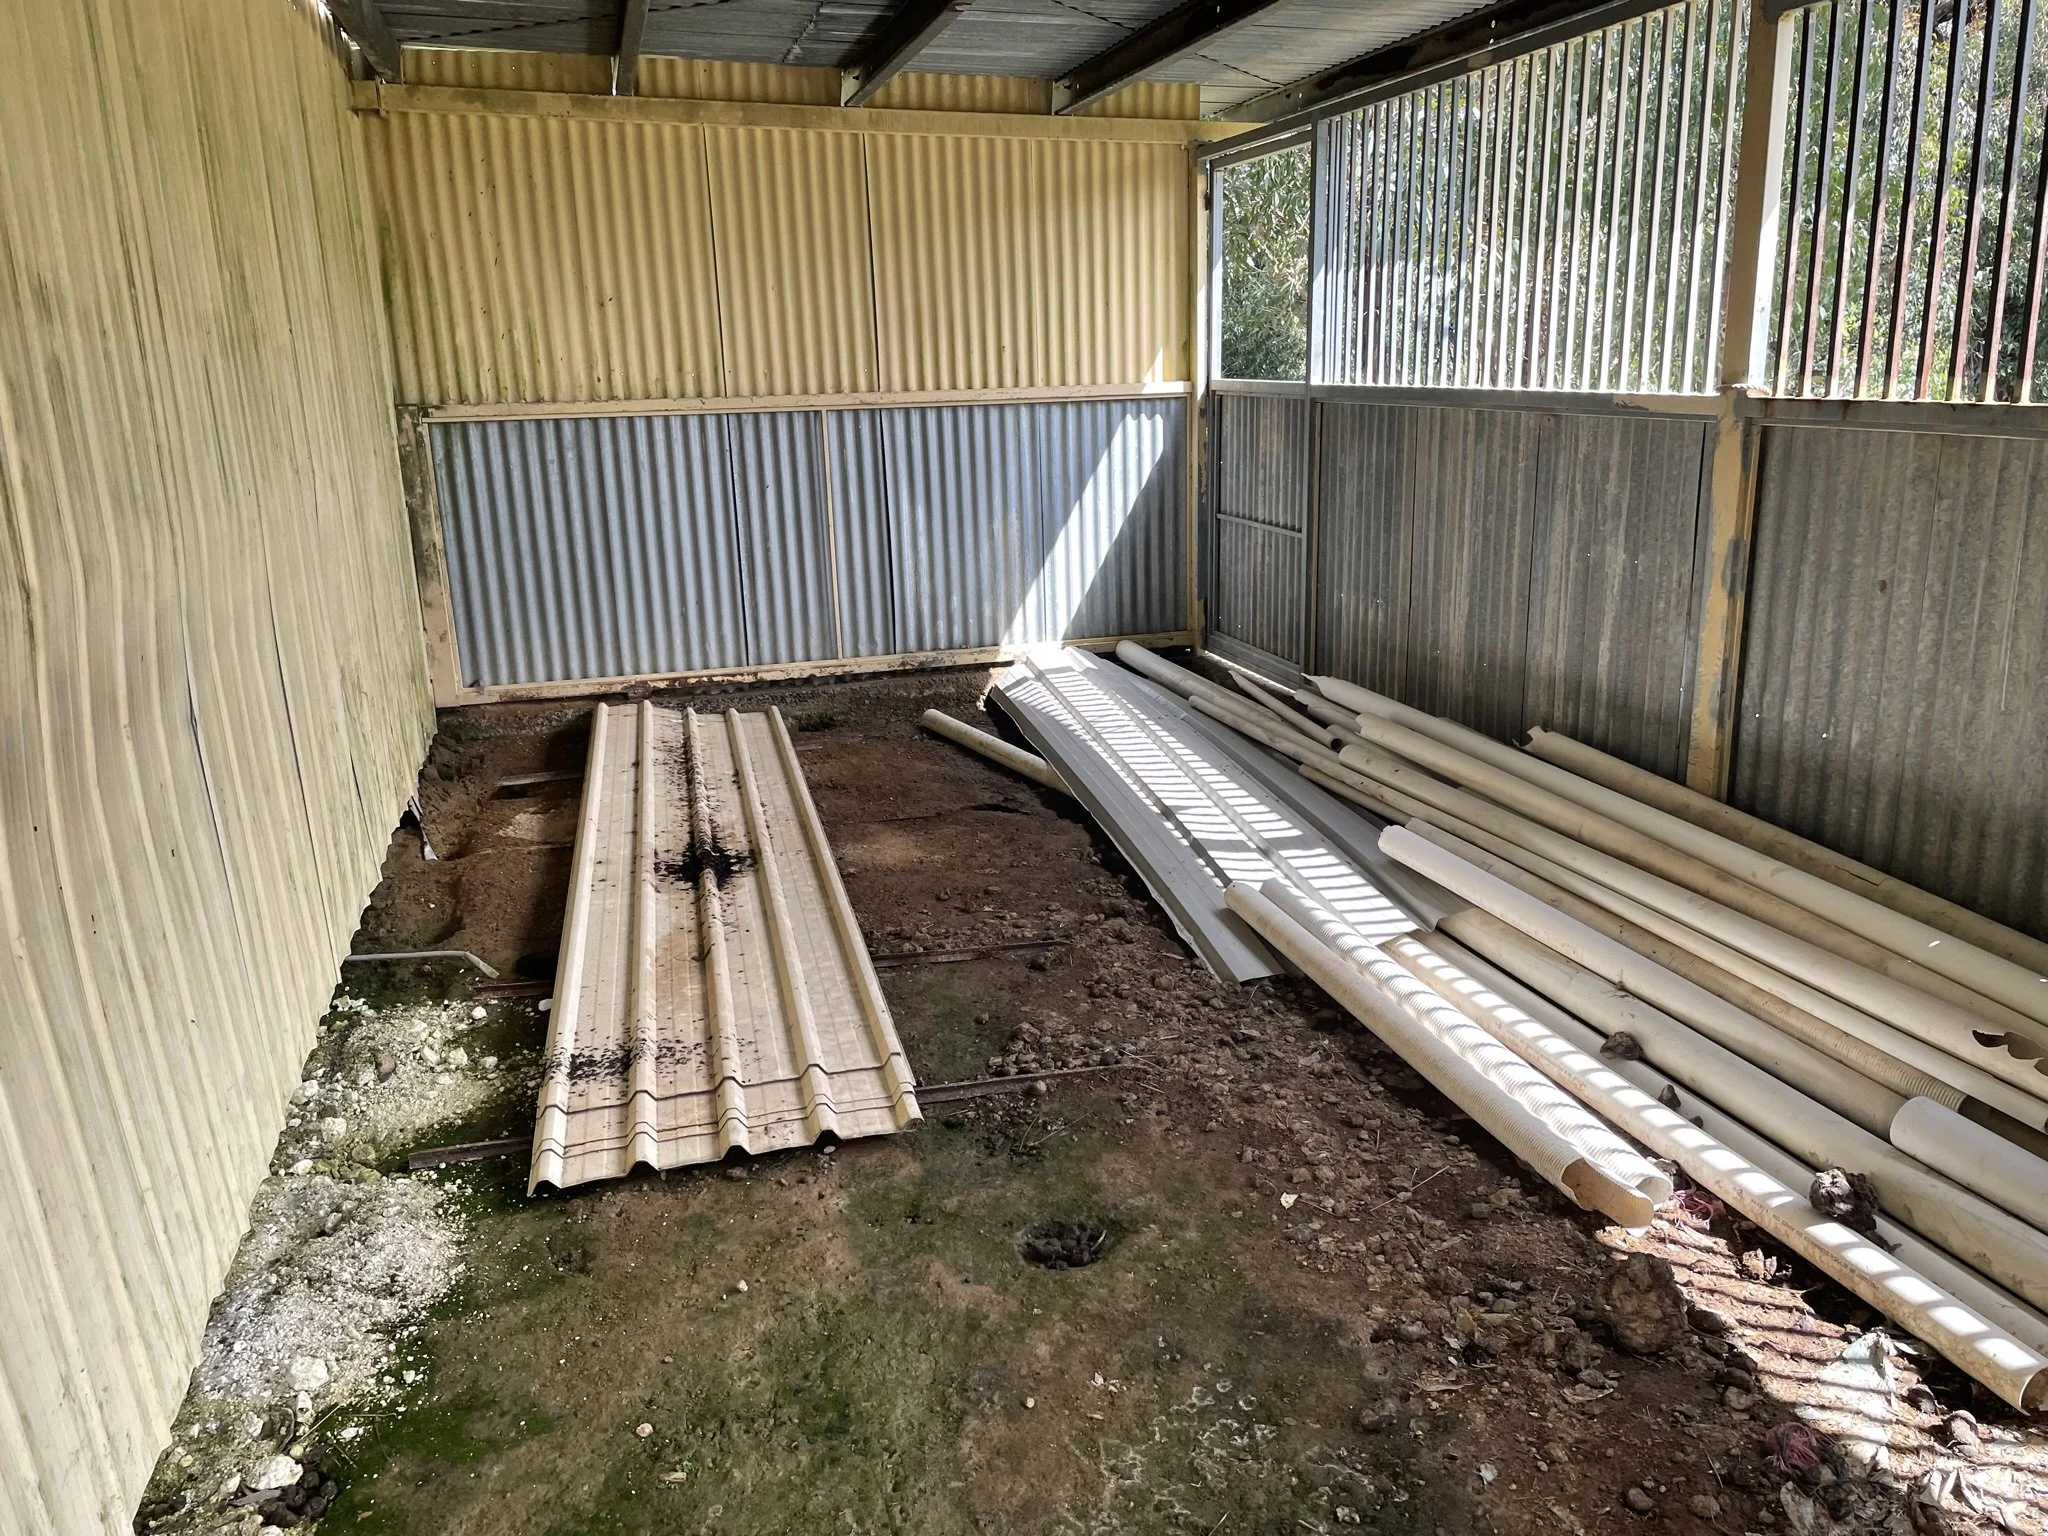
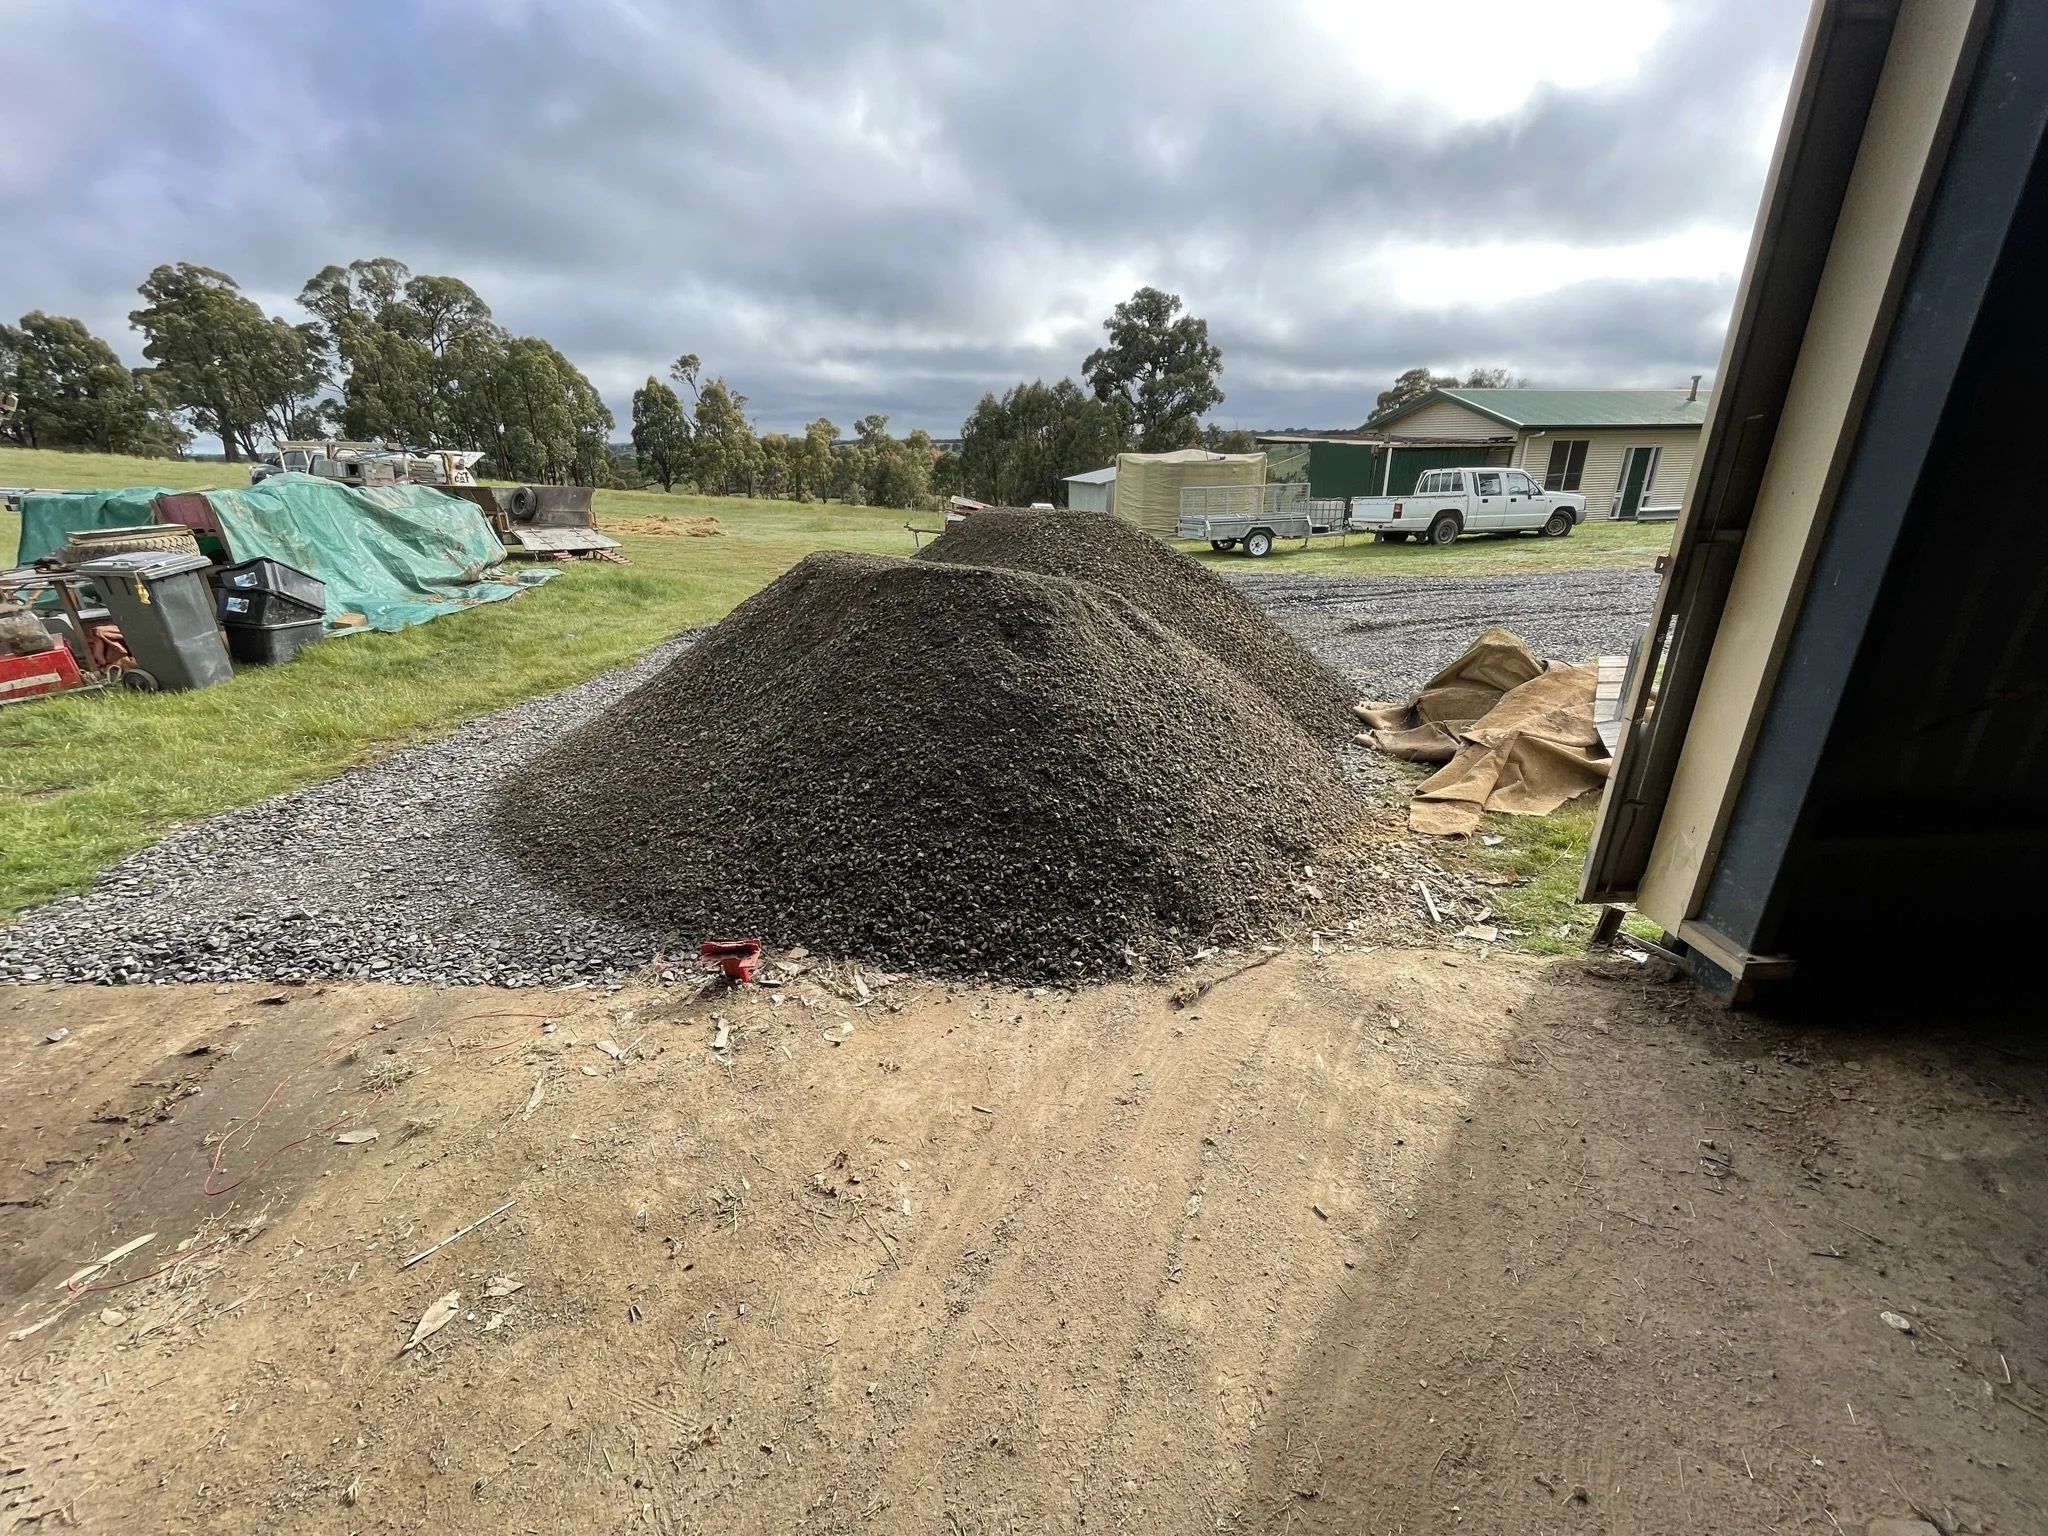
420m2 of shed floor needed 42m3 of concrete. That was 6 concrete trucks up the gravel drive. But first we have to empty the thing.


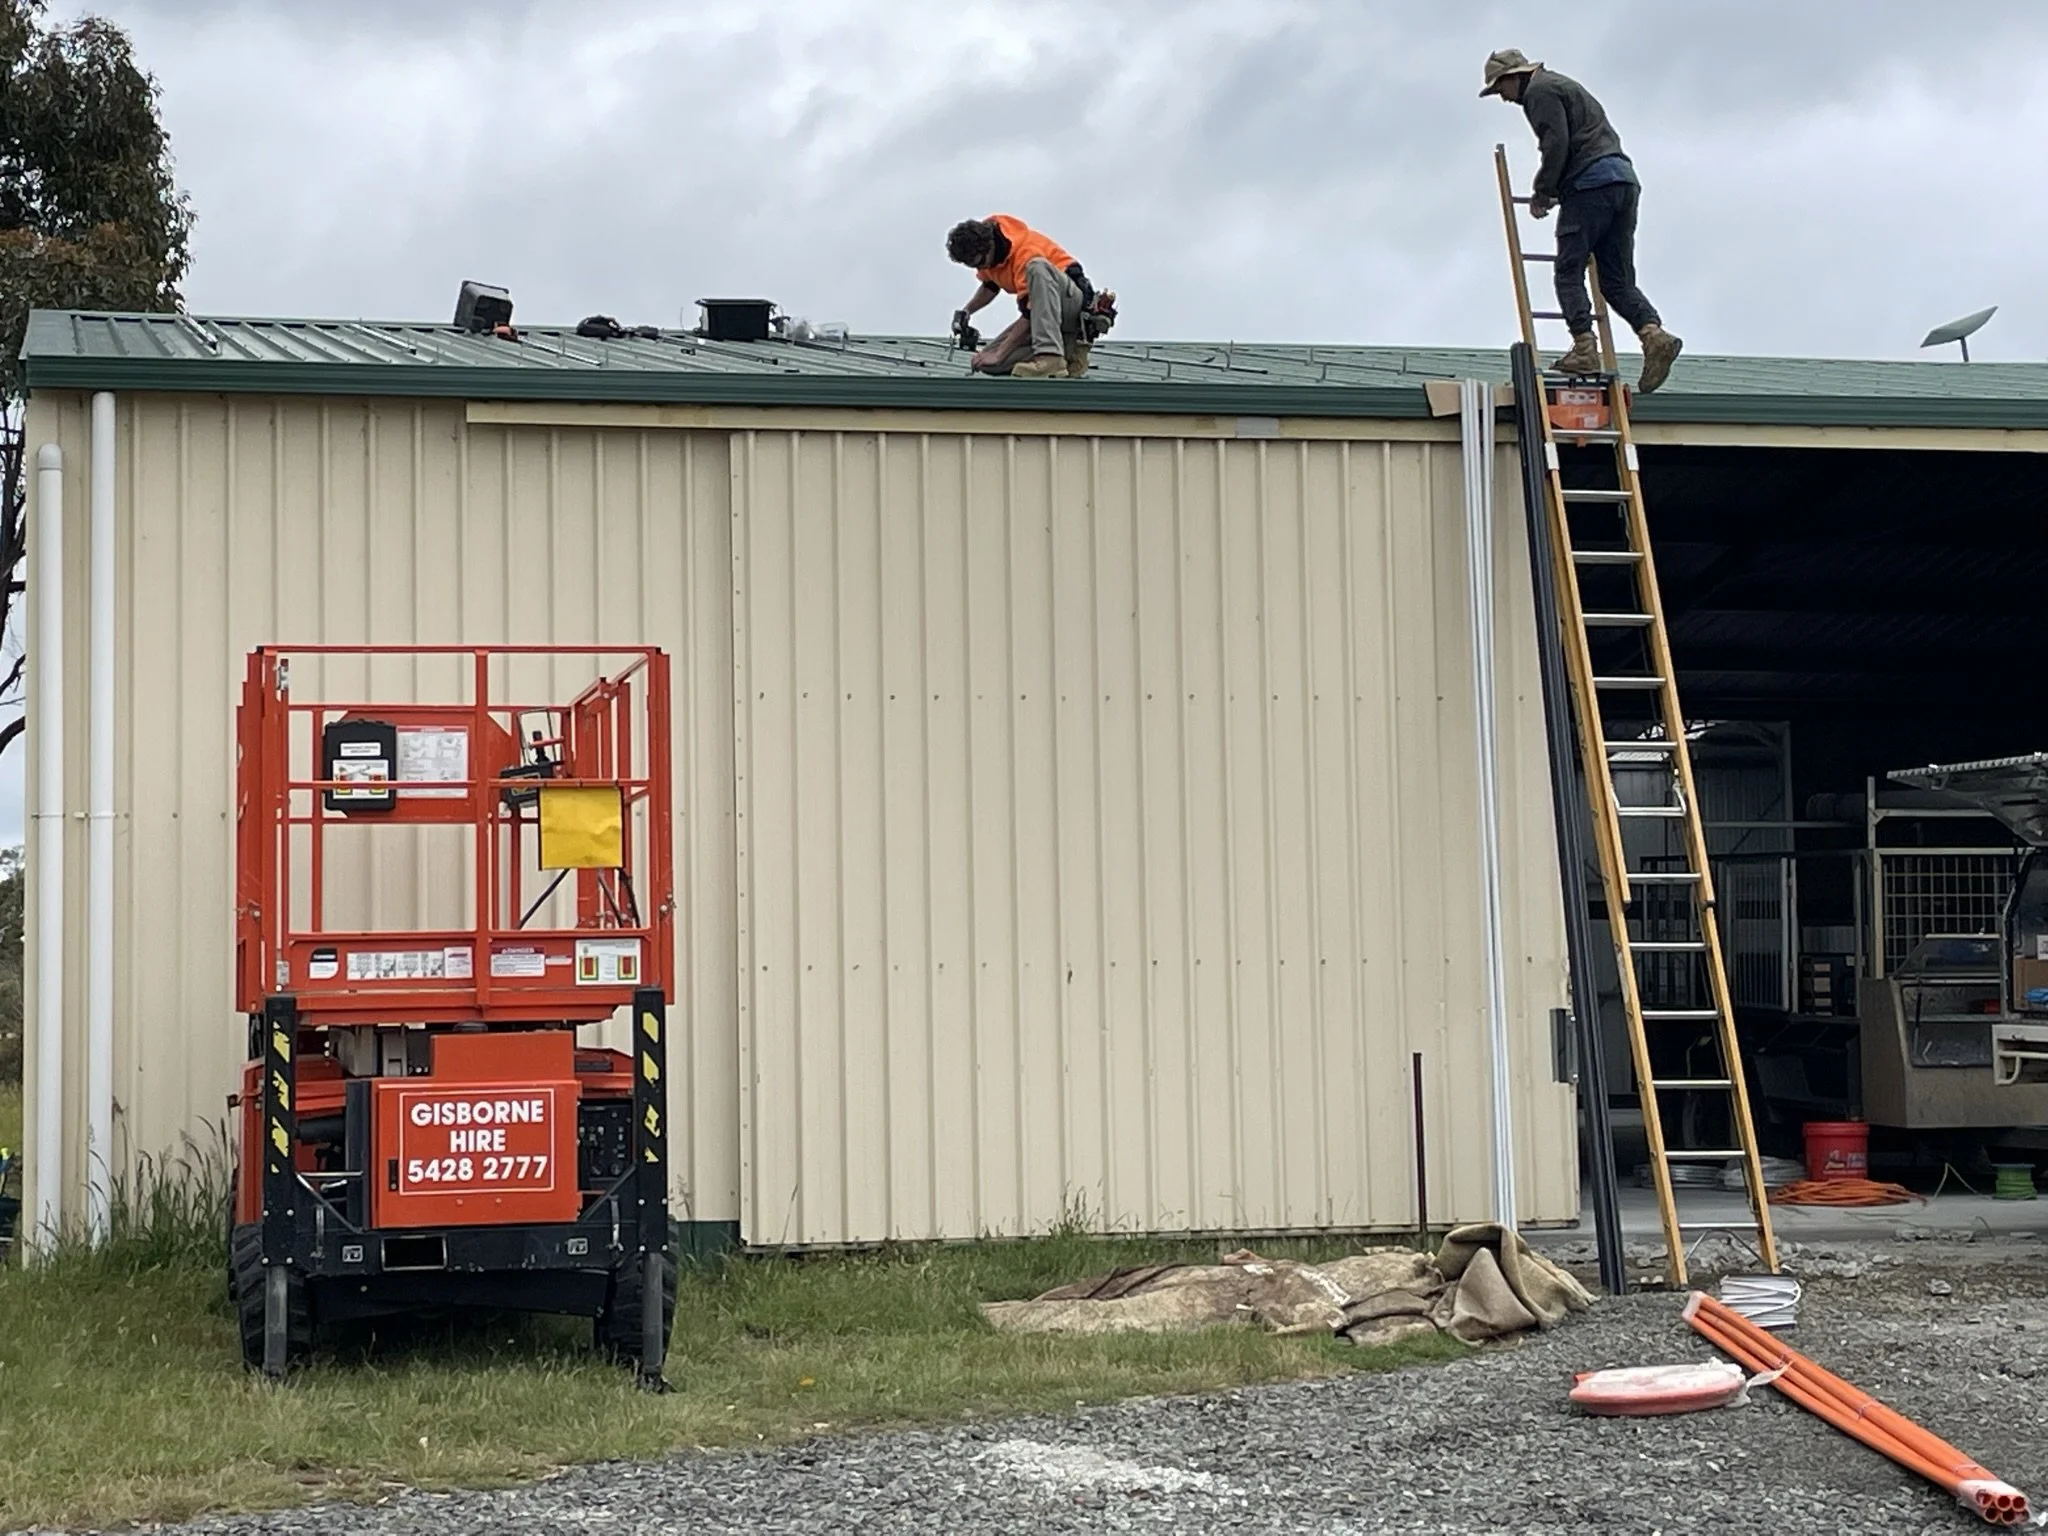
SOLAR GOES IN 15/12/22
Very lucky to squeeze in with the installers so close to Christmas.
The solar system consists of:
16 x 415w Winaico (Taiwanese) panels for
Fronius Primo 5.0-1 Solar Inverter - this unit simply converts incoming DC into 240V AC. The advantage of this is that the Battery Charger can then pass on that 240V to the house load, and use the excess to charge the batteries. Saves the batteries from cycling all day. It also means that down the track, if we want, we can extend this system for a true solar powered micro-grid.
Selectronic SPMC481 5kW Battery Inverter - this unit takes excess power from the Solar Inverter and uses it to charge the batteries, as well as converting the 48VDC battery energy into 240VAC when the sun goes down.
4 x Powerplus ECO4840P 48V 4kWh LifePO4 Batteries - locally made and a total of 16kWh with 12.8kWh of energy available.
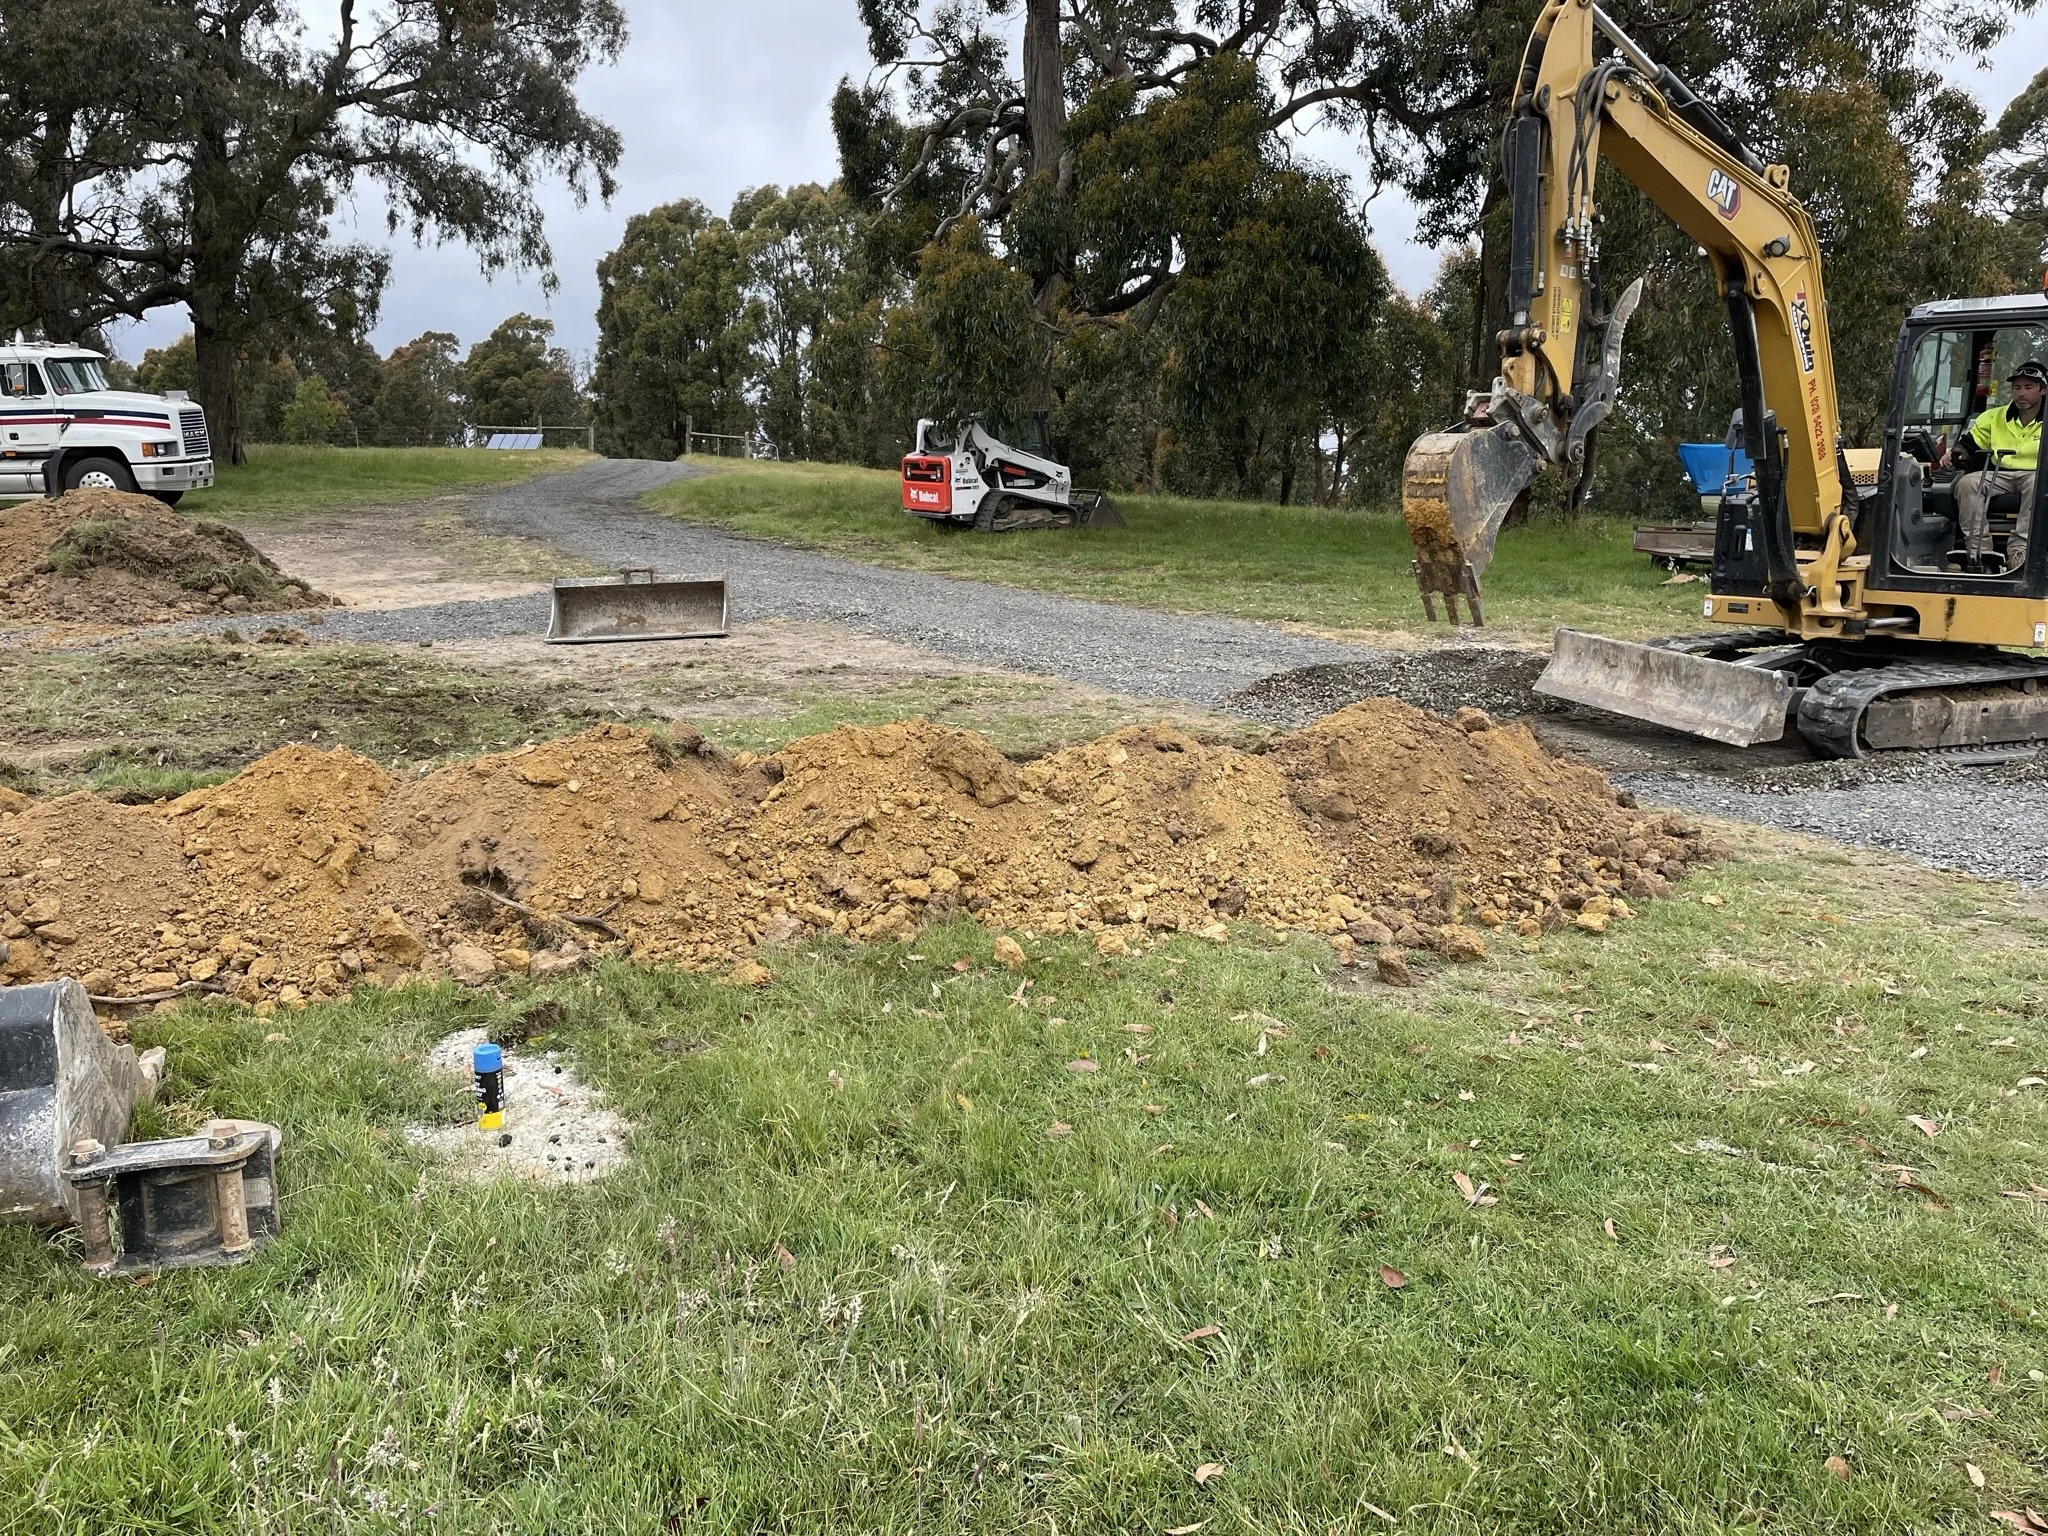
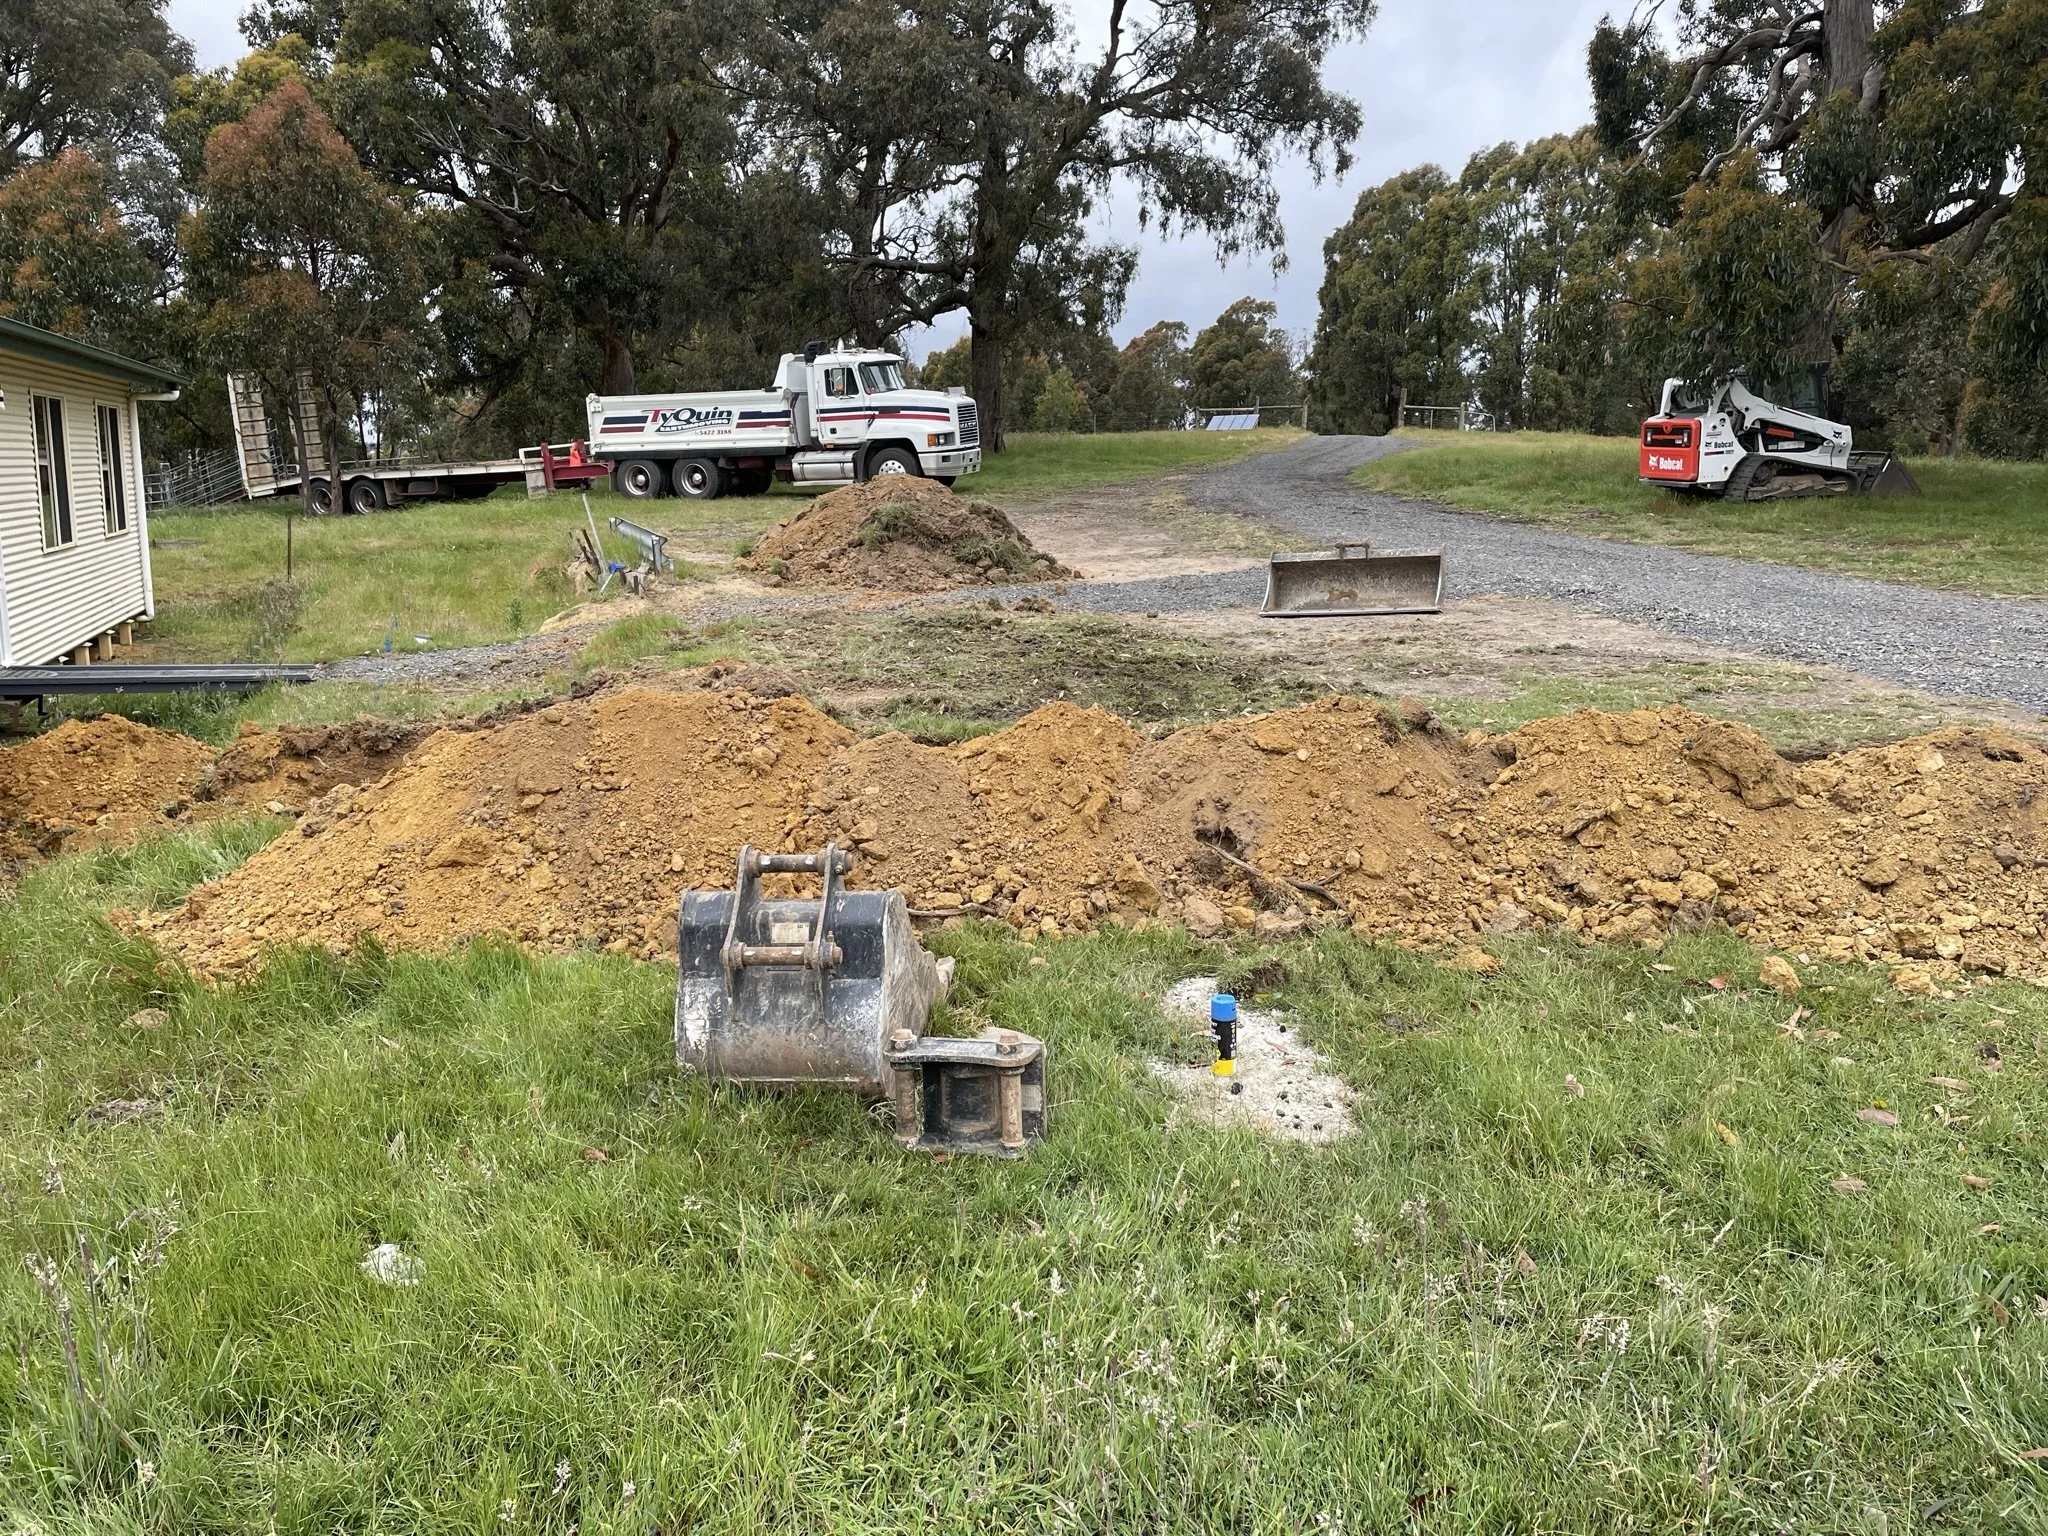
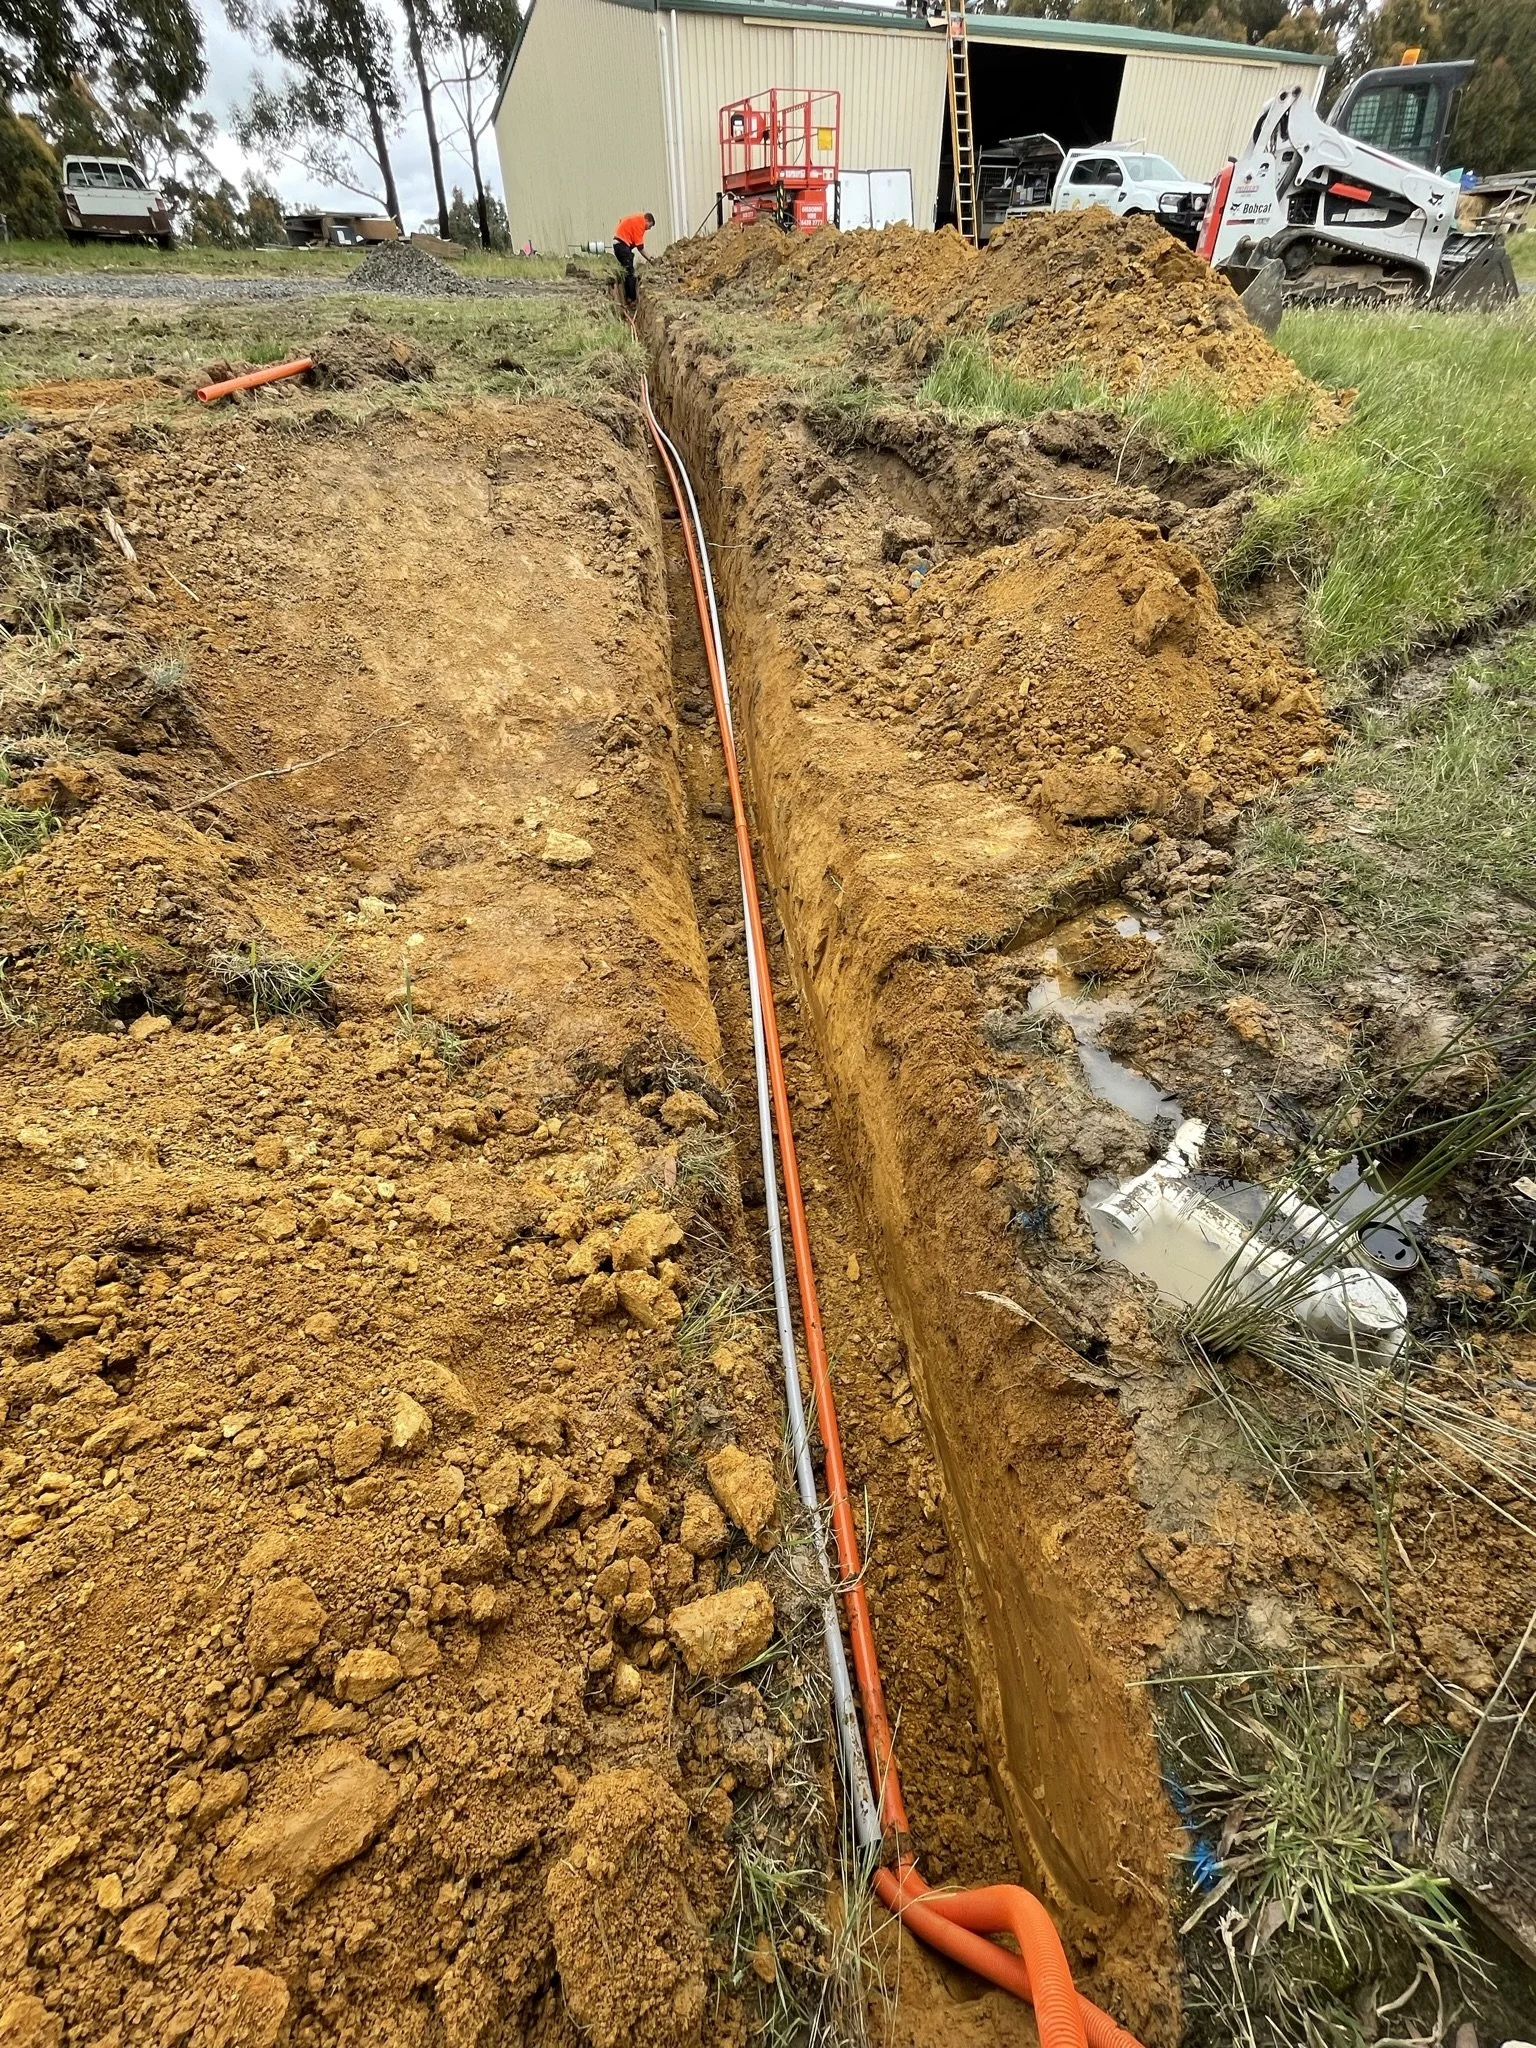
Had the local earthmovers (Tyquins) come and dig the trench. As you pay for the whole day, we got him to start the work on the house “batter” as part of solving the problem of standing water around the cottage. Once the solar was in and the trench populated with 2 x power cables and 2 x ethernet cables he backfilled the trench.


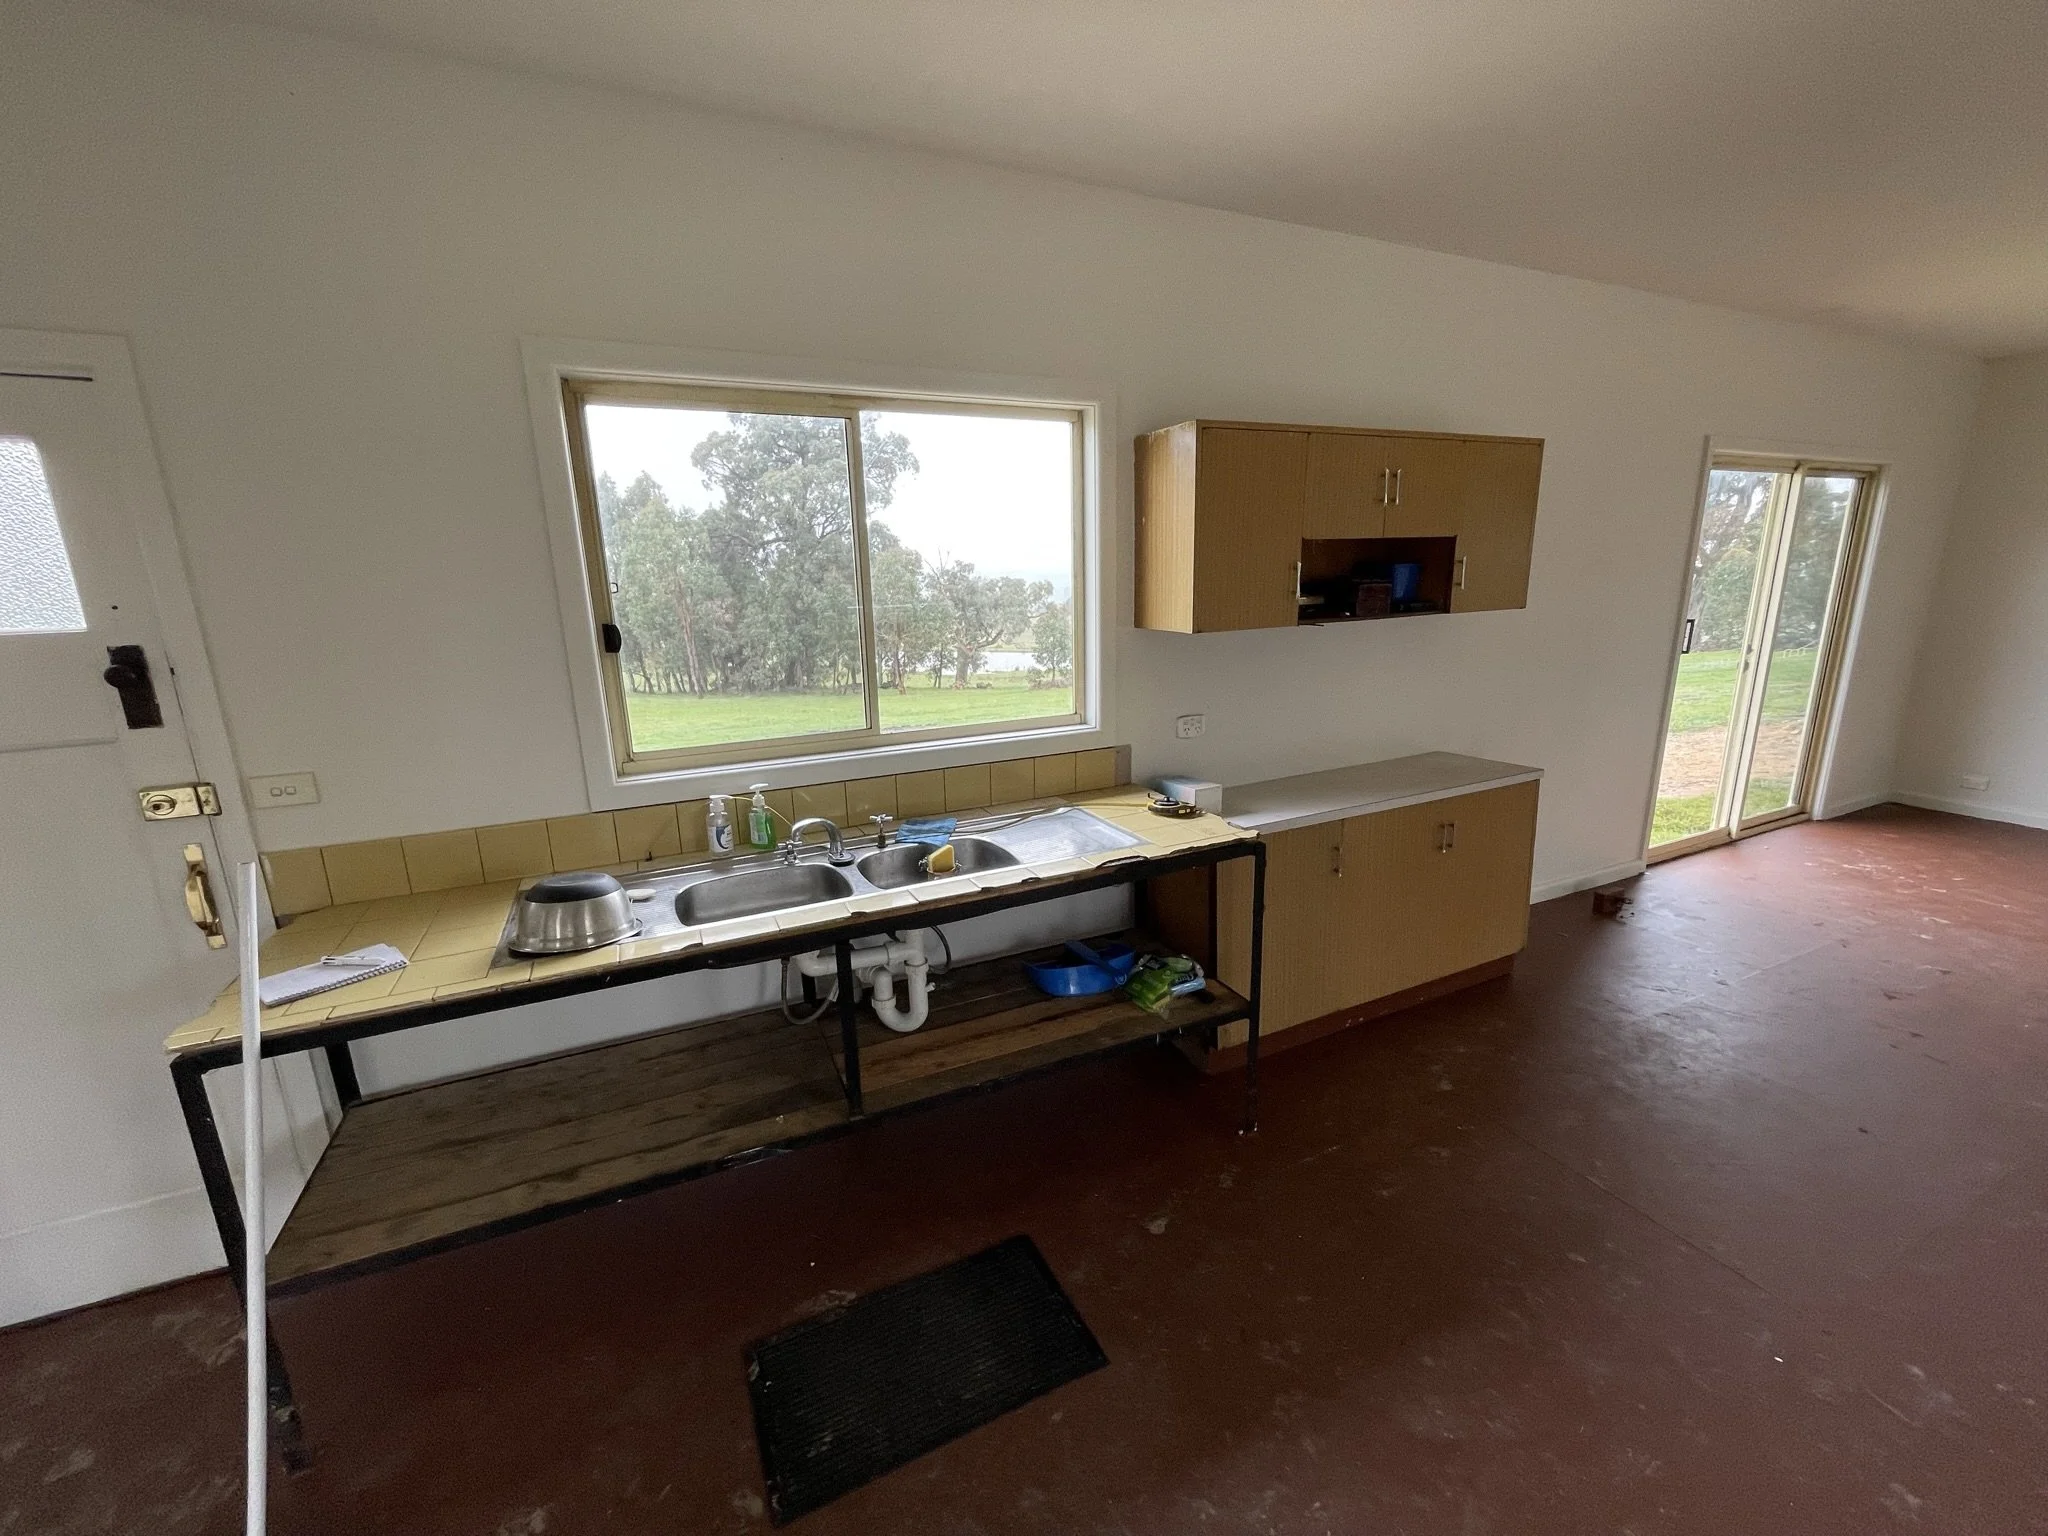
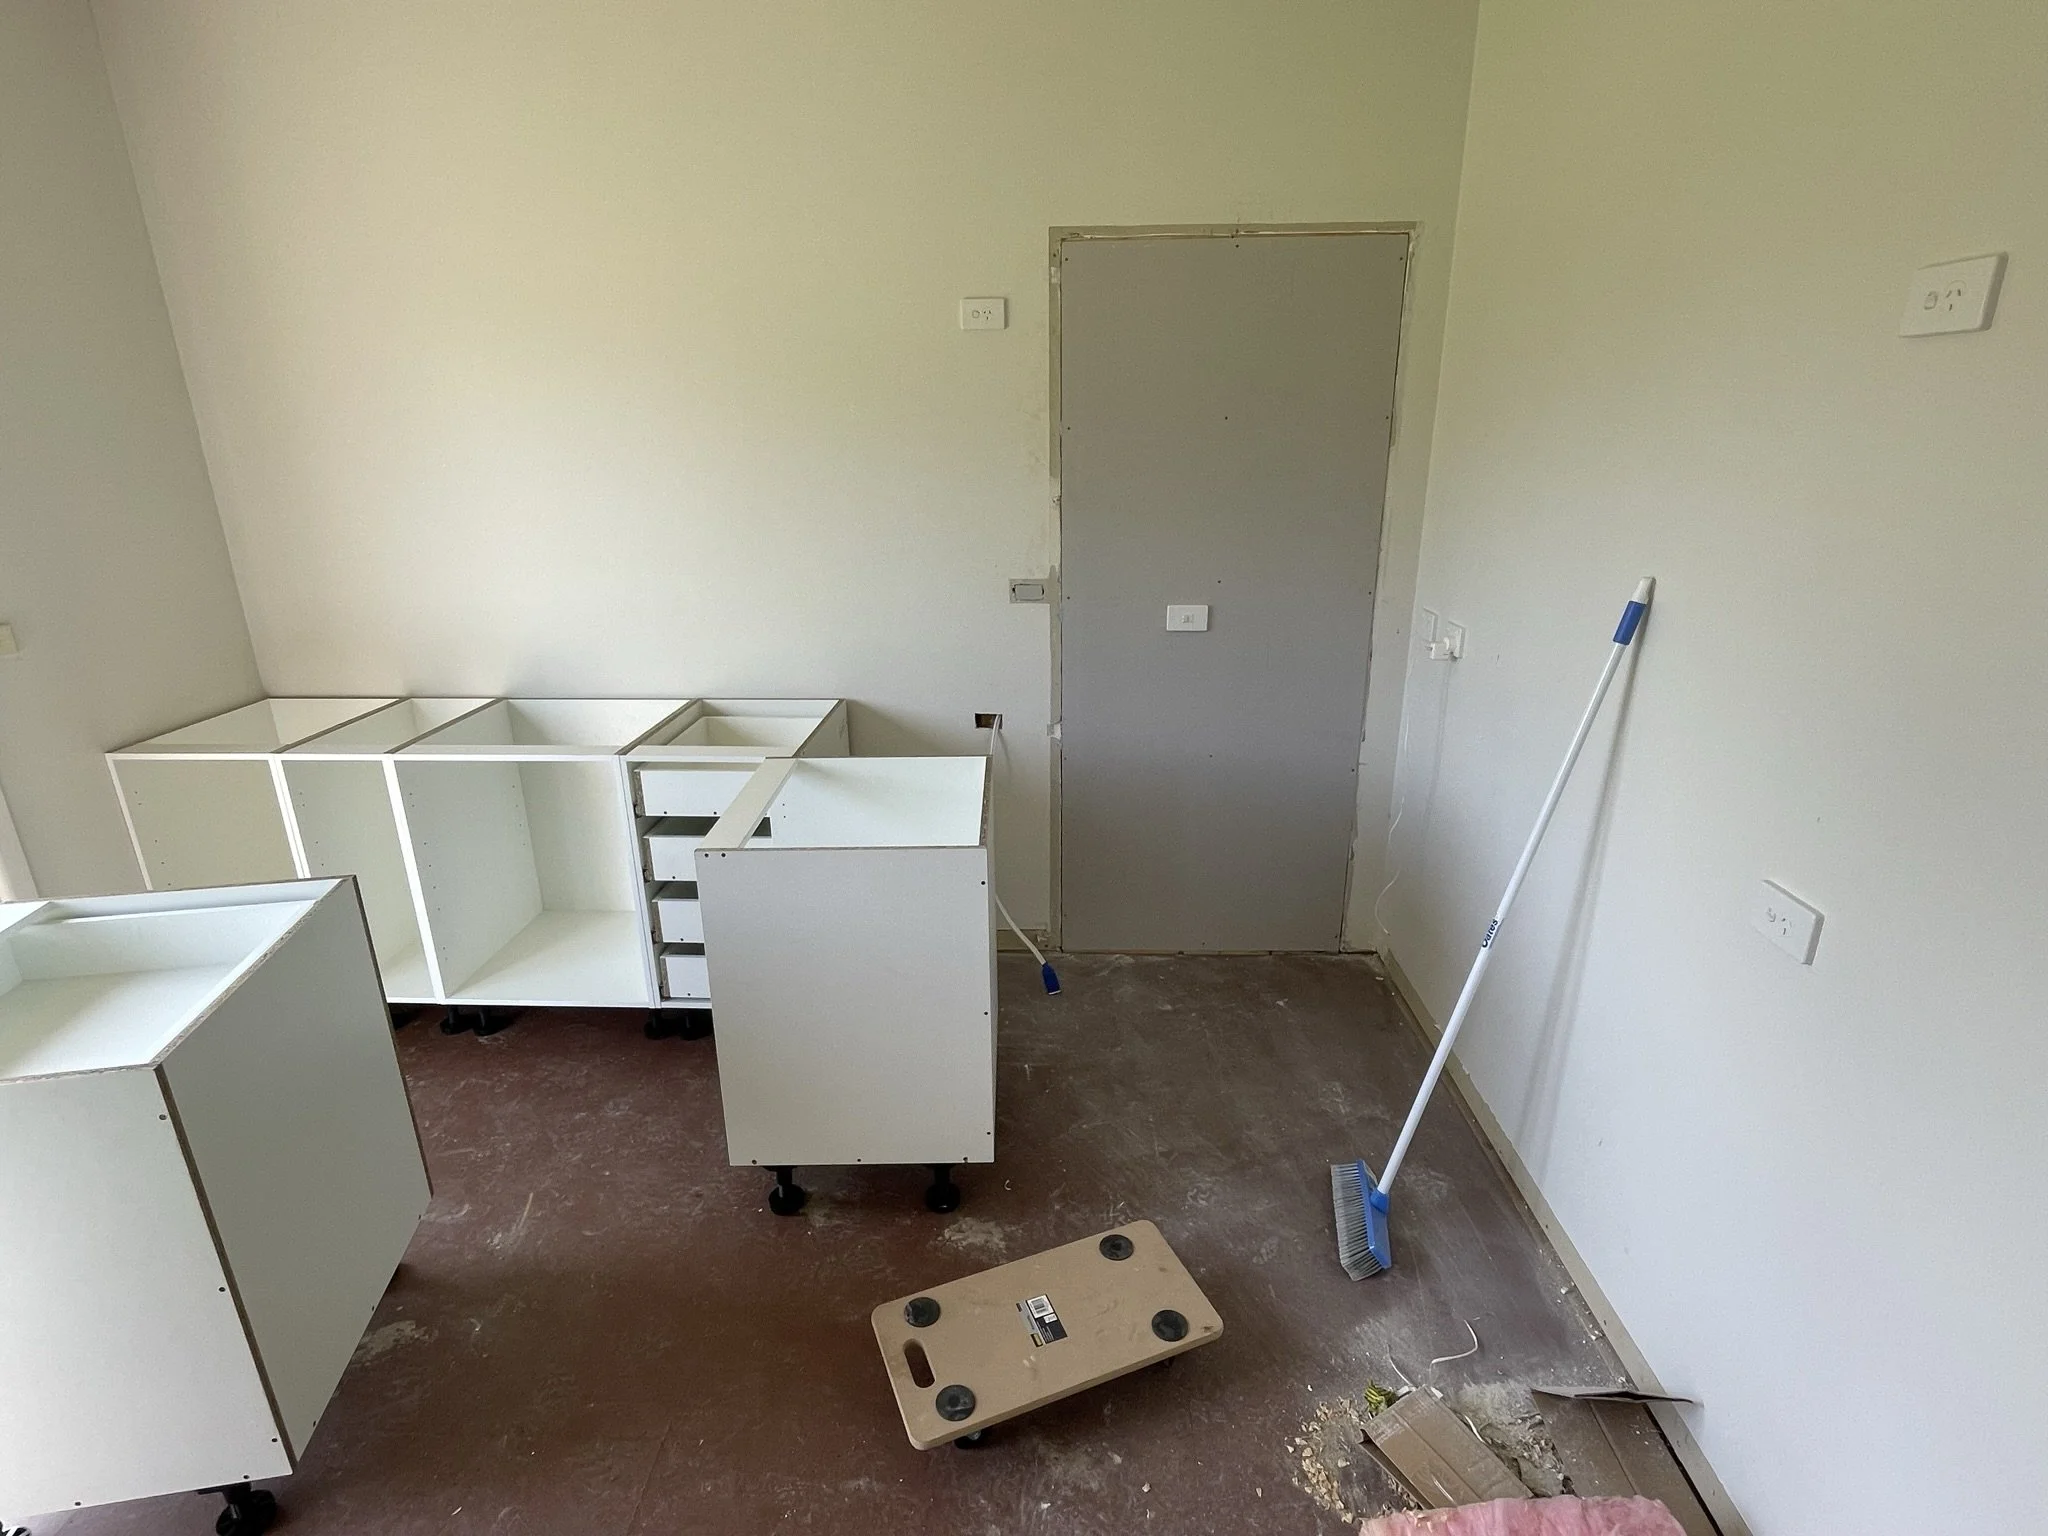
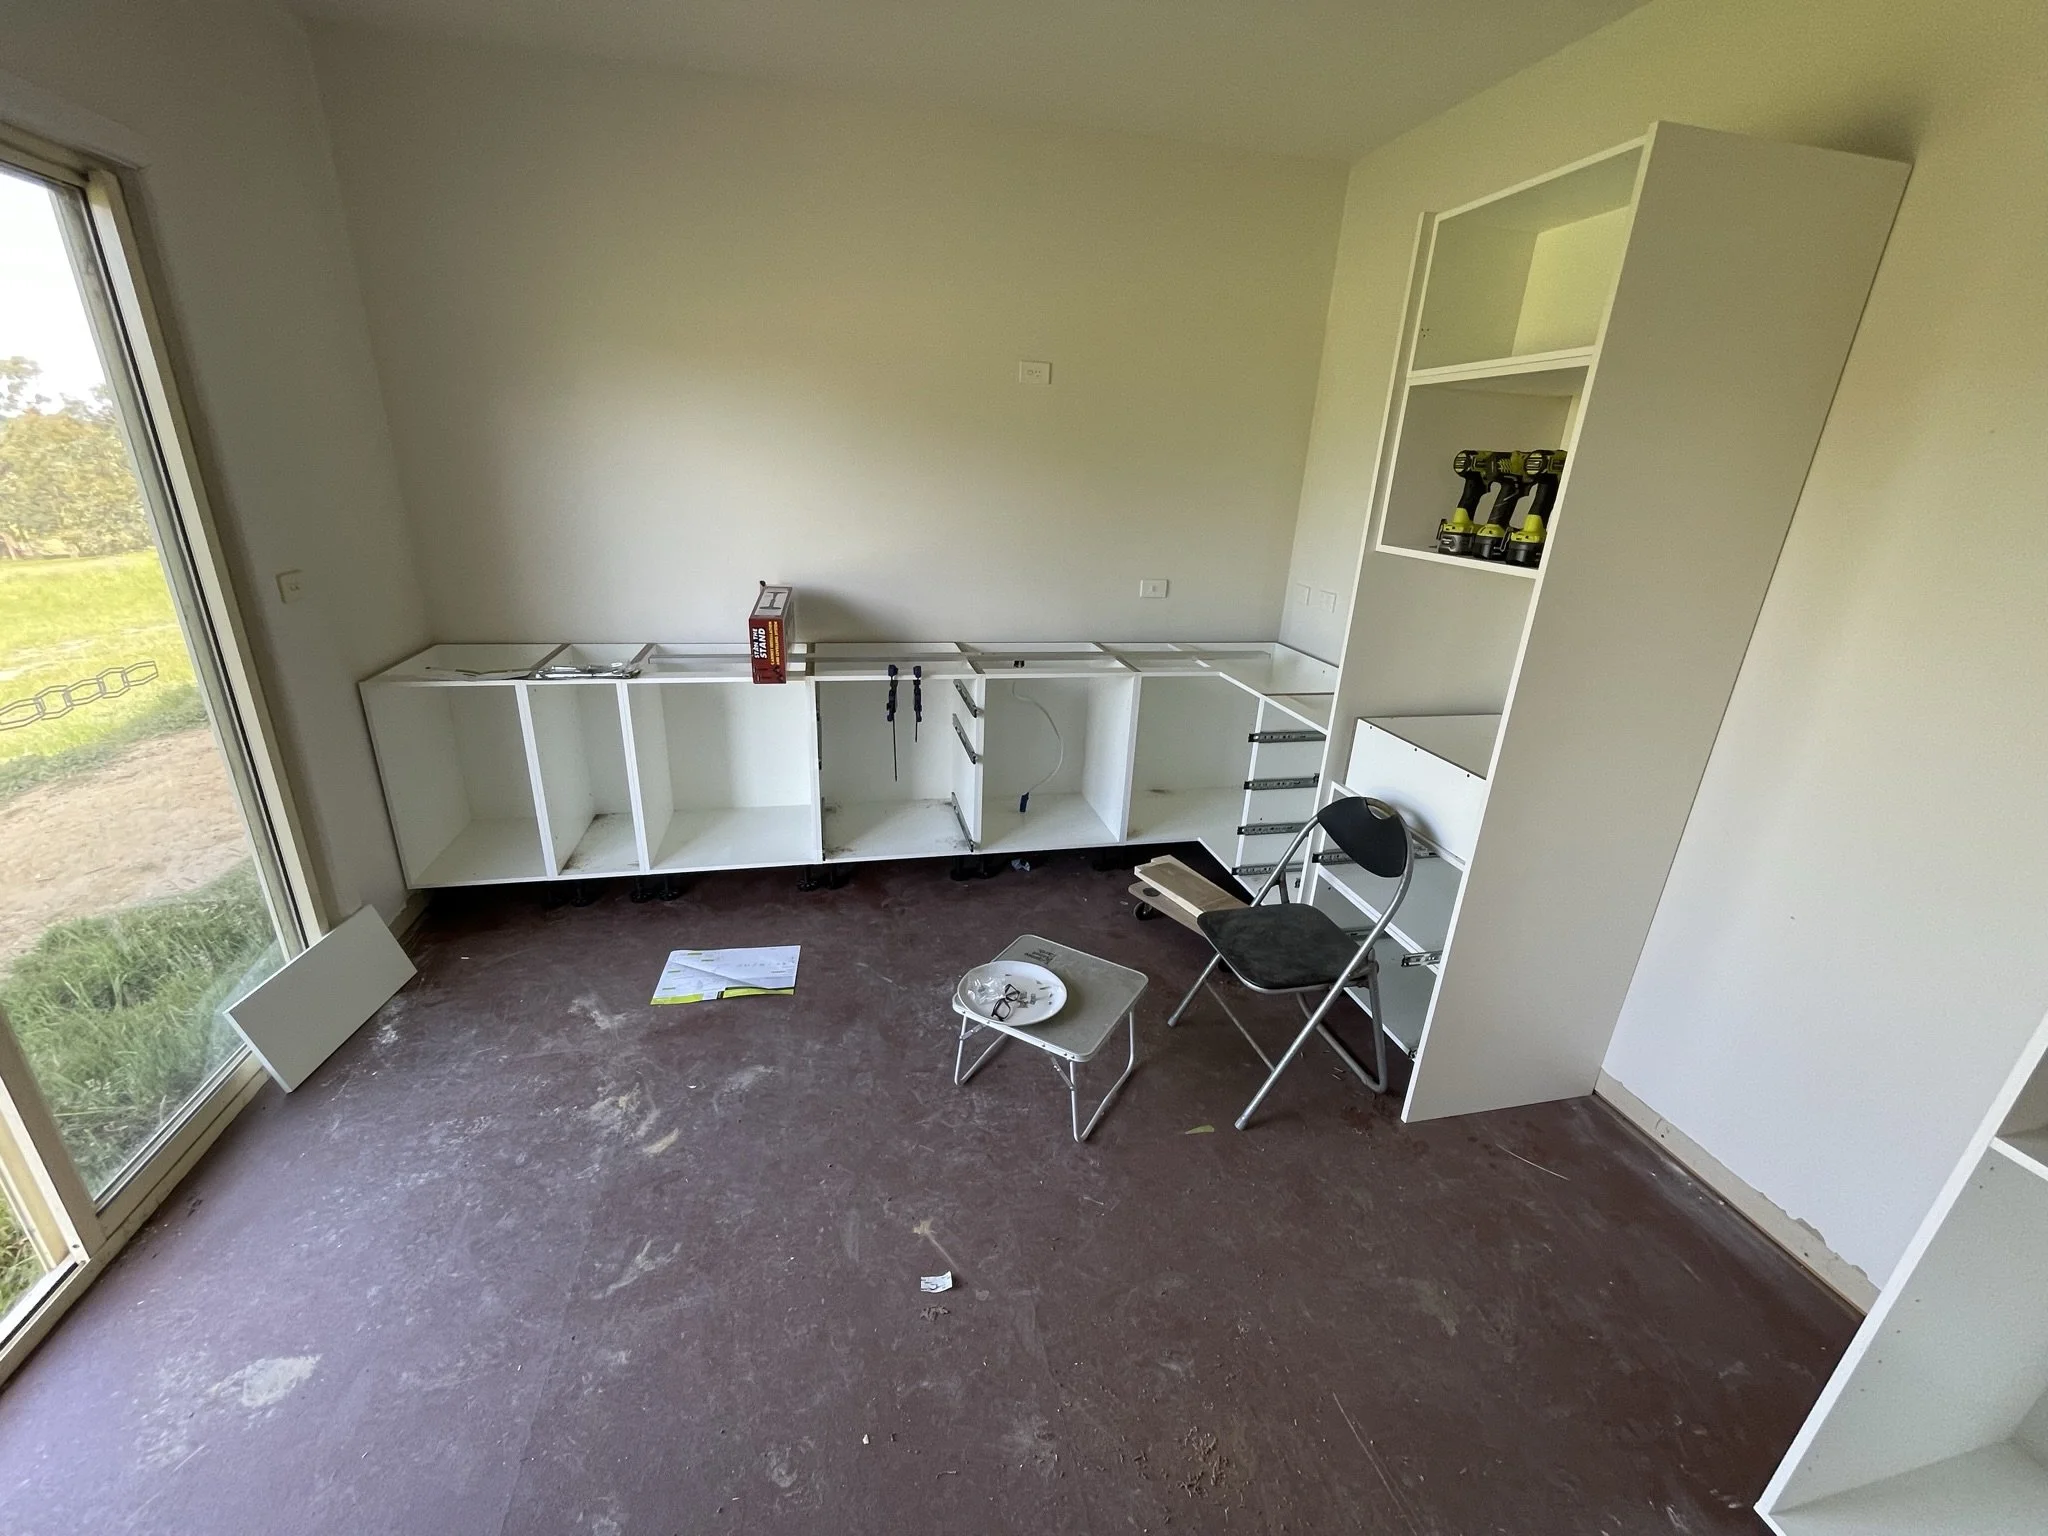
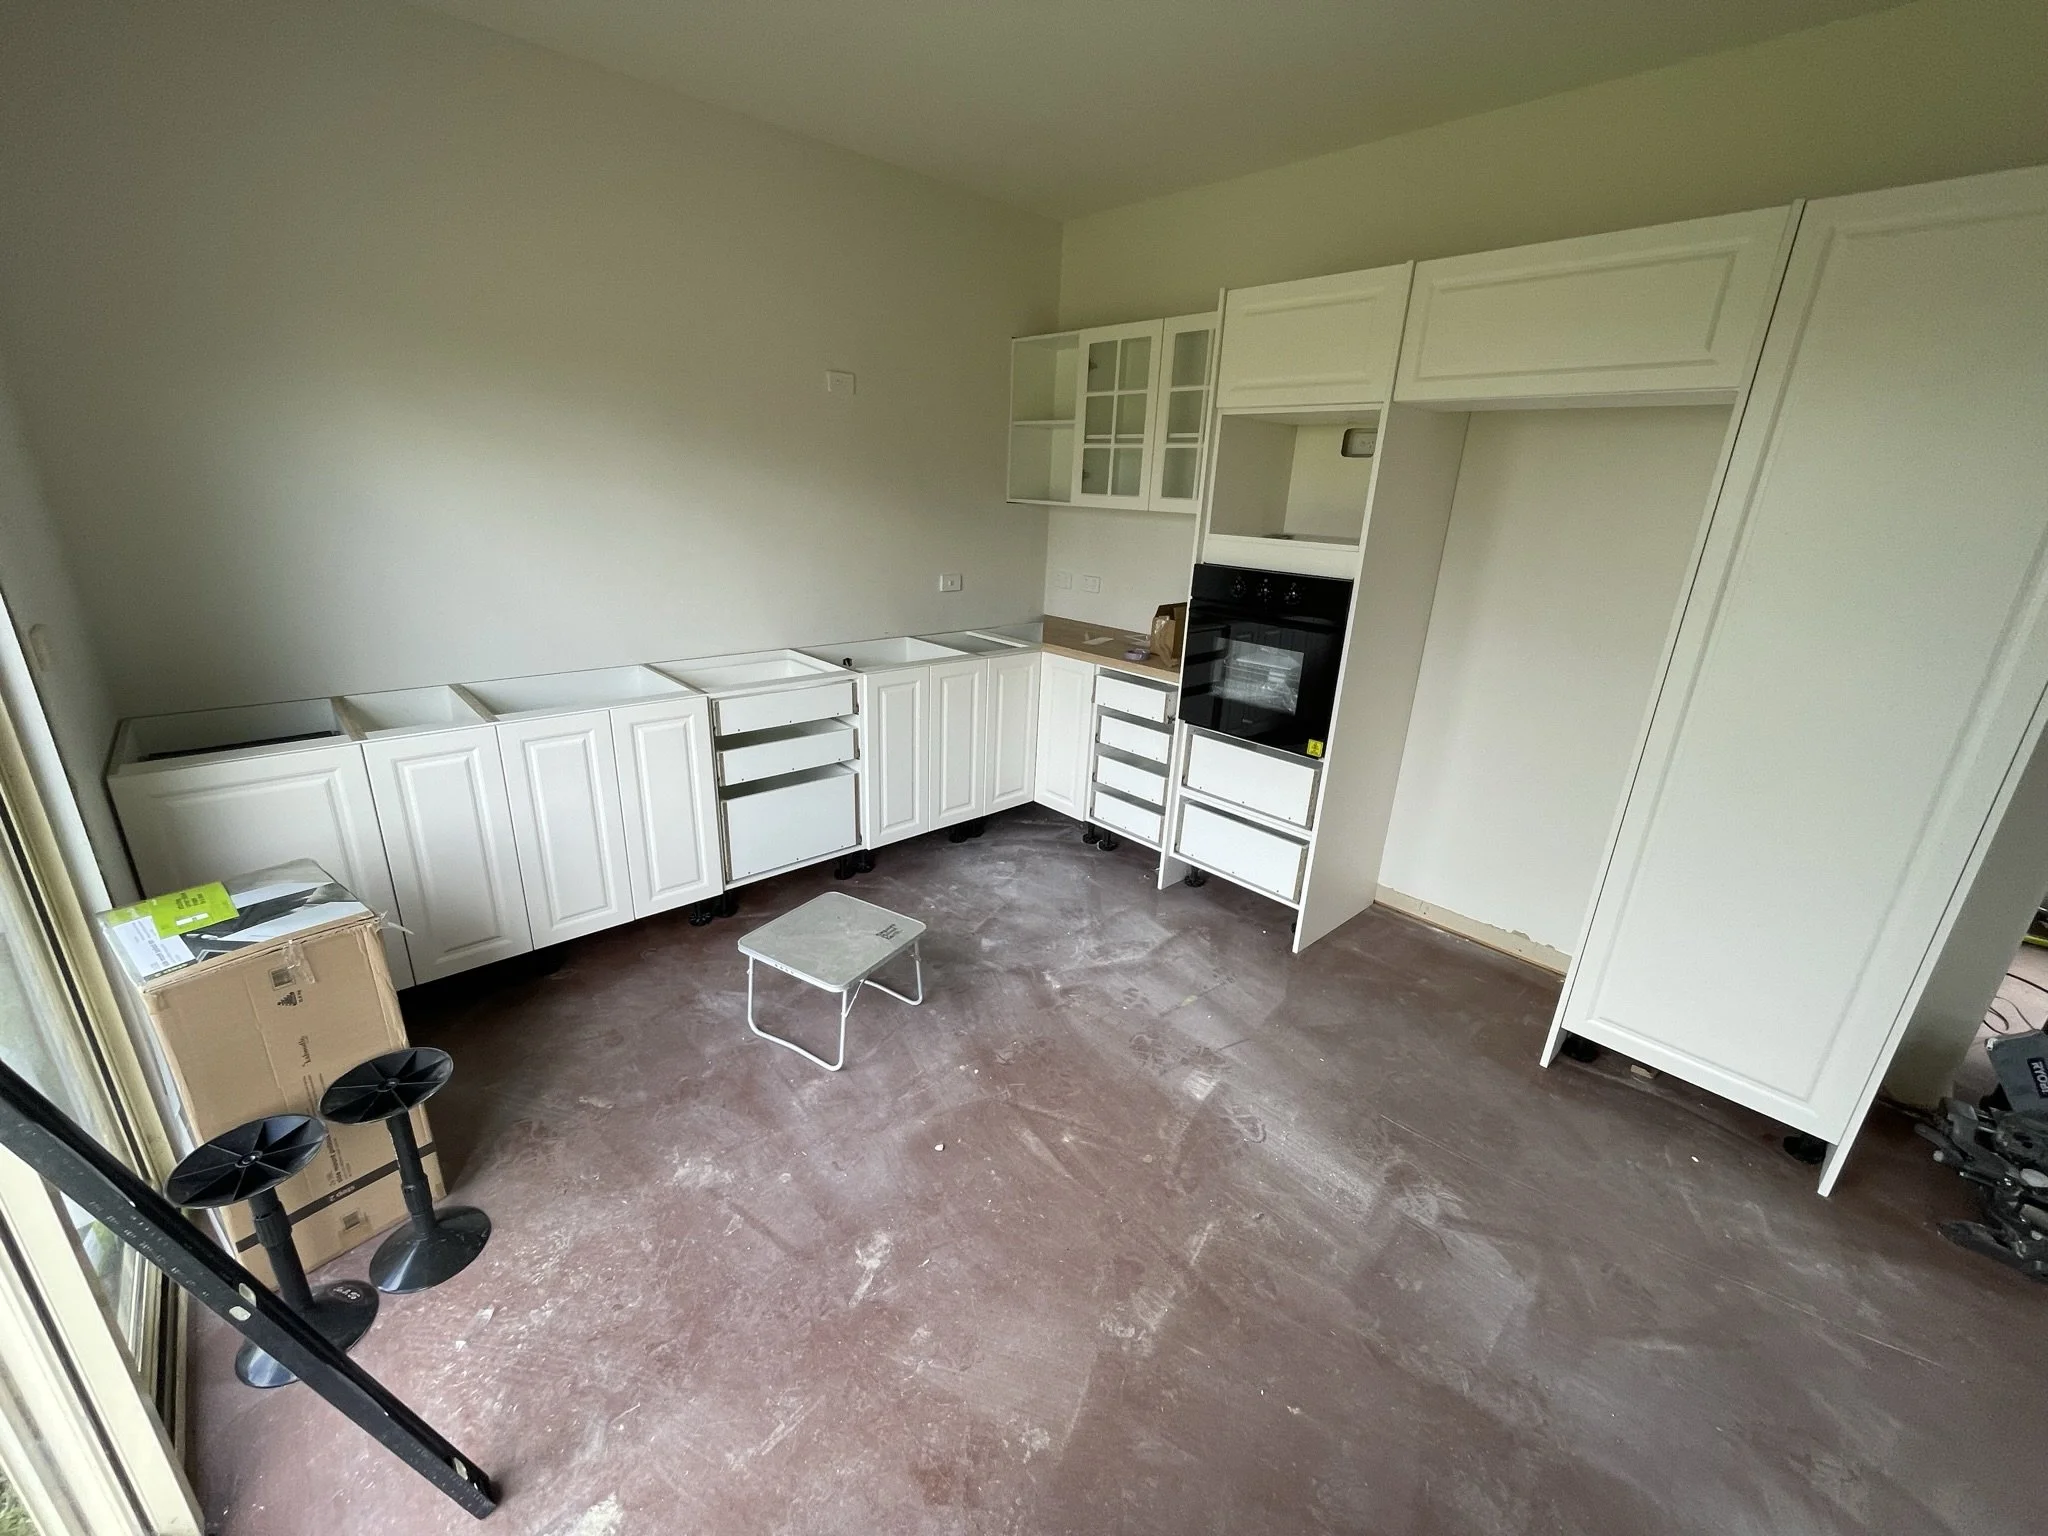
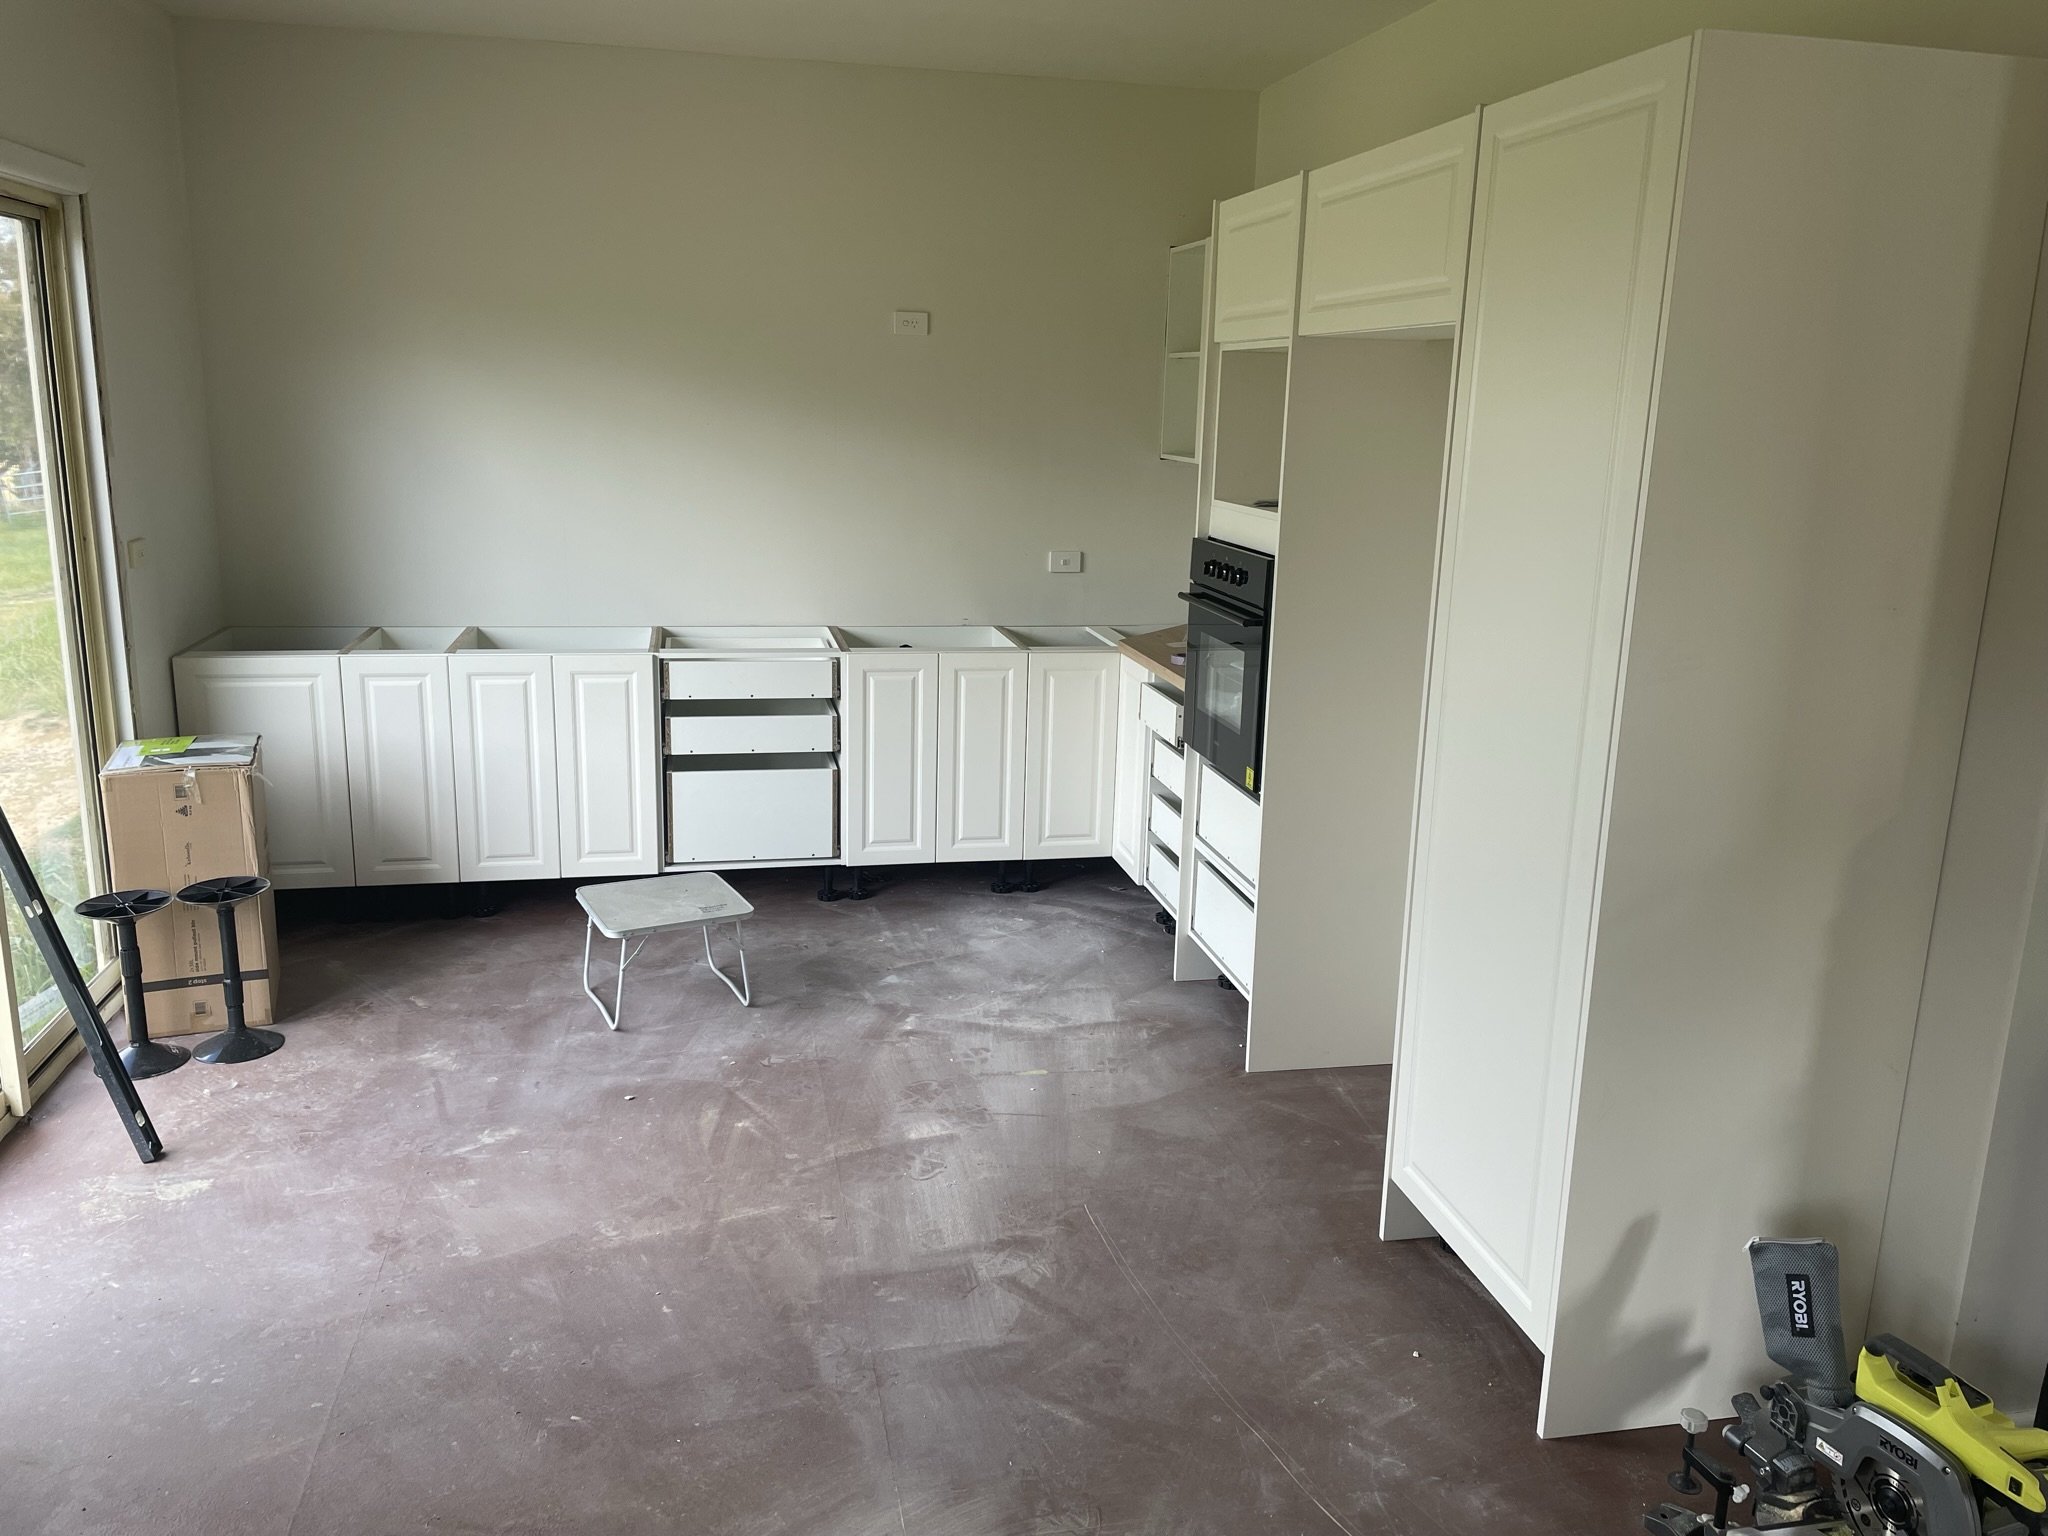
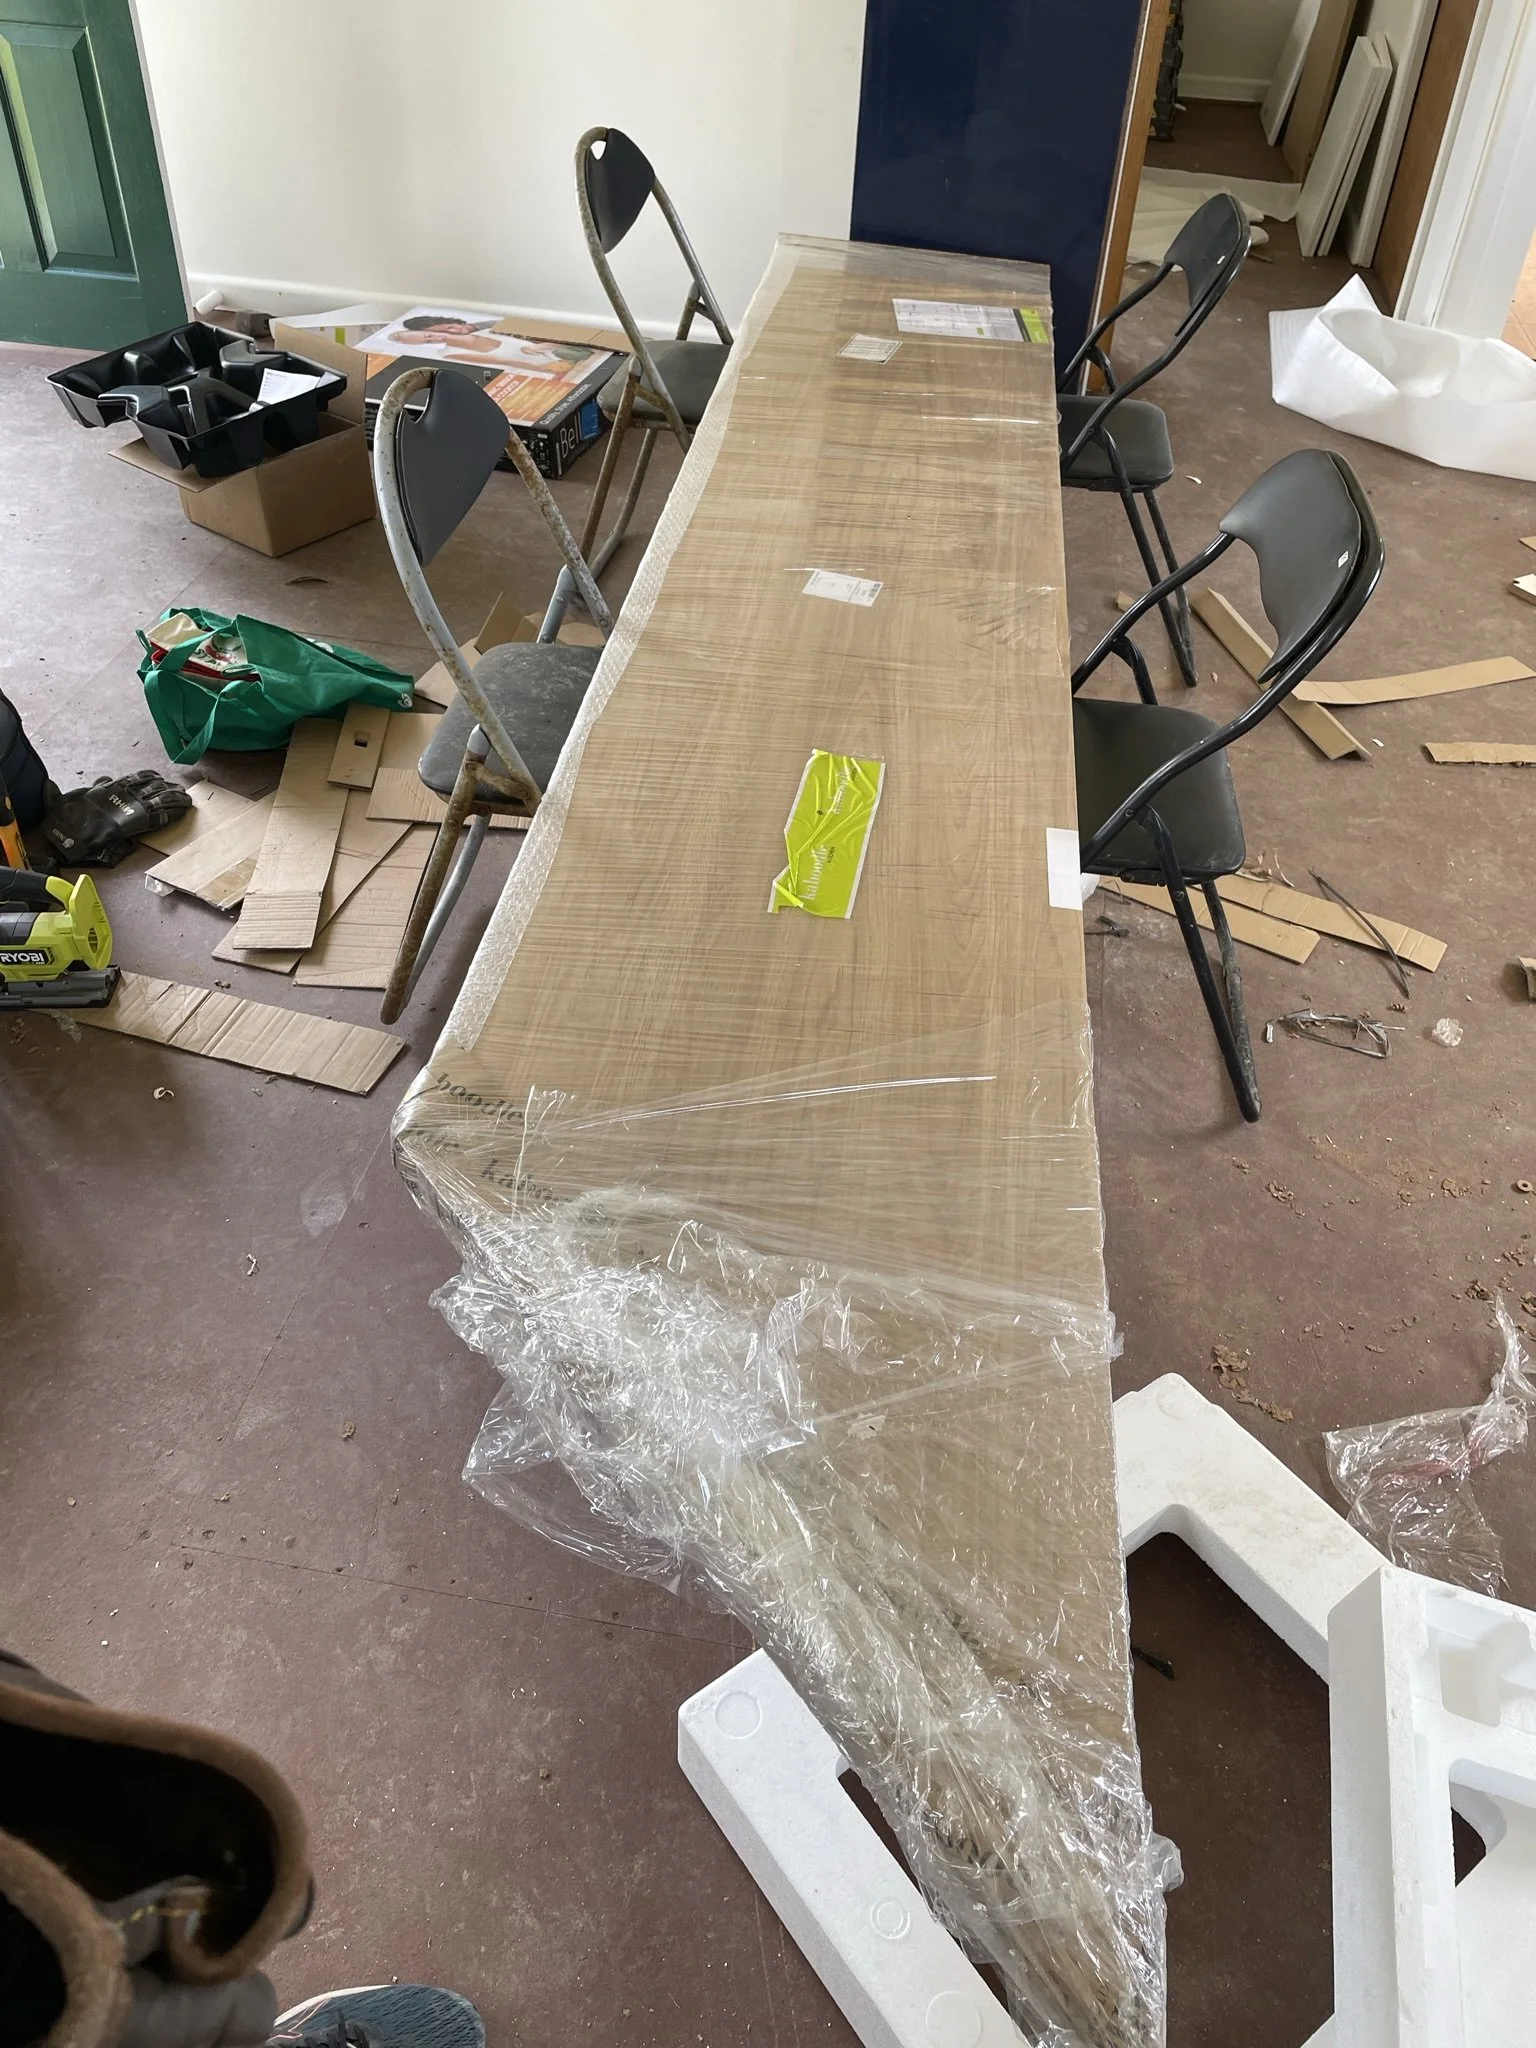
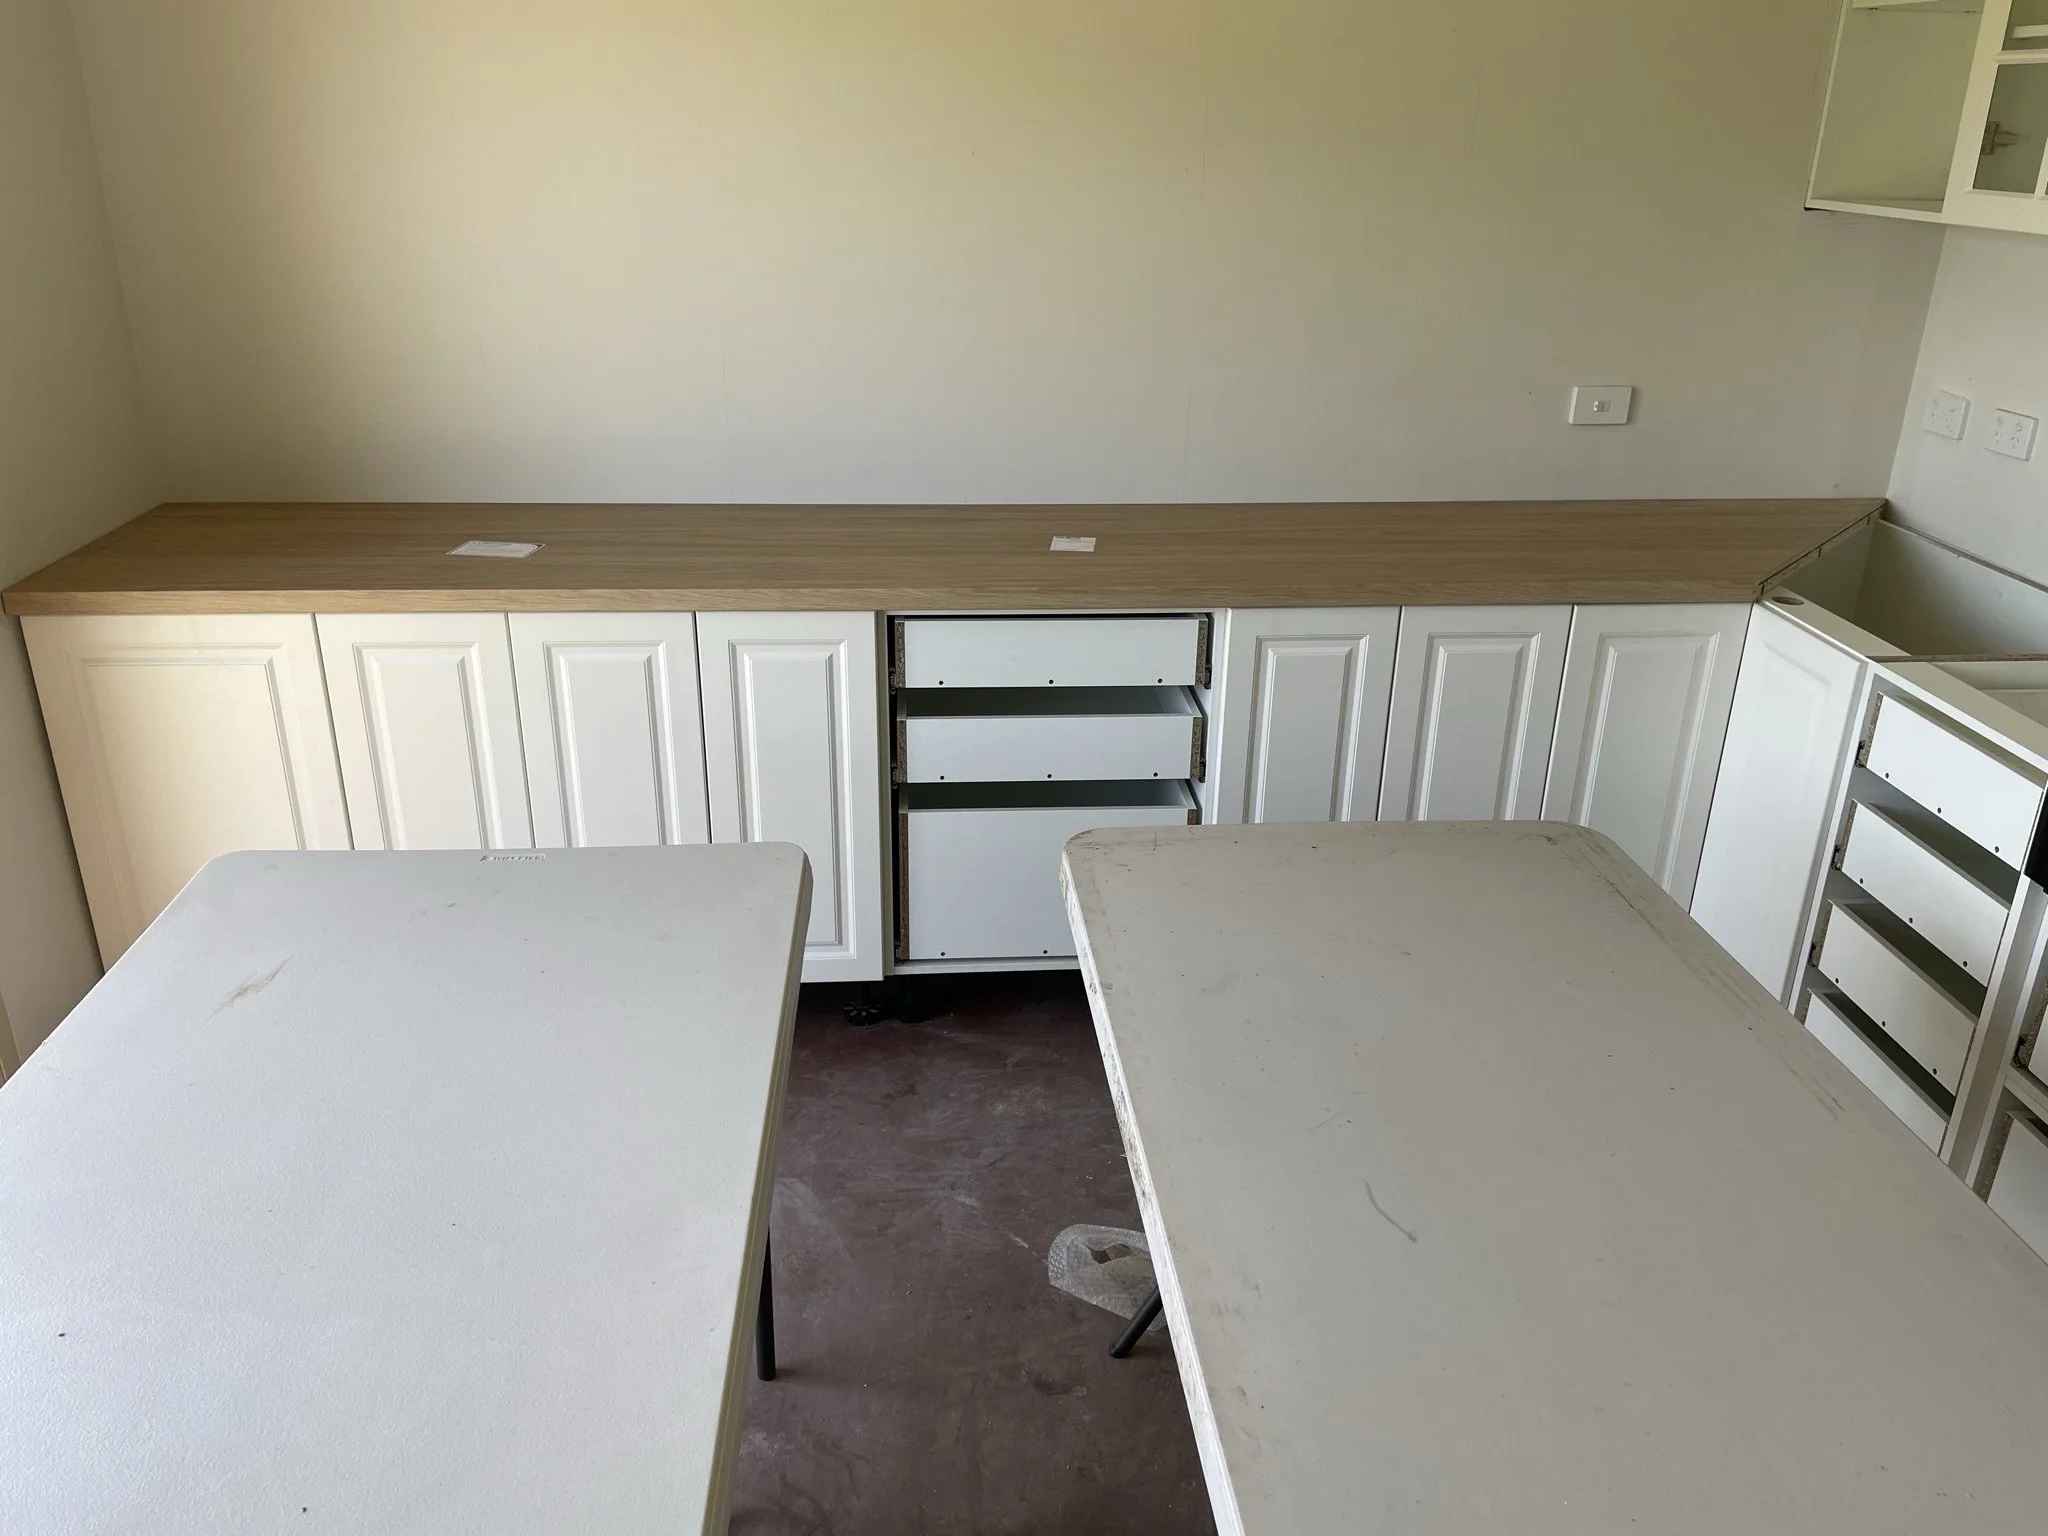
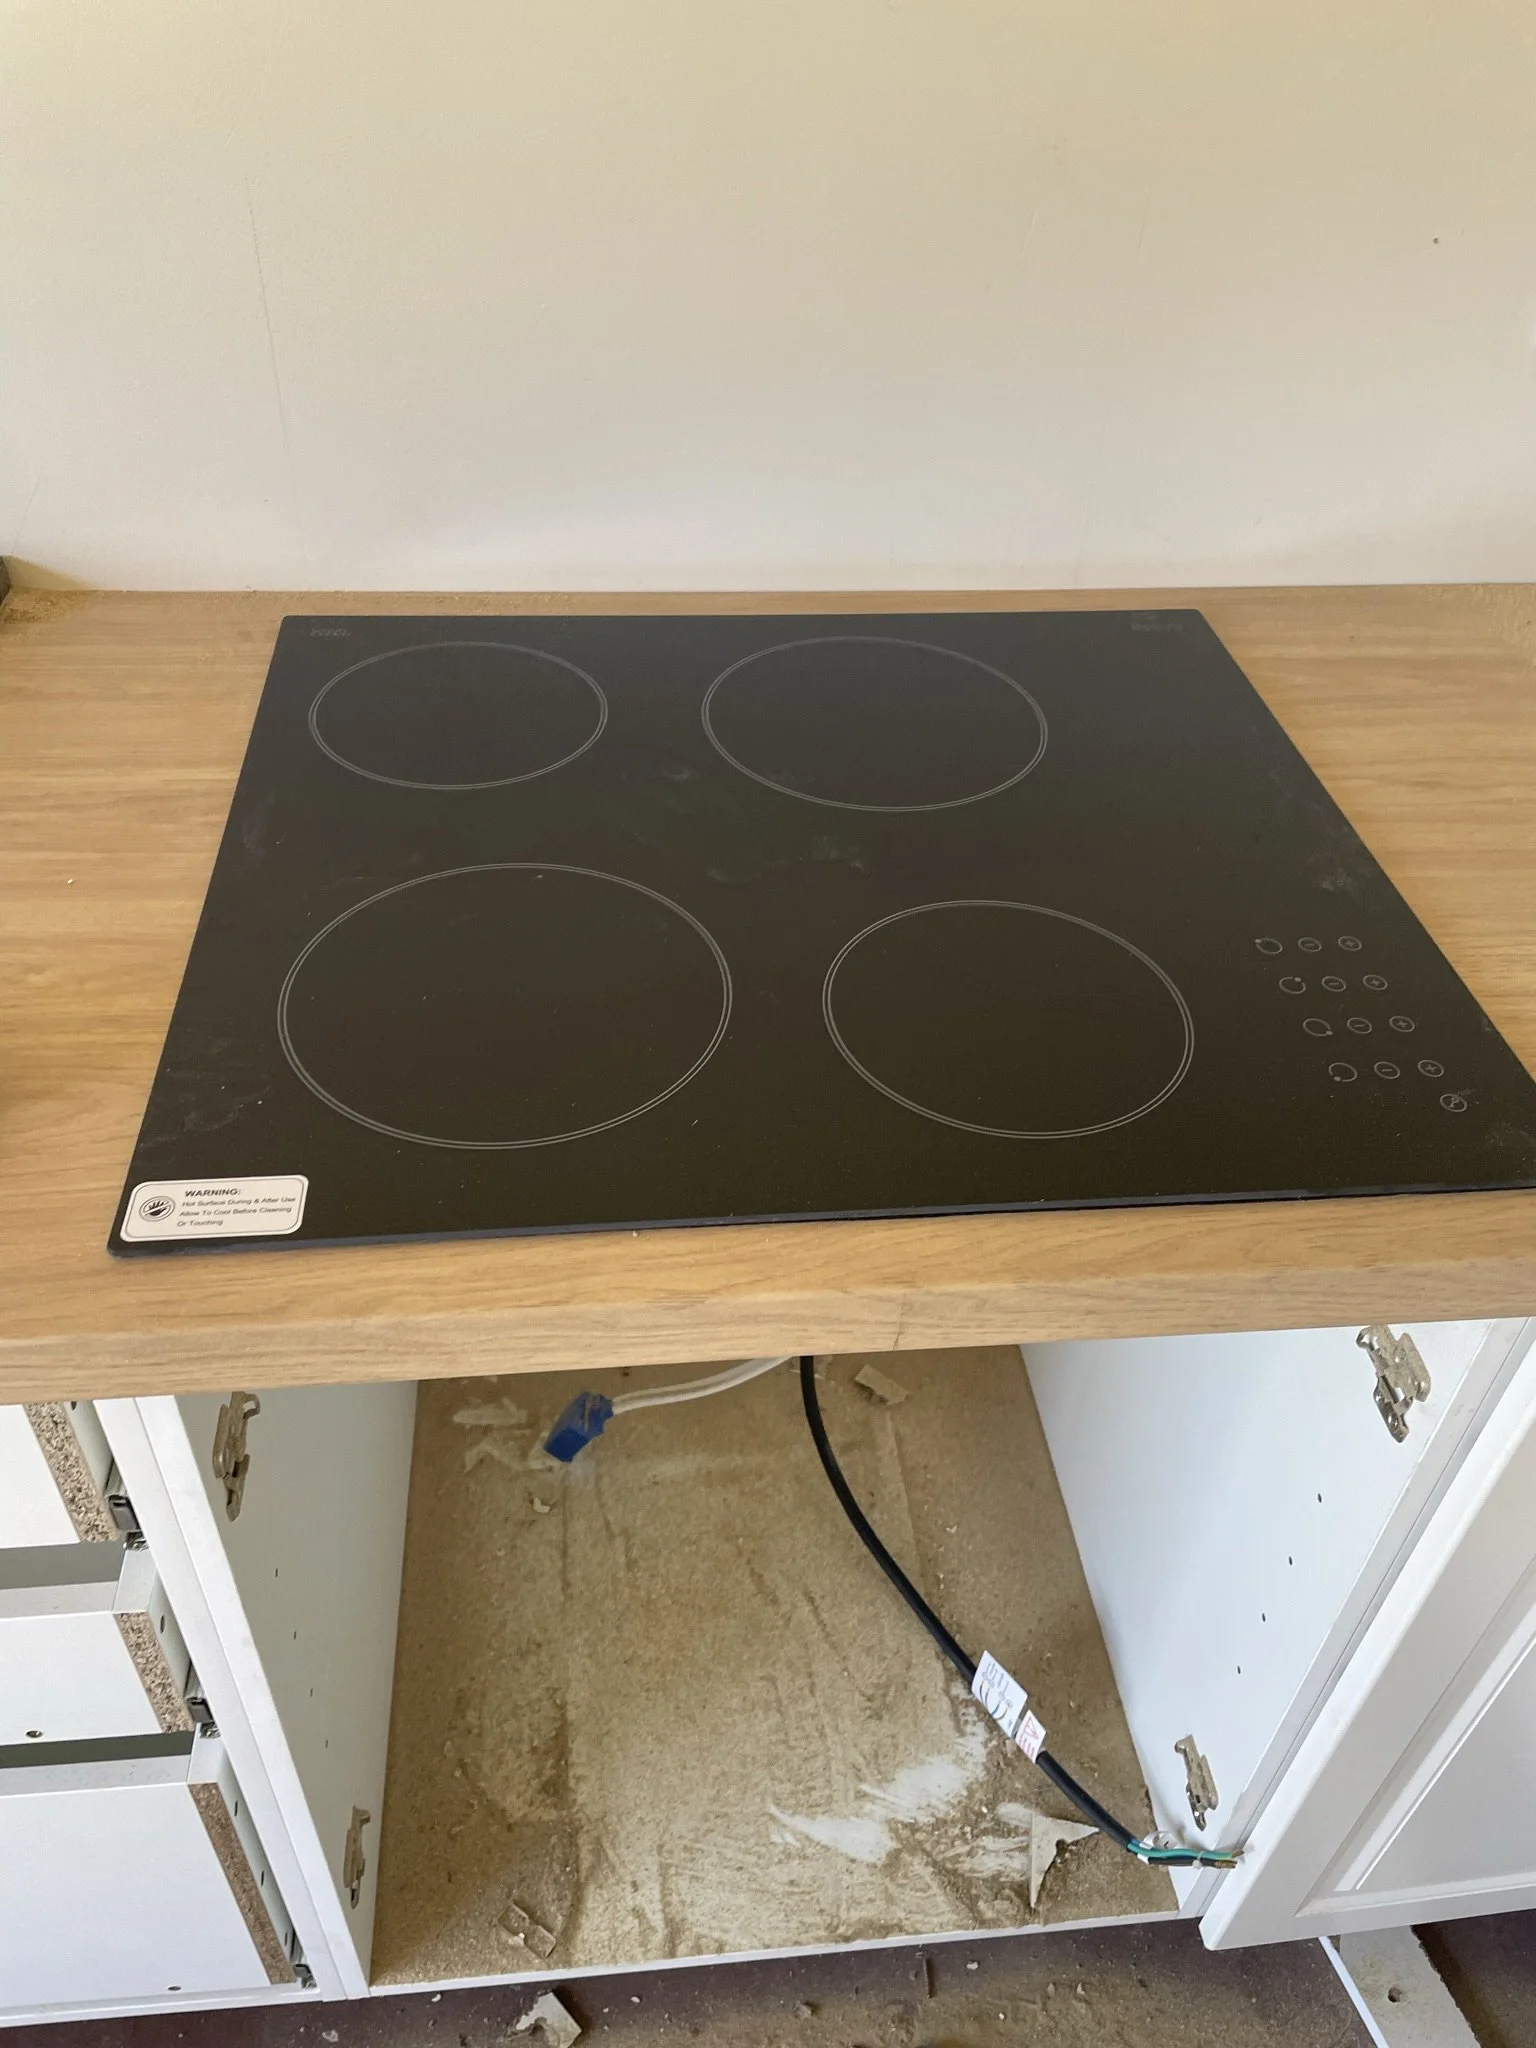
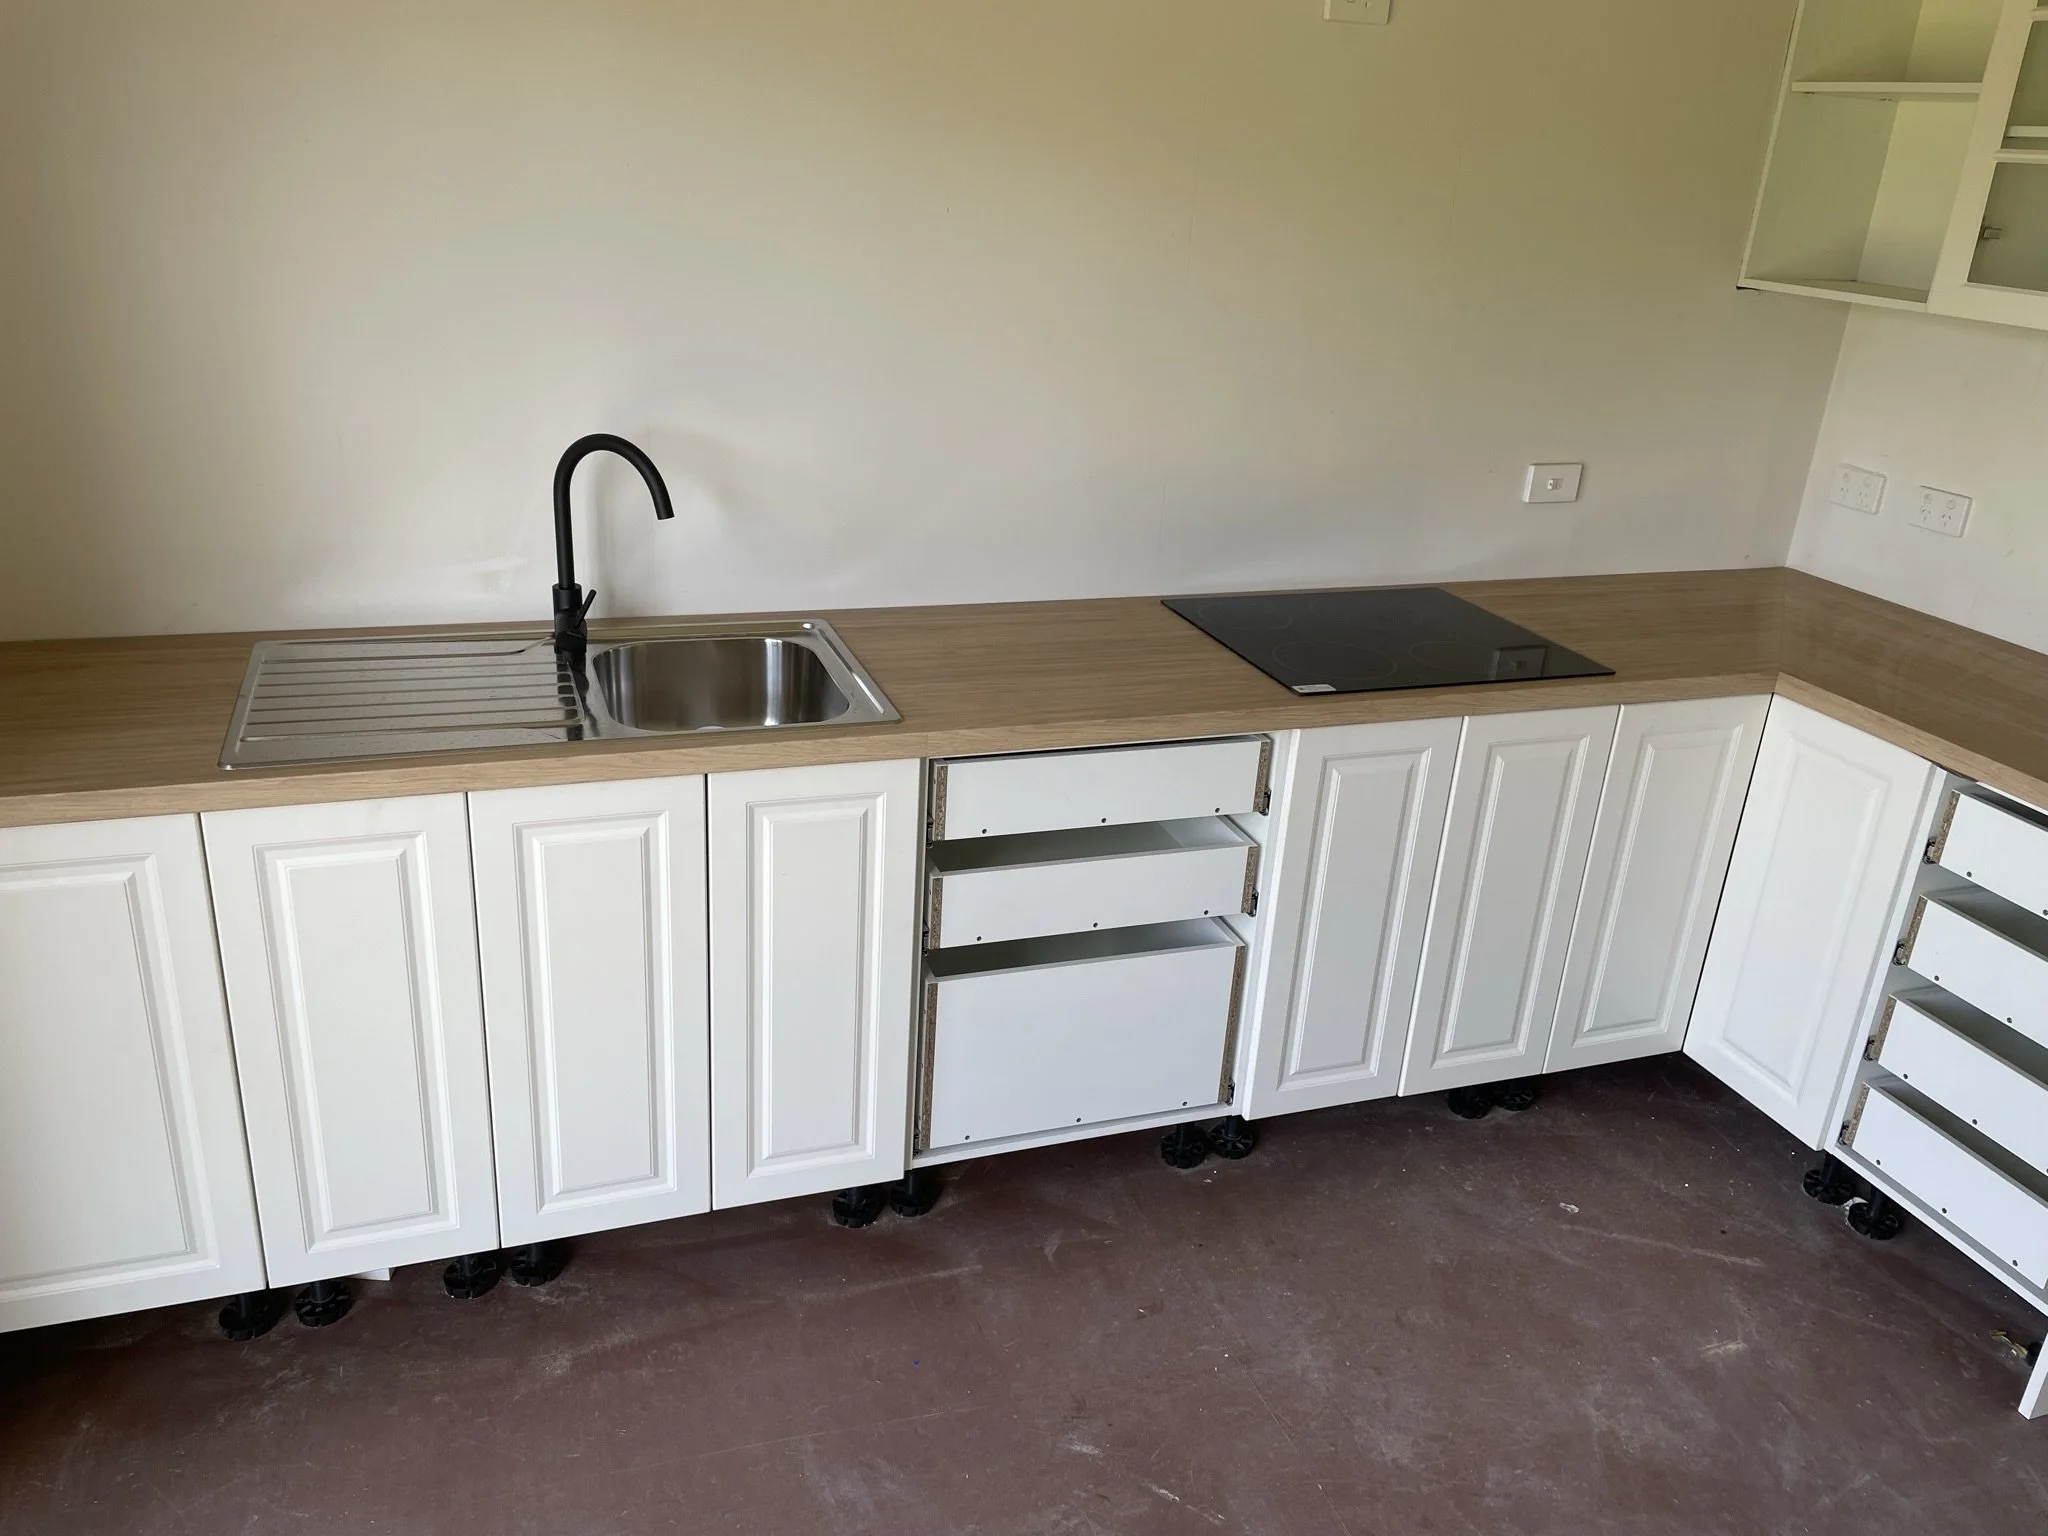
Building the Kitchen
Components for the kitchen arrived in late November so we set about preparing the house and installing the cabinetry. First job was another cleanup/demo, then we closed up the existing door on the eastern wall to install the kitchen into that far wall and take advantage of the corner.
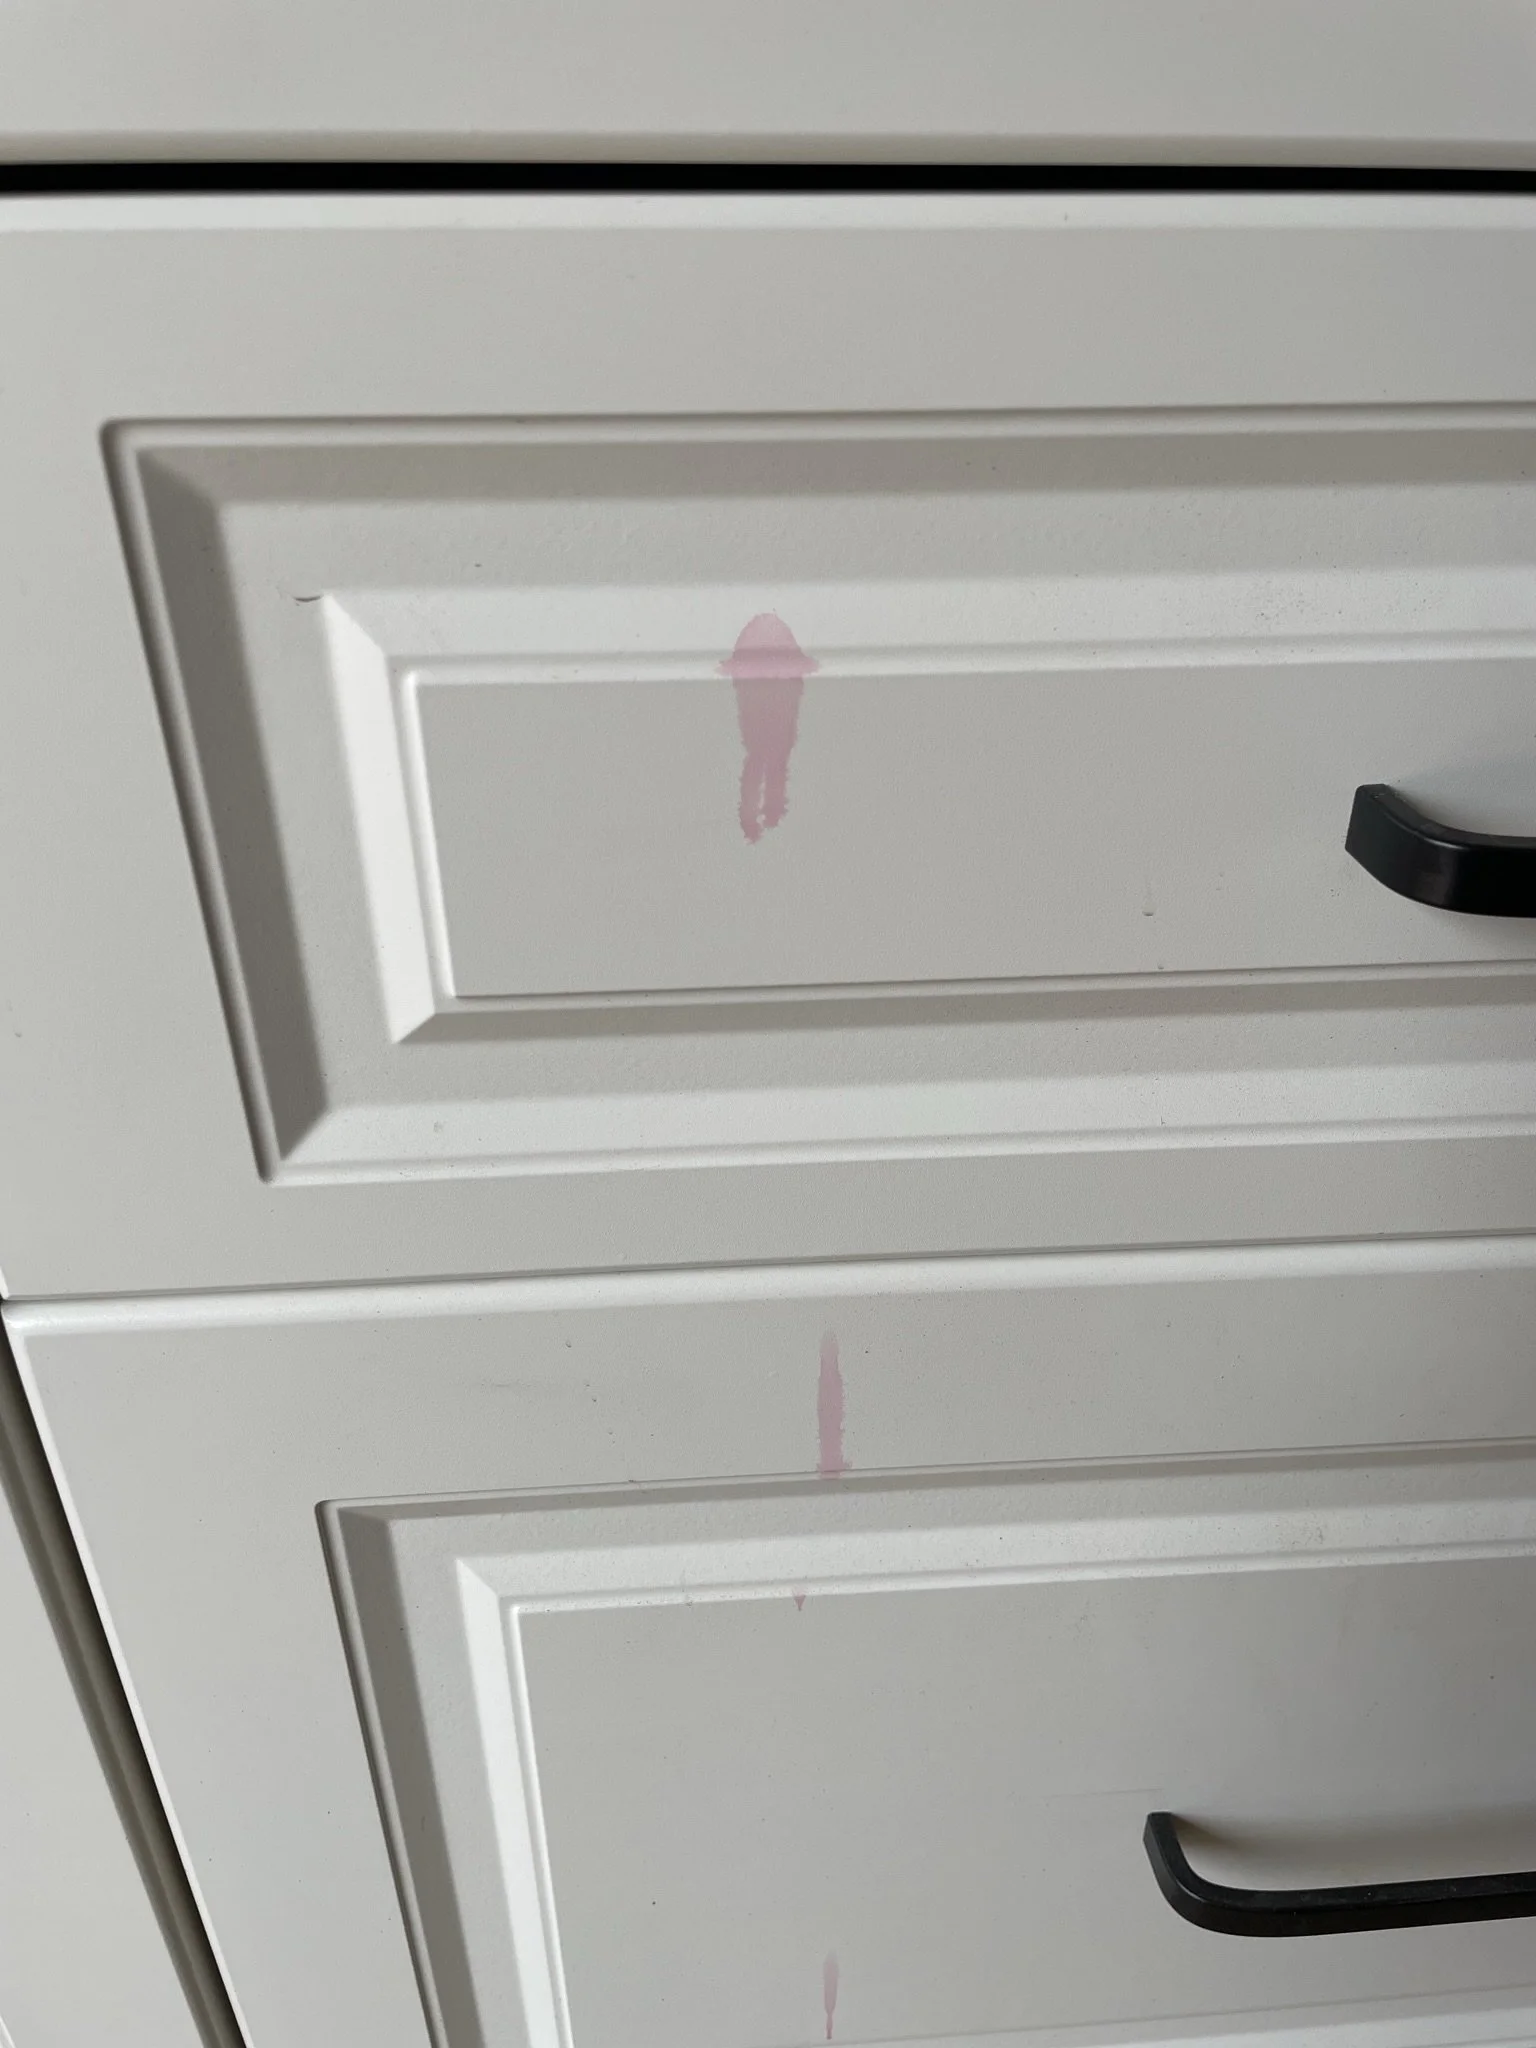
Kitchen is from Kaboodle (Bunnings) and was 9/10 in terms of quality compared to IKEA, who I think make the best flat pack around. I did the plumbing to the sink as I couldnt get a plumber over Christmas. A couple of youtubes later and we have a sink that works. However, no-one warned me about the impermeable stains left over from a PVC Primer drip!


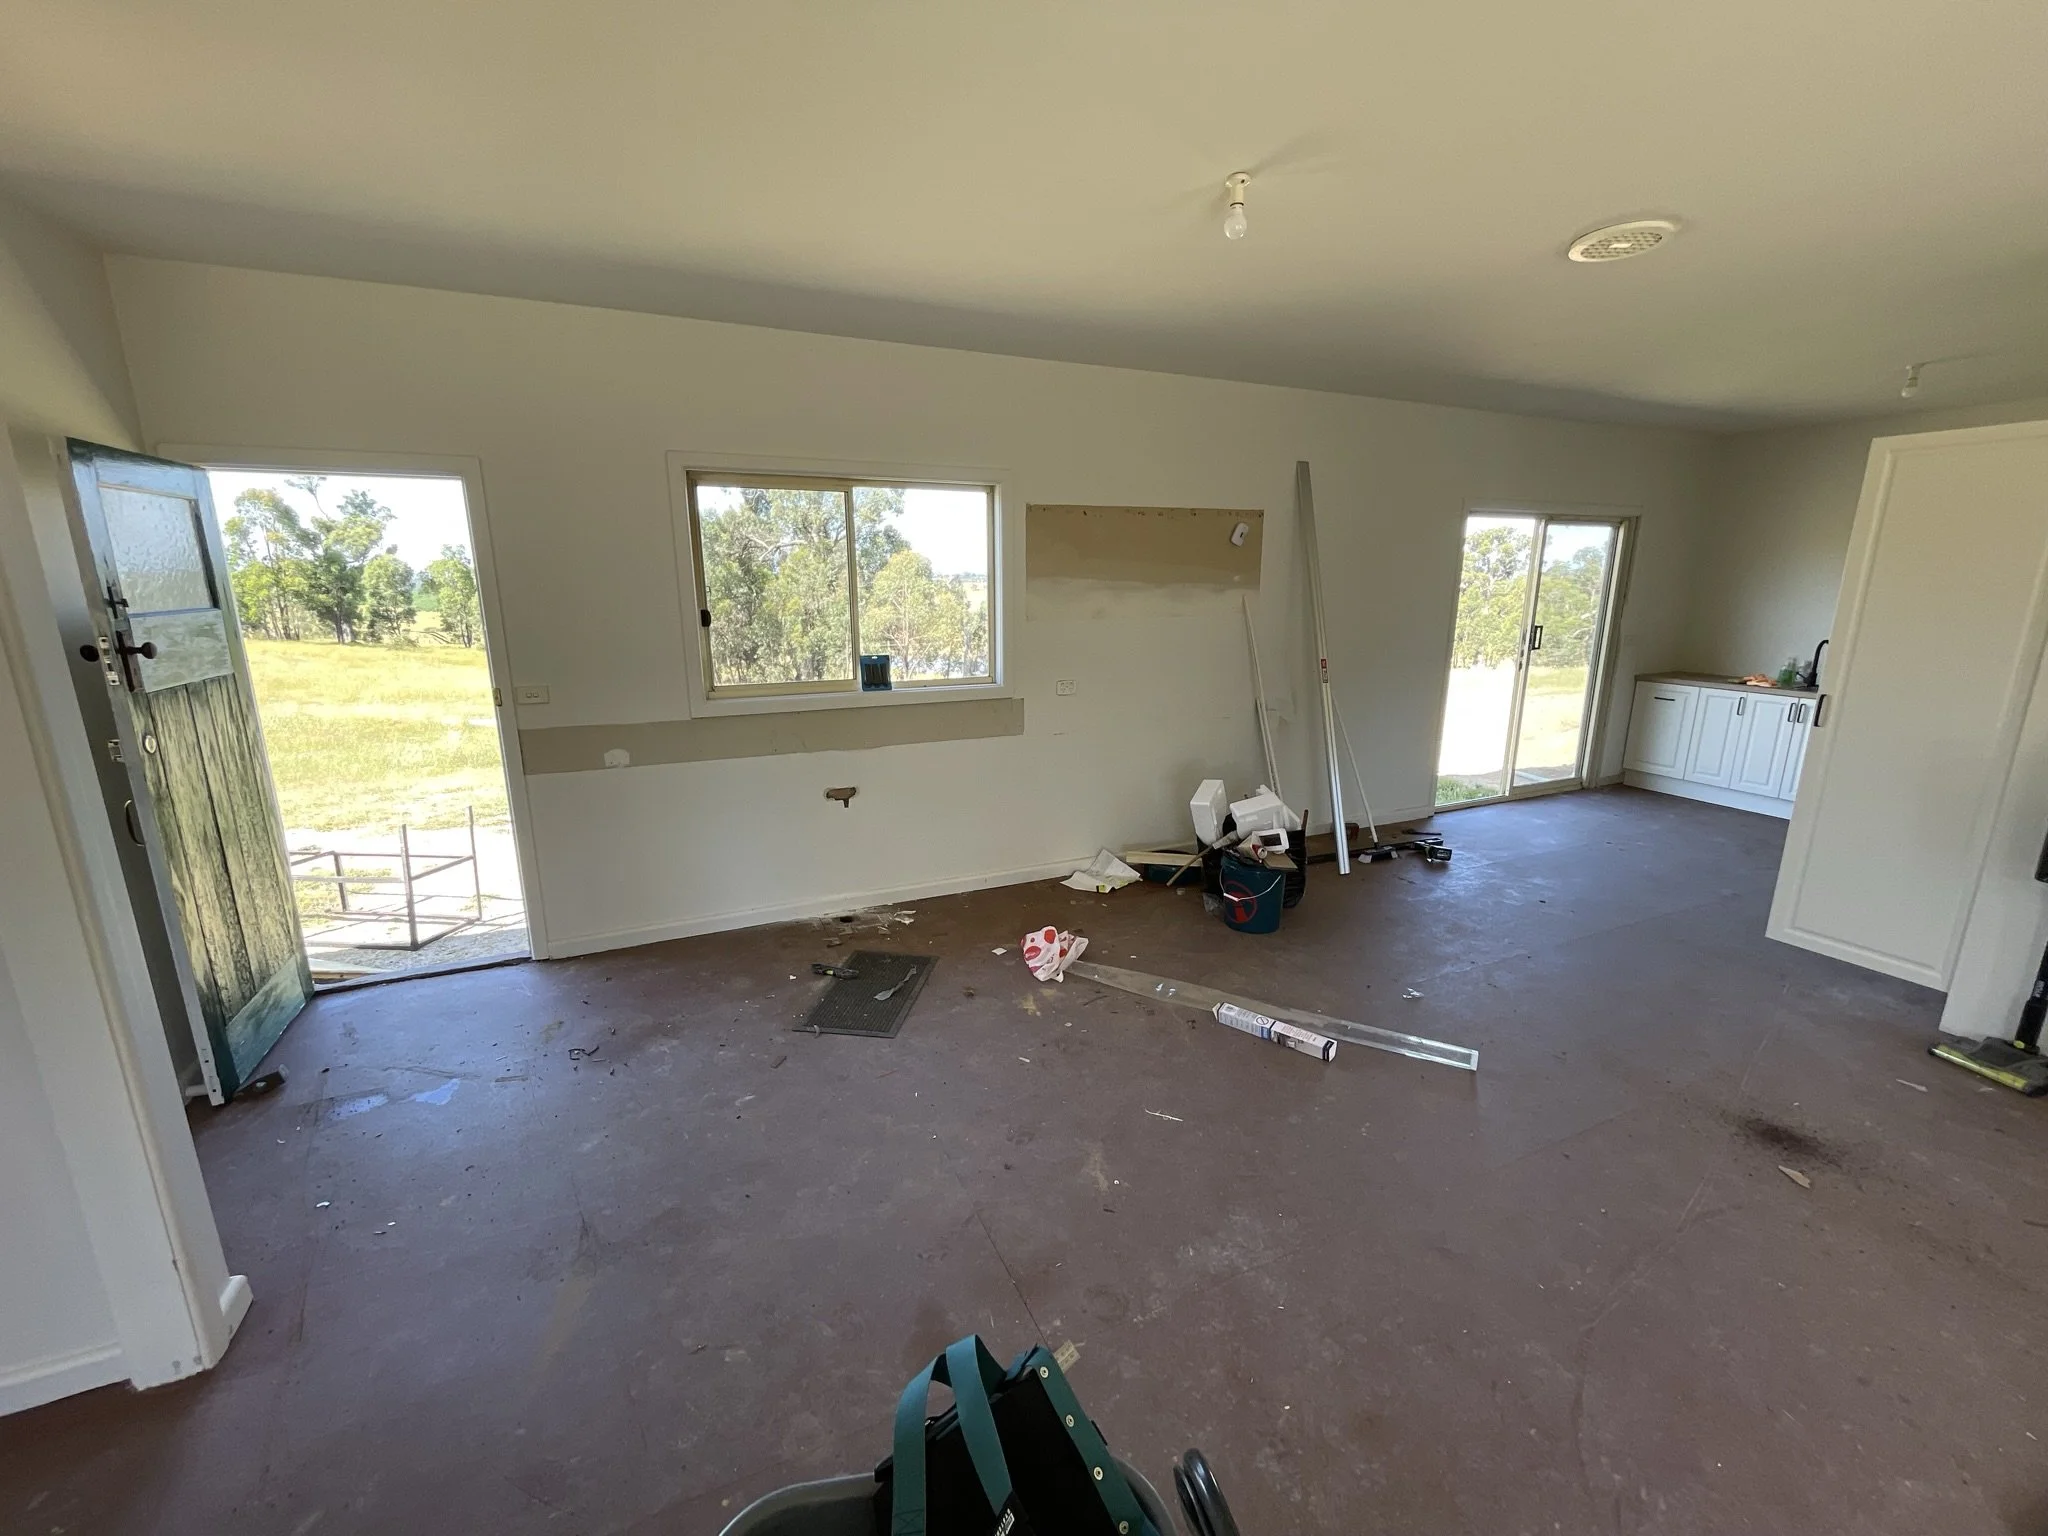
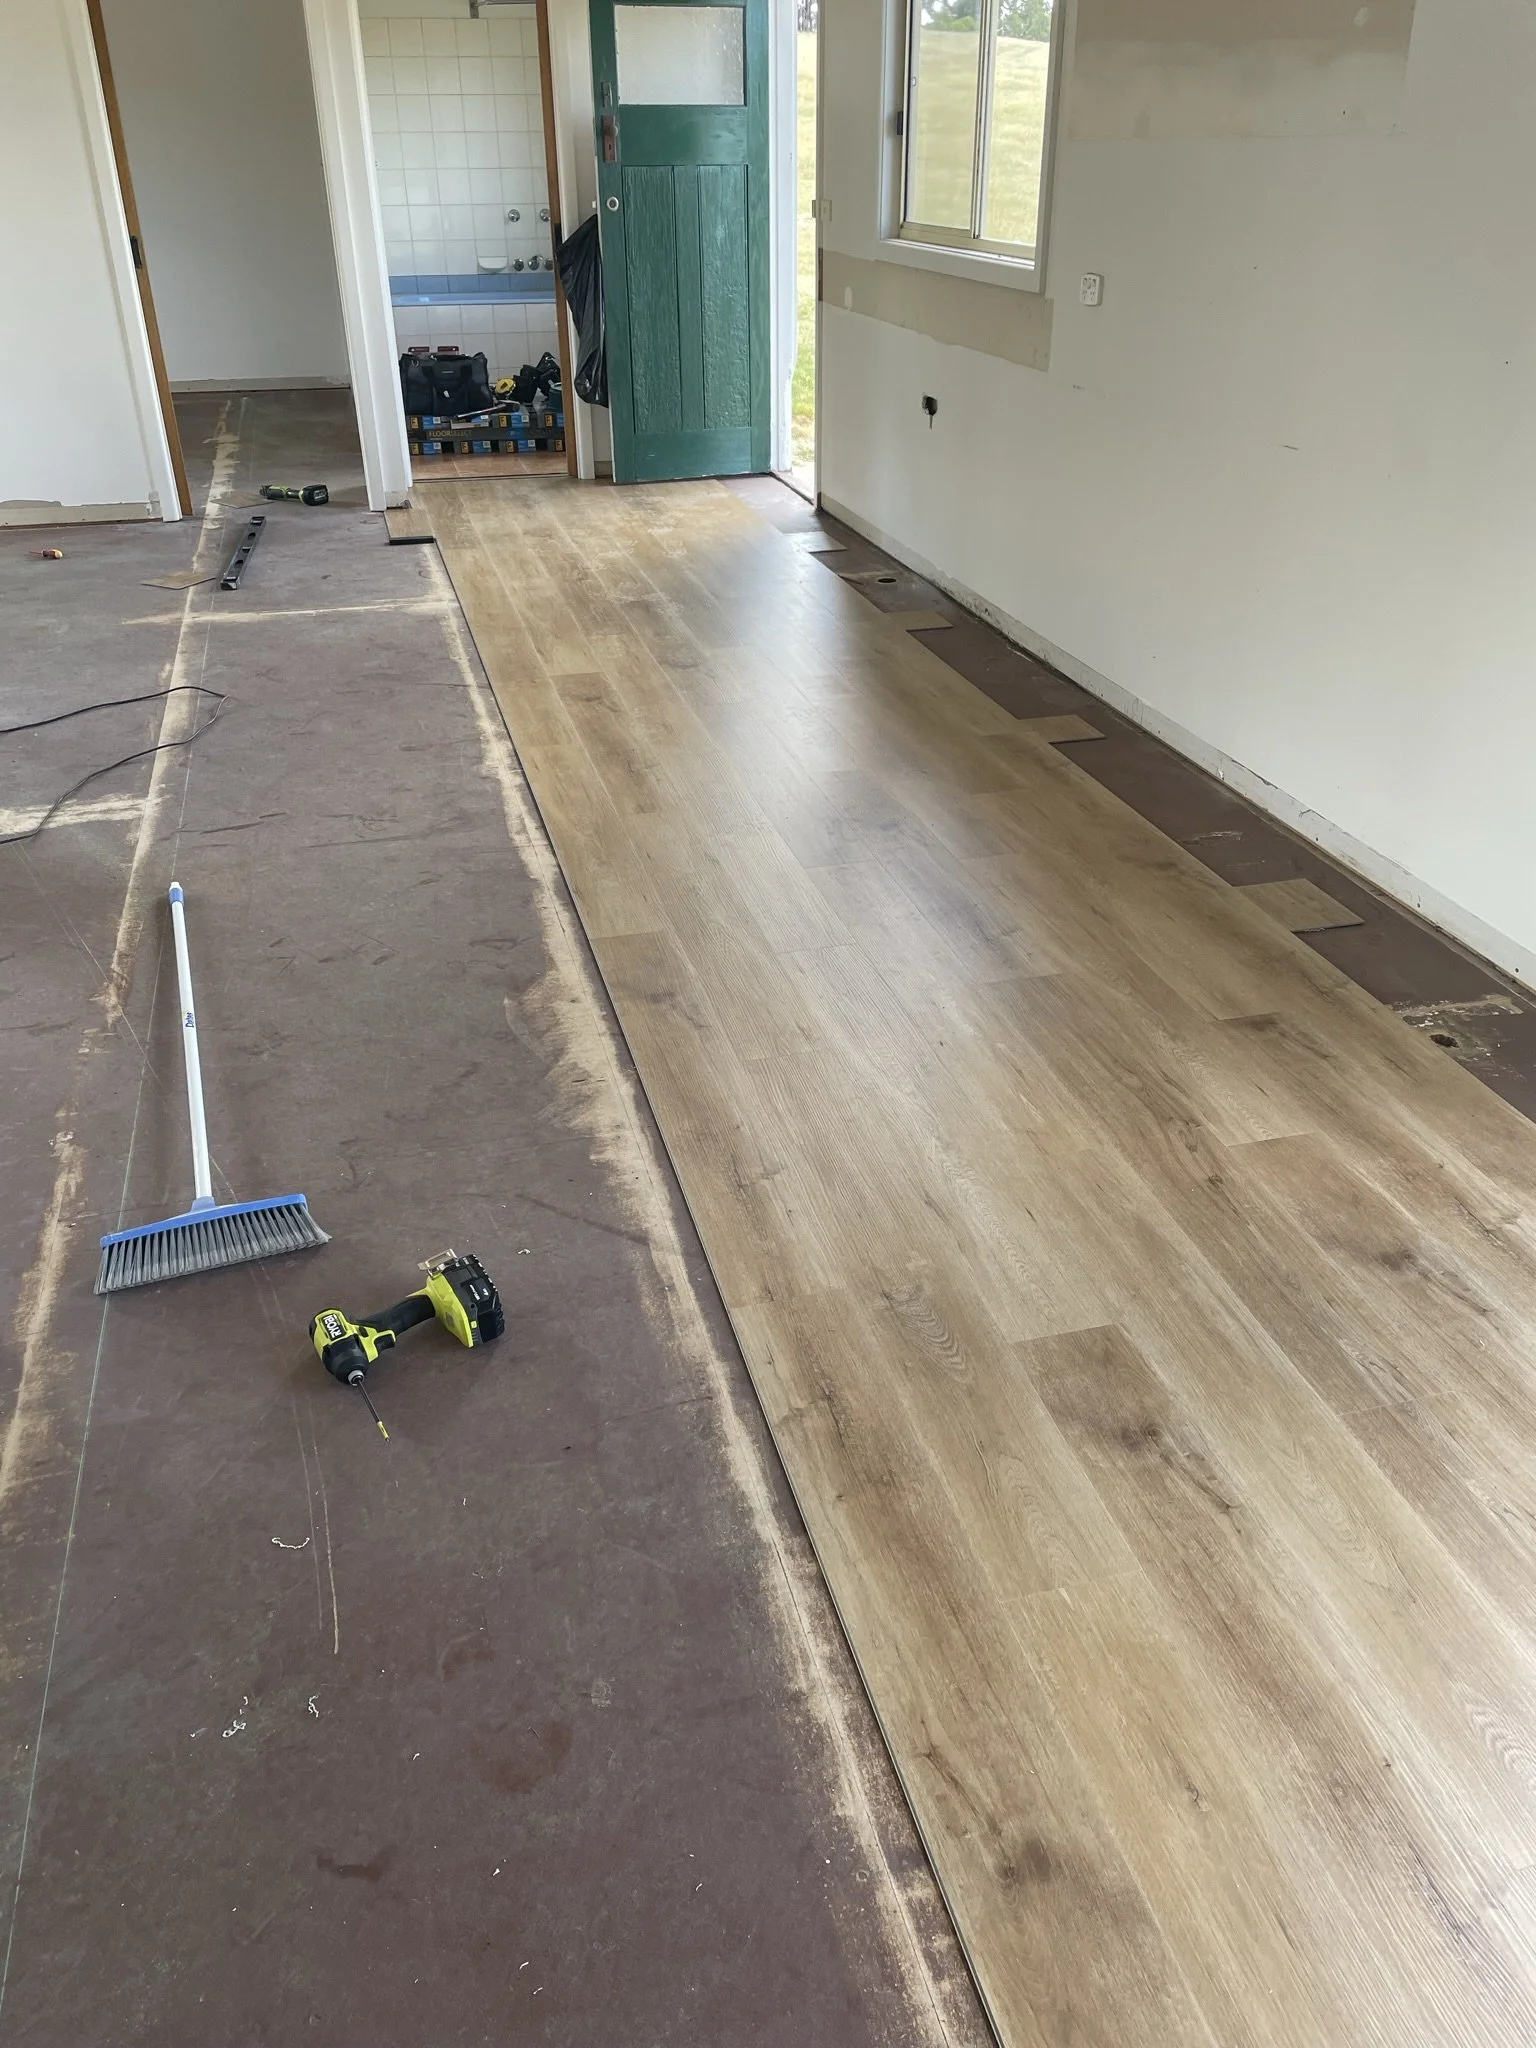
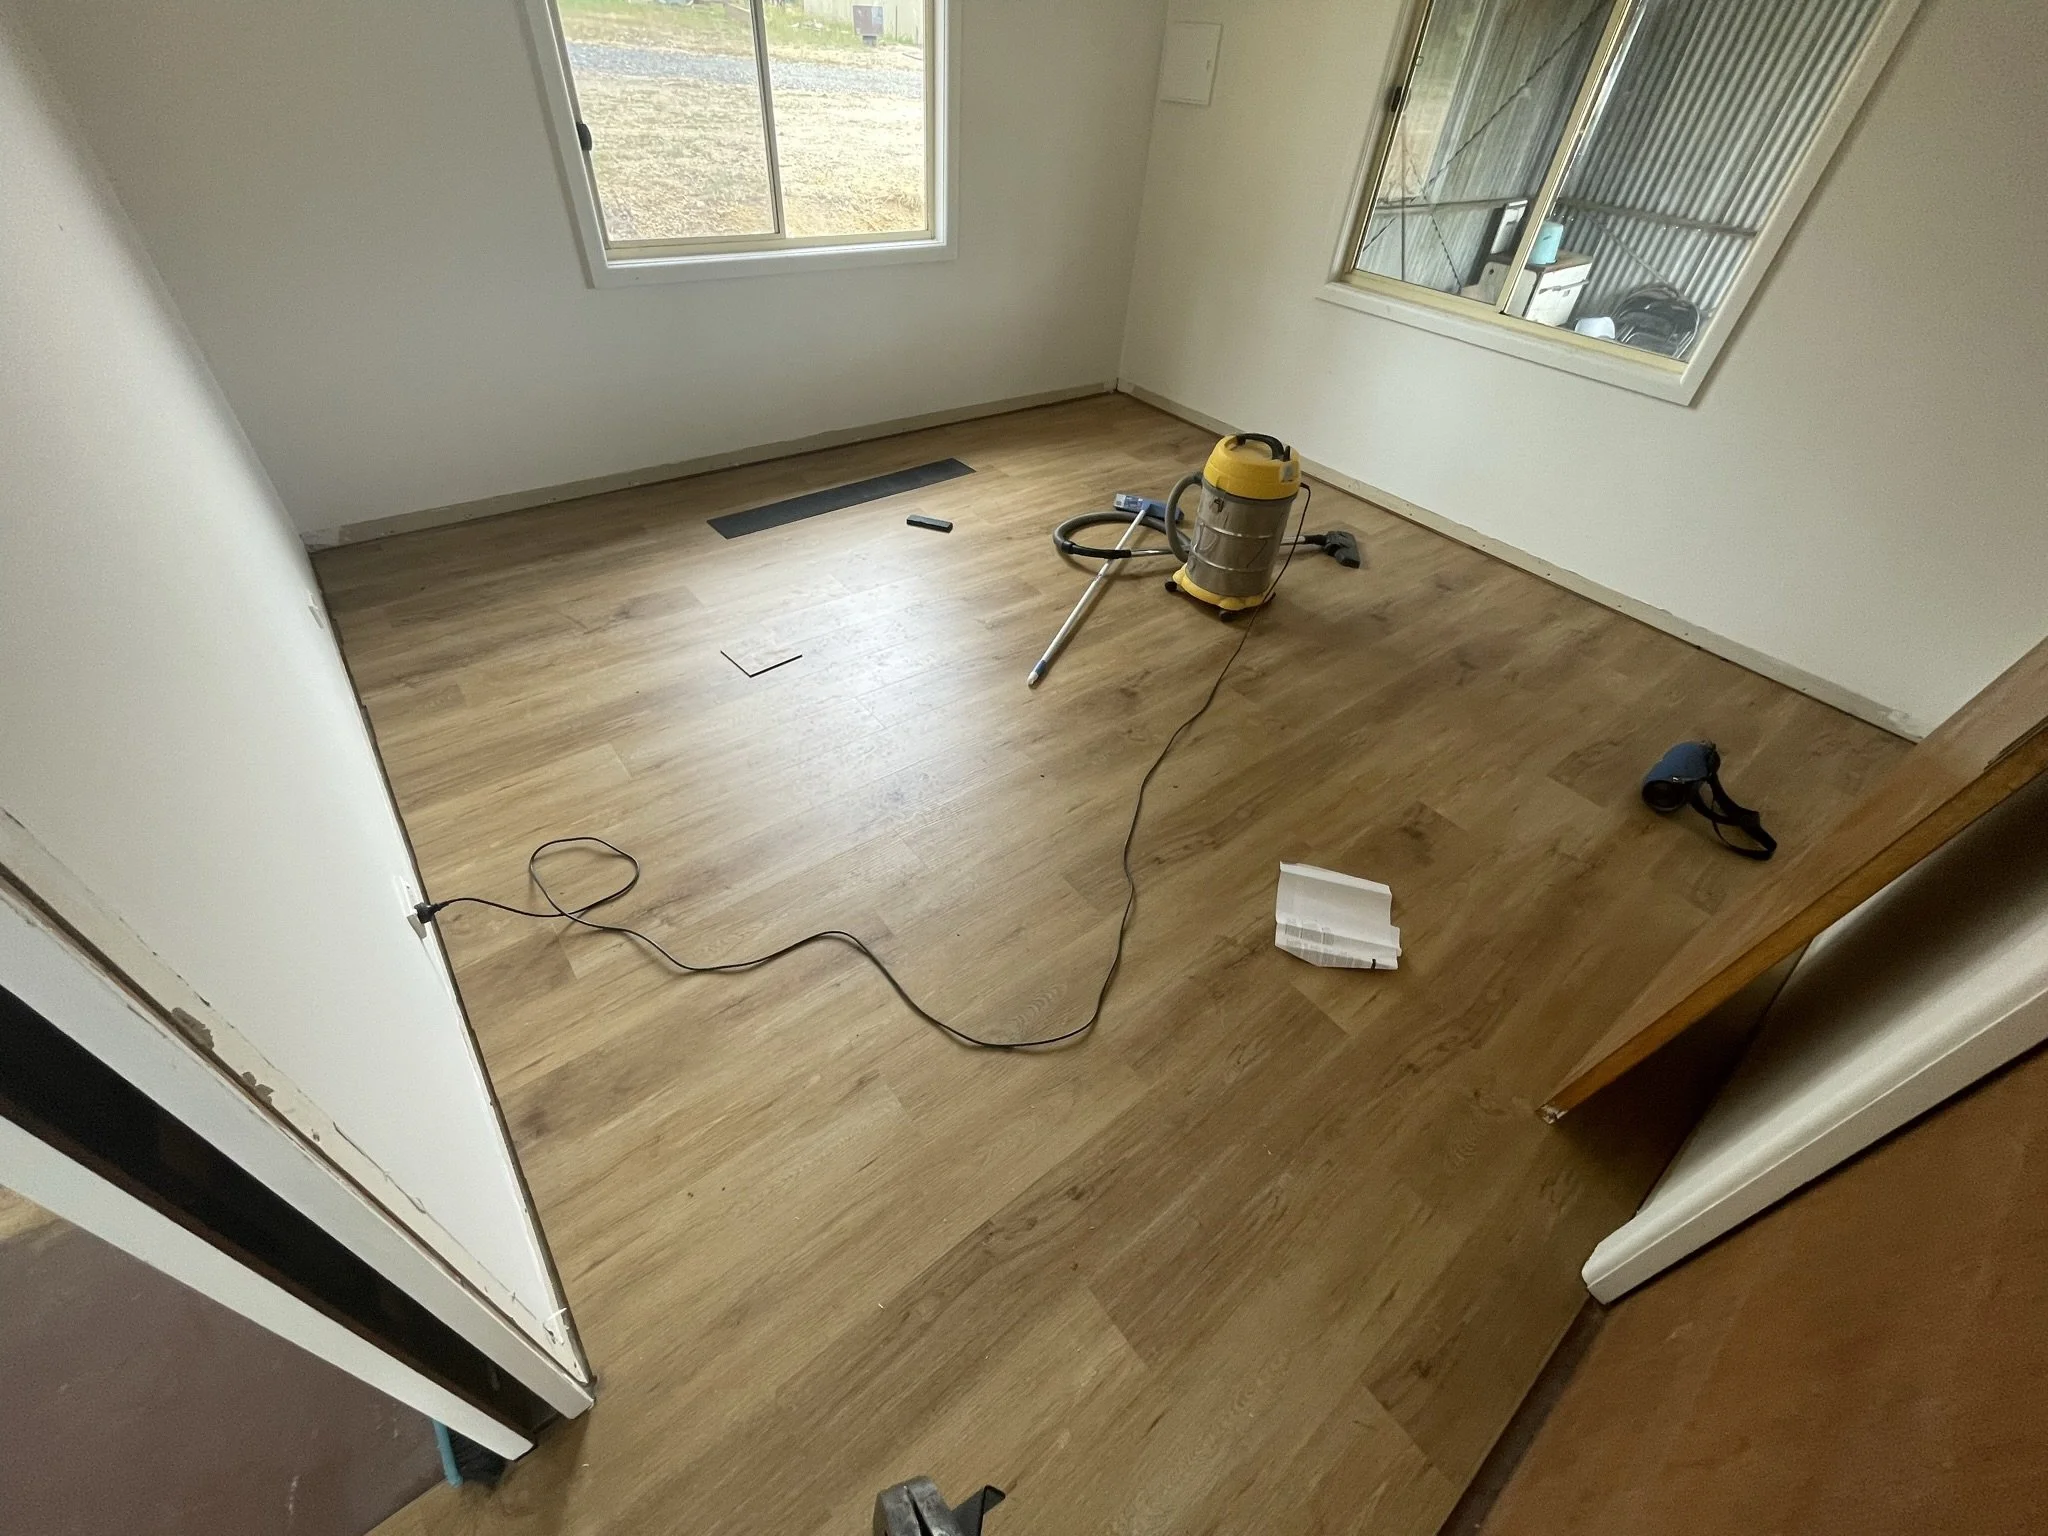
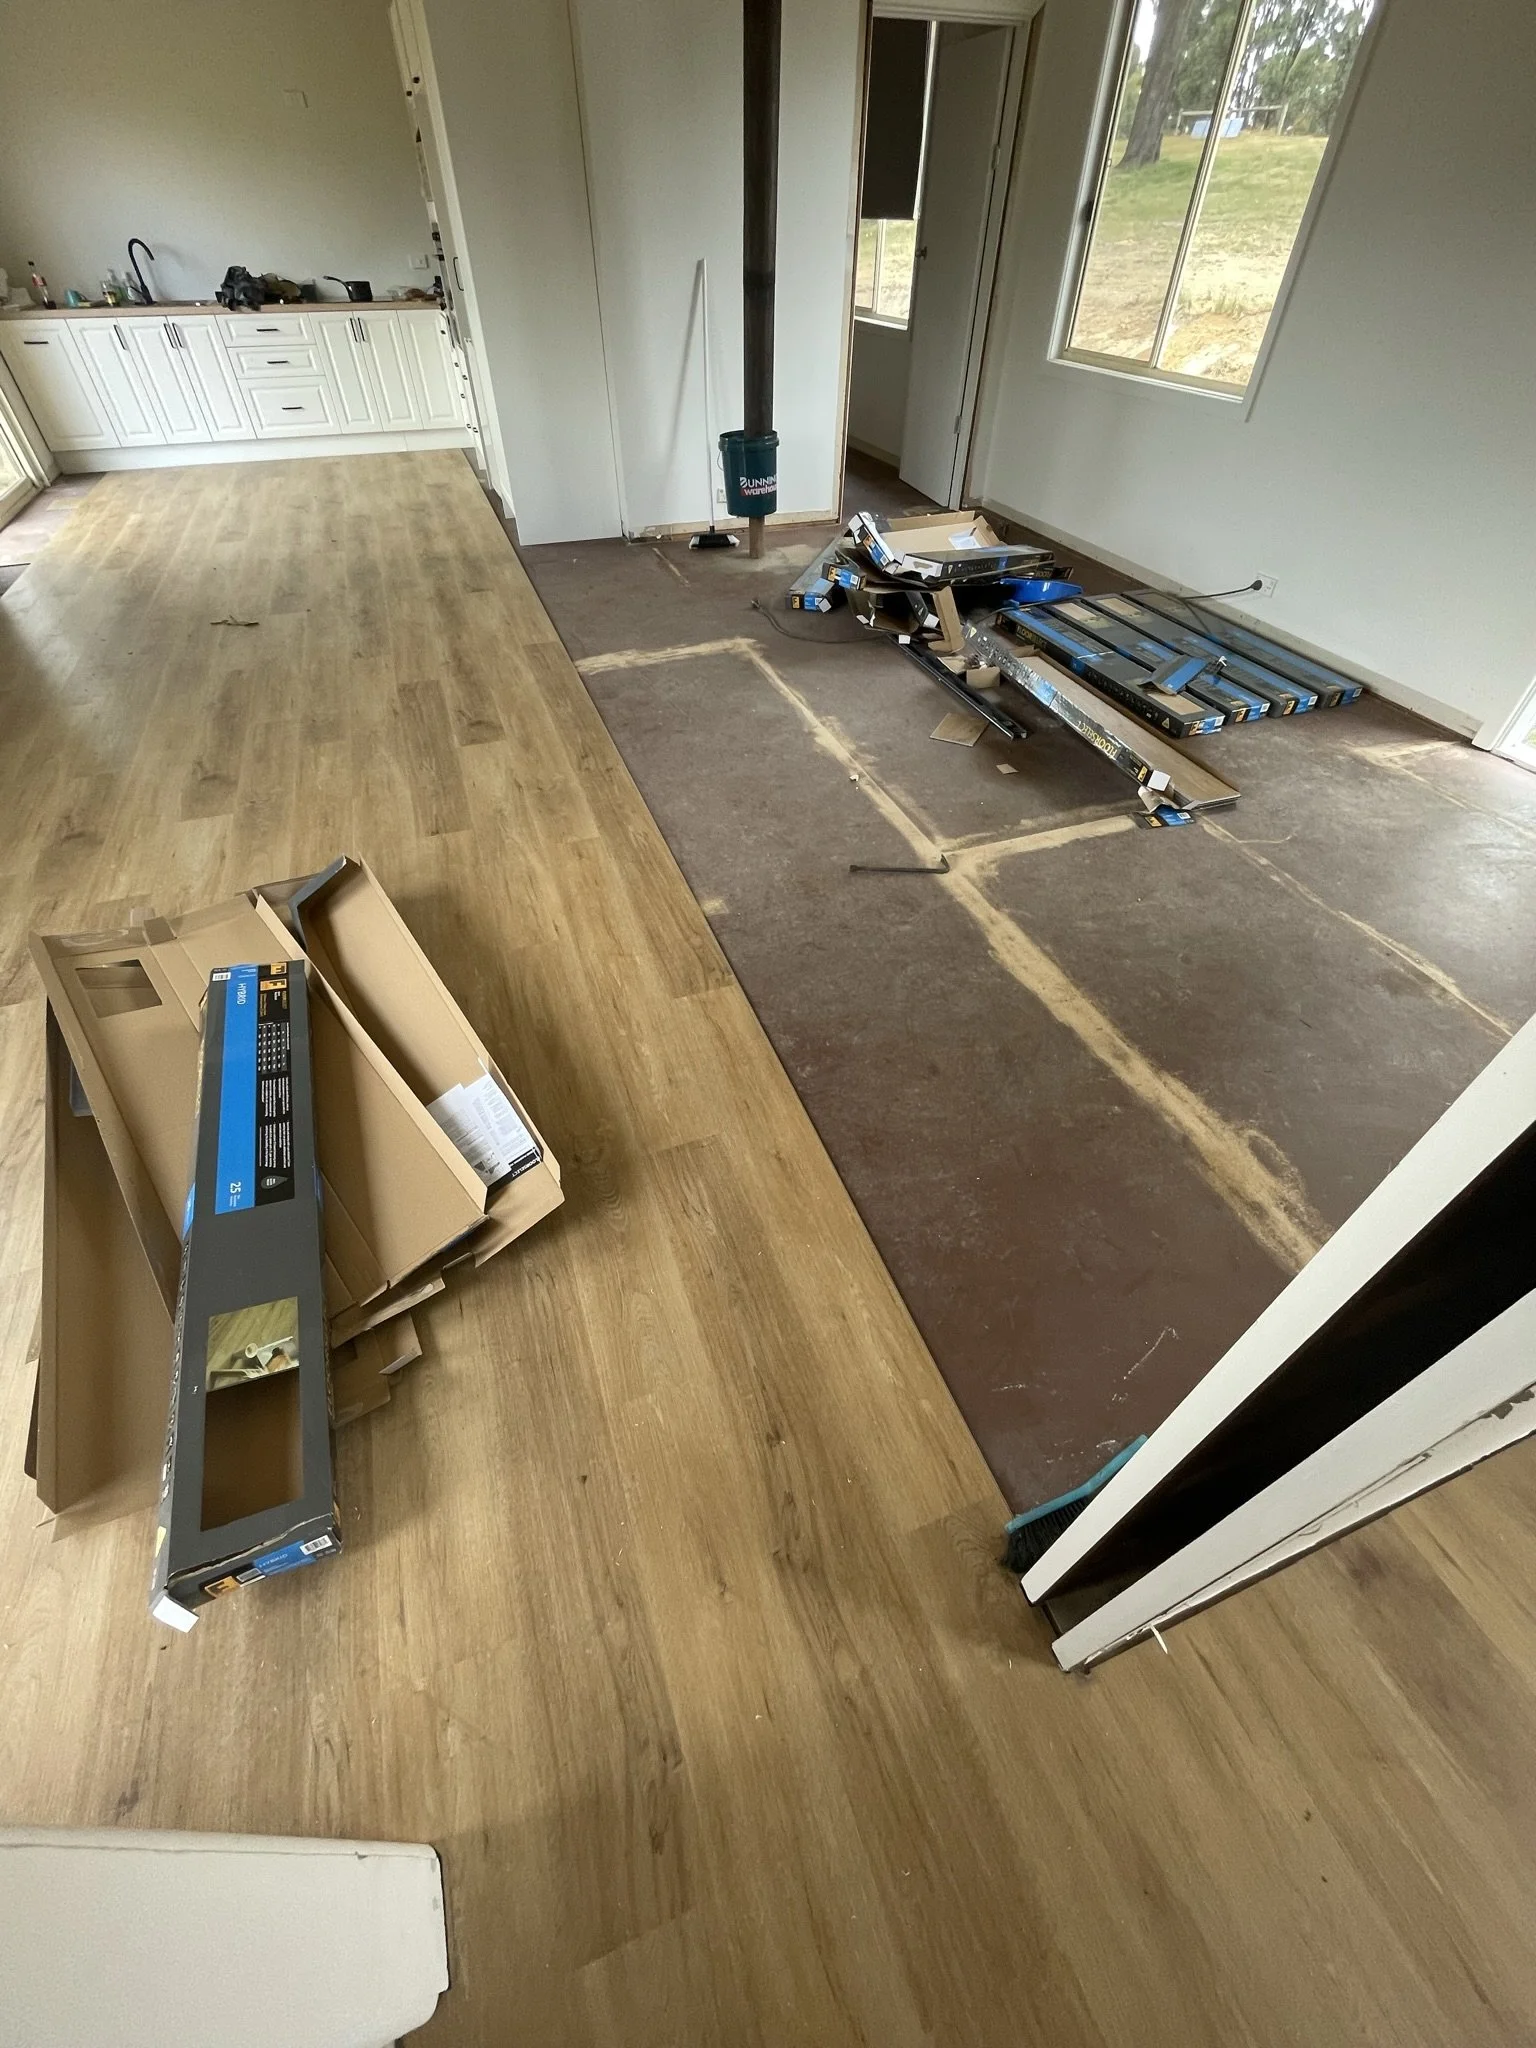
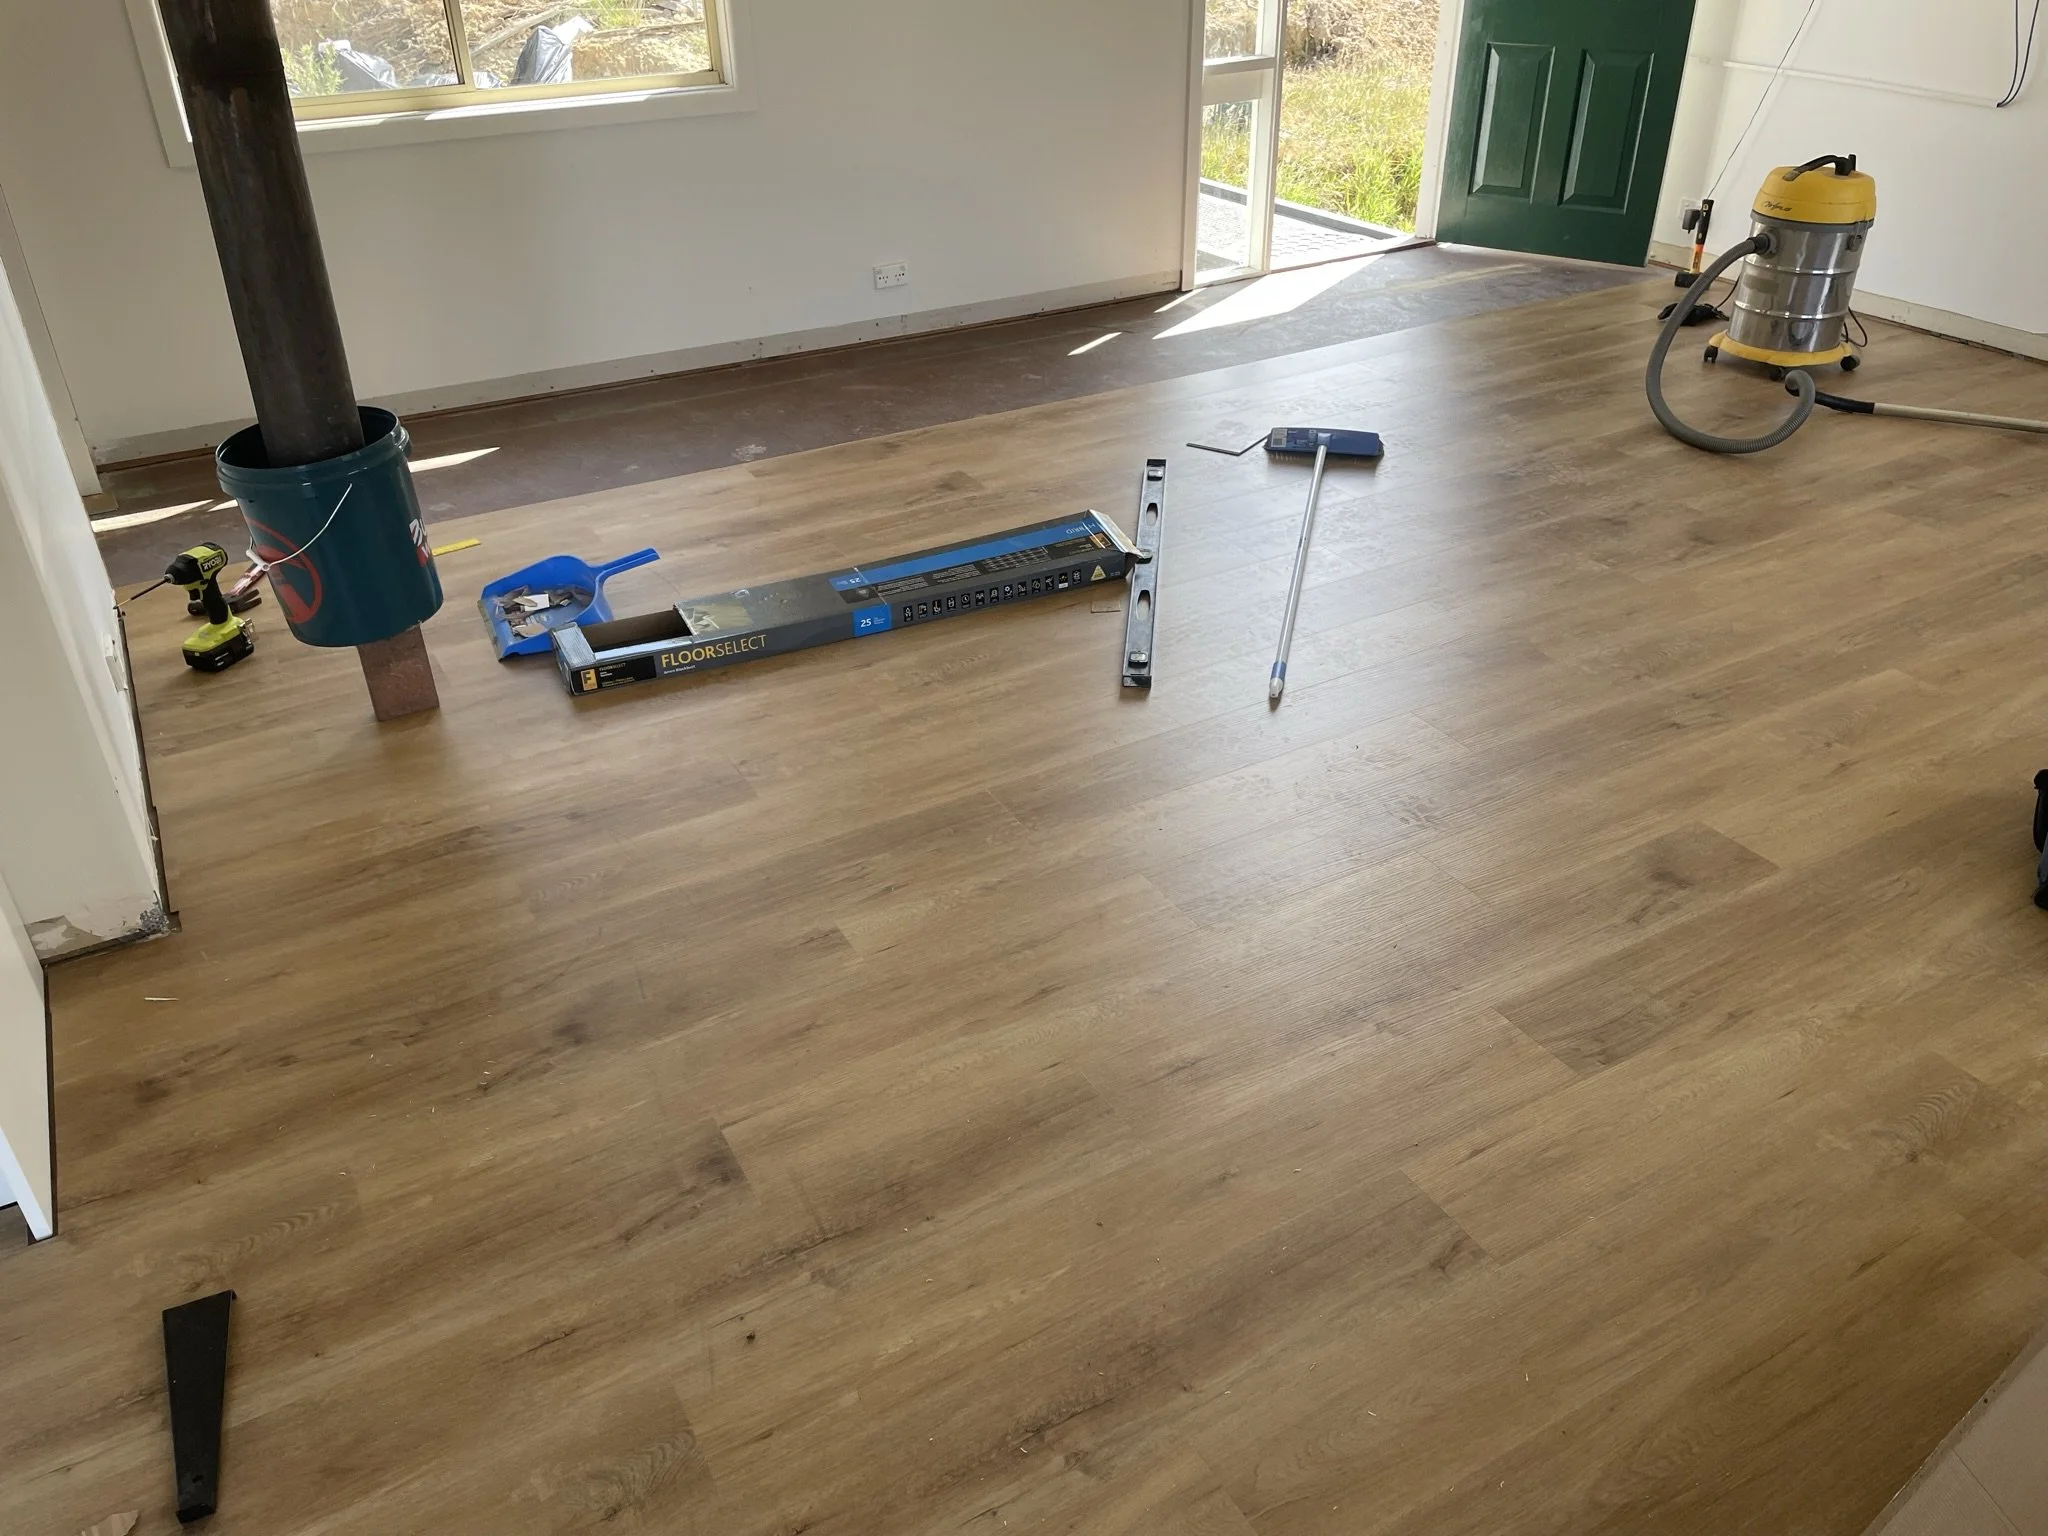
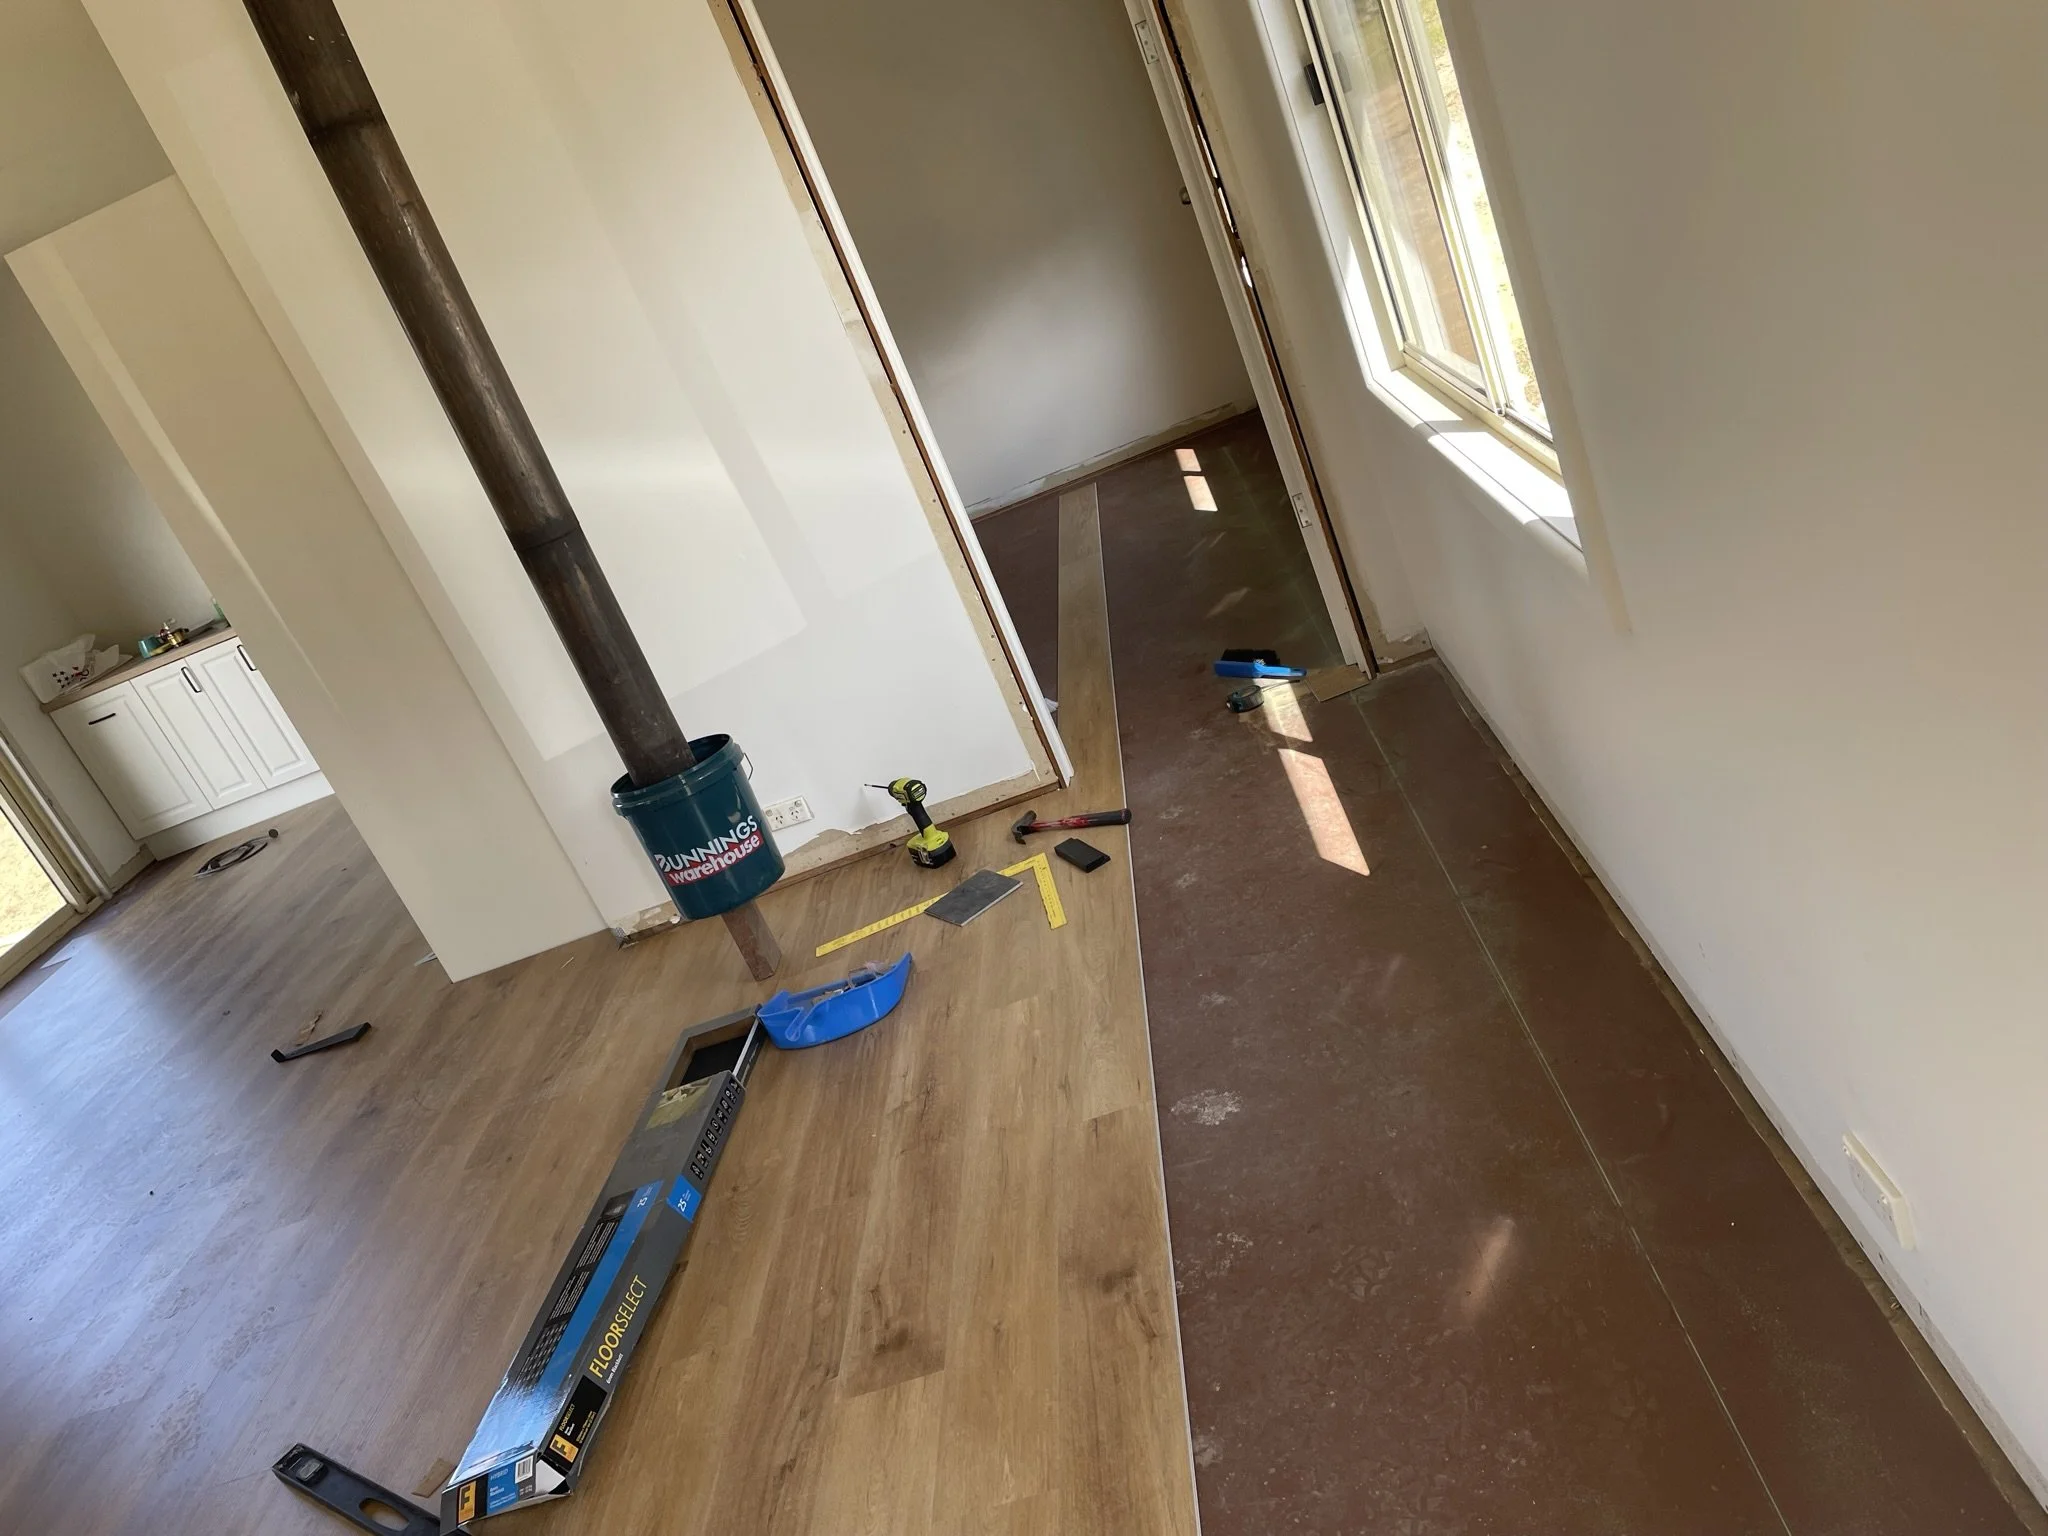
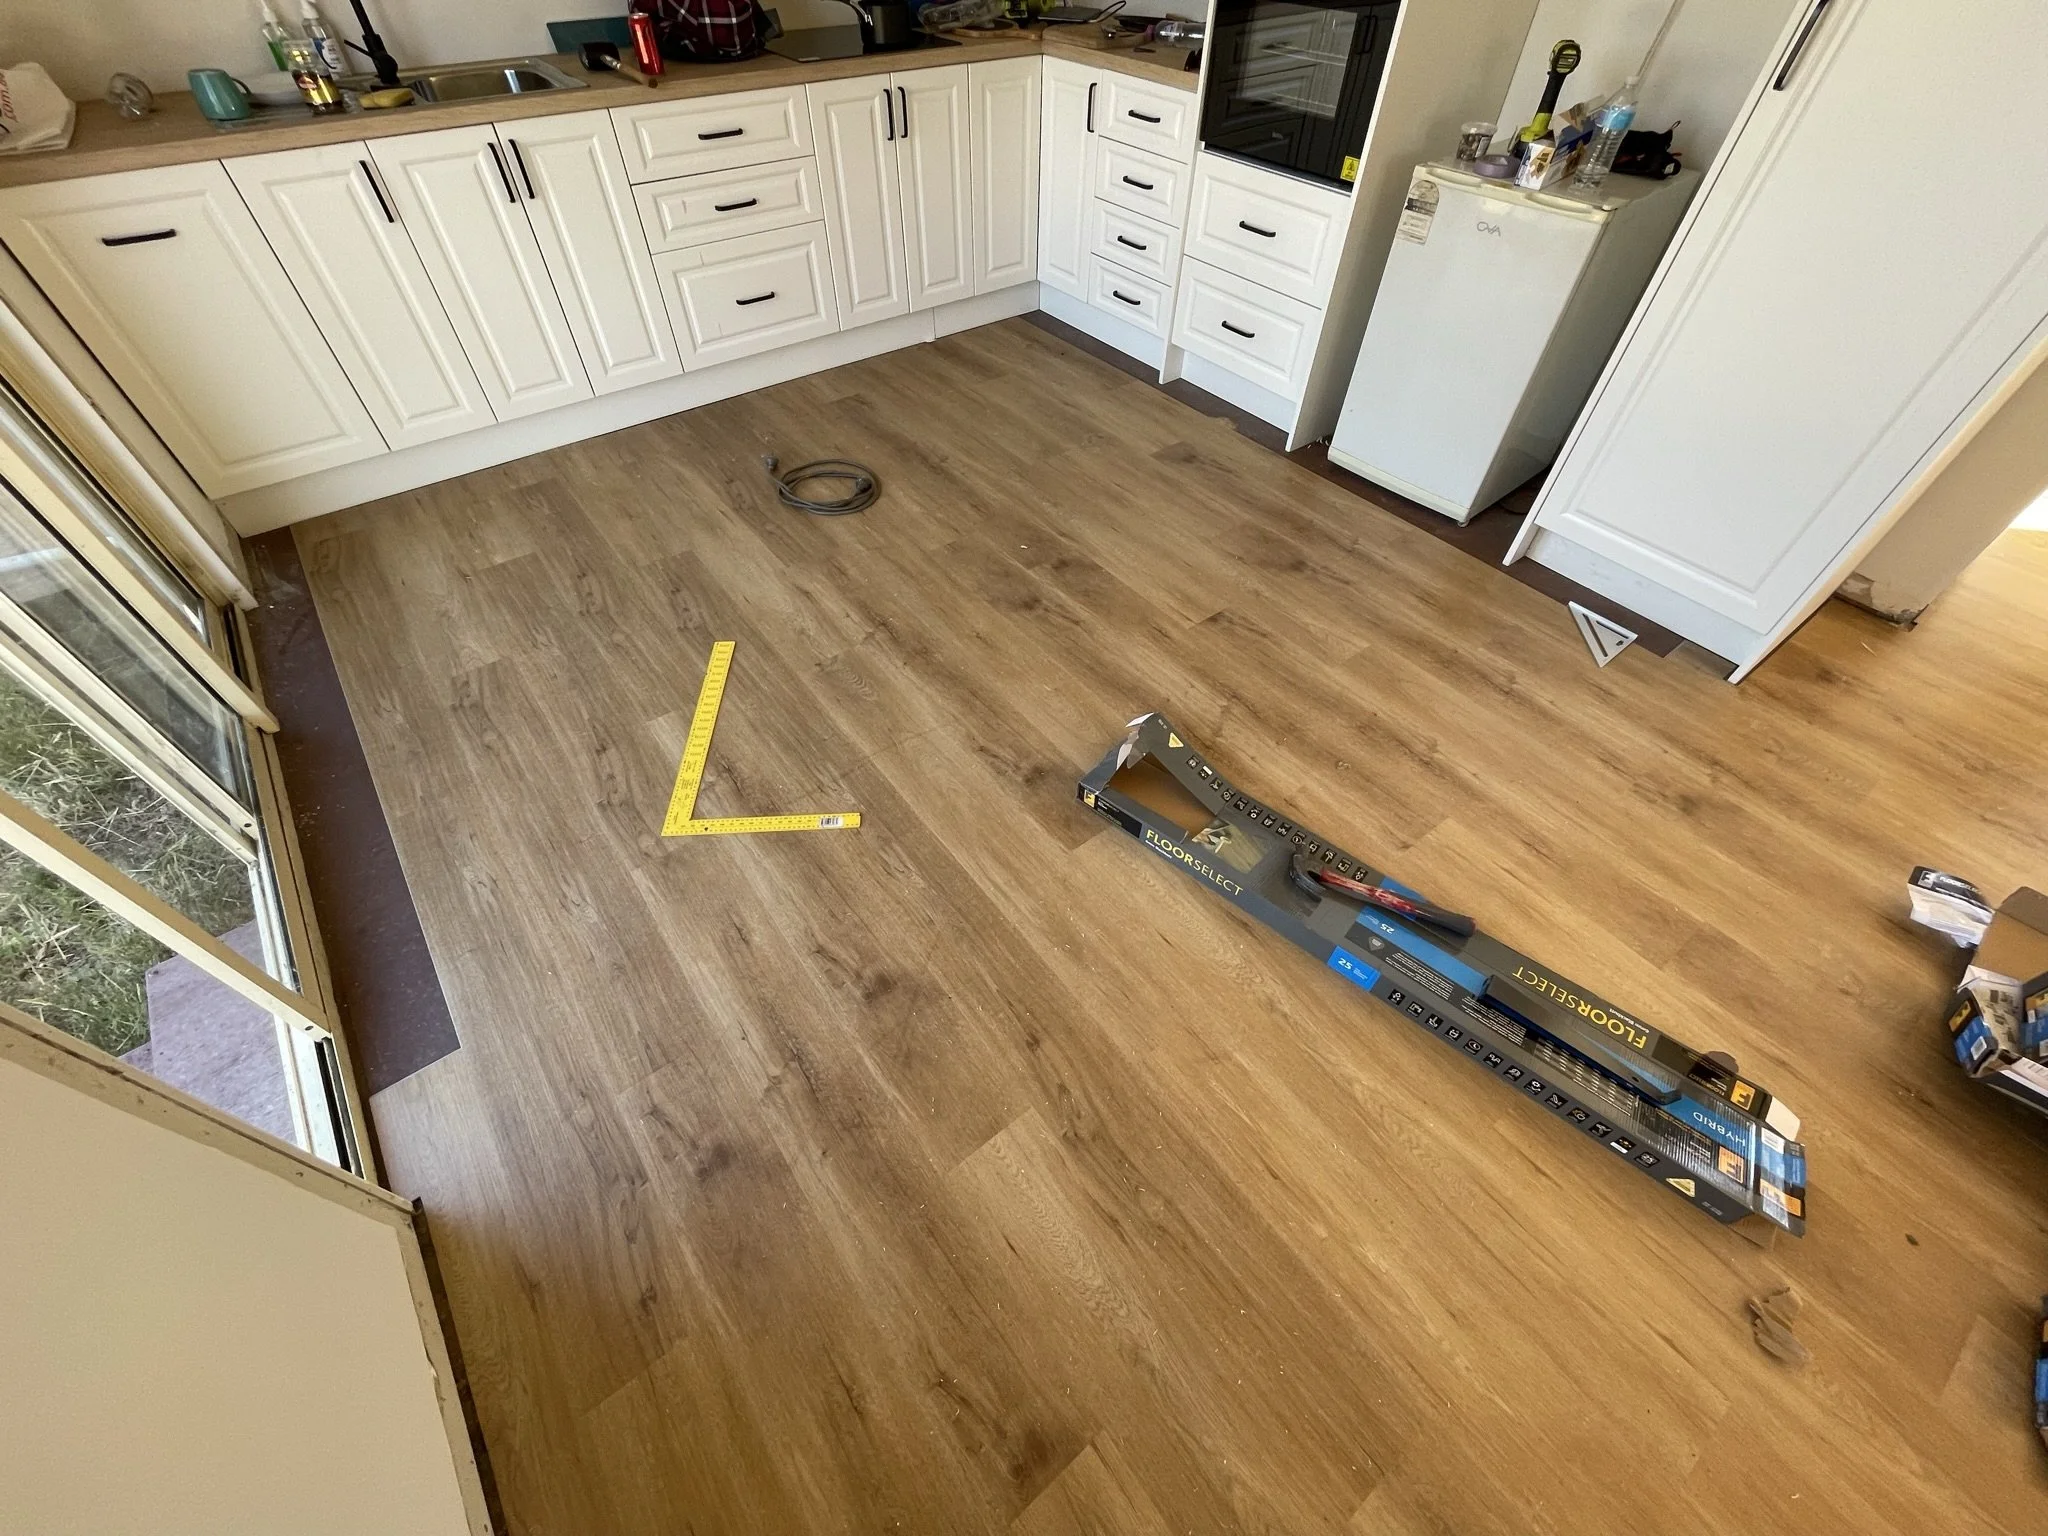
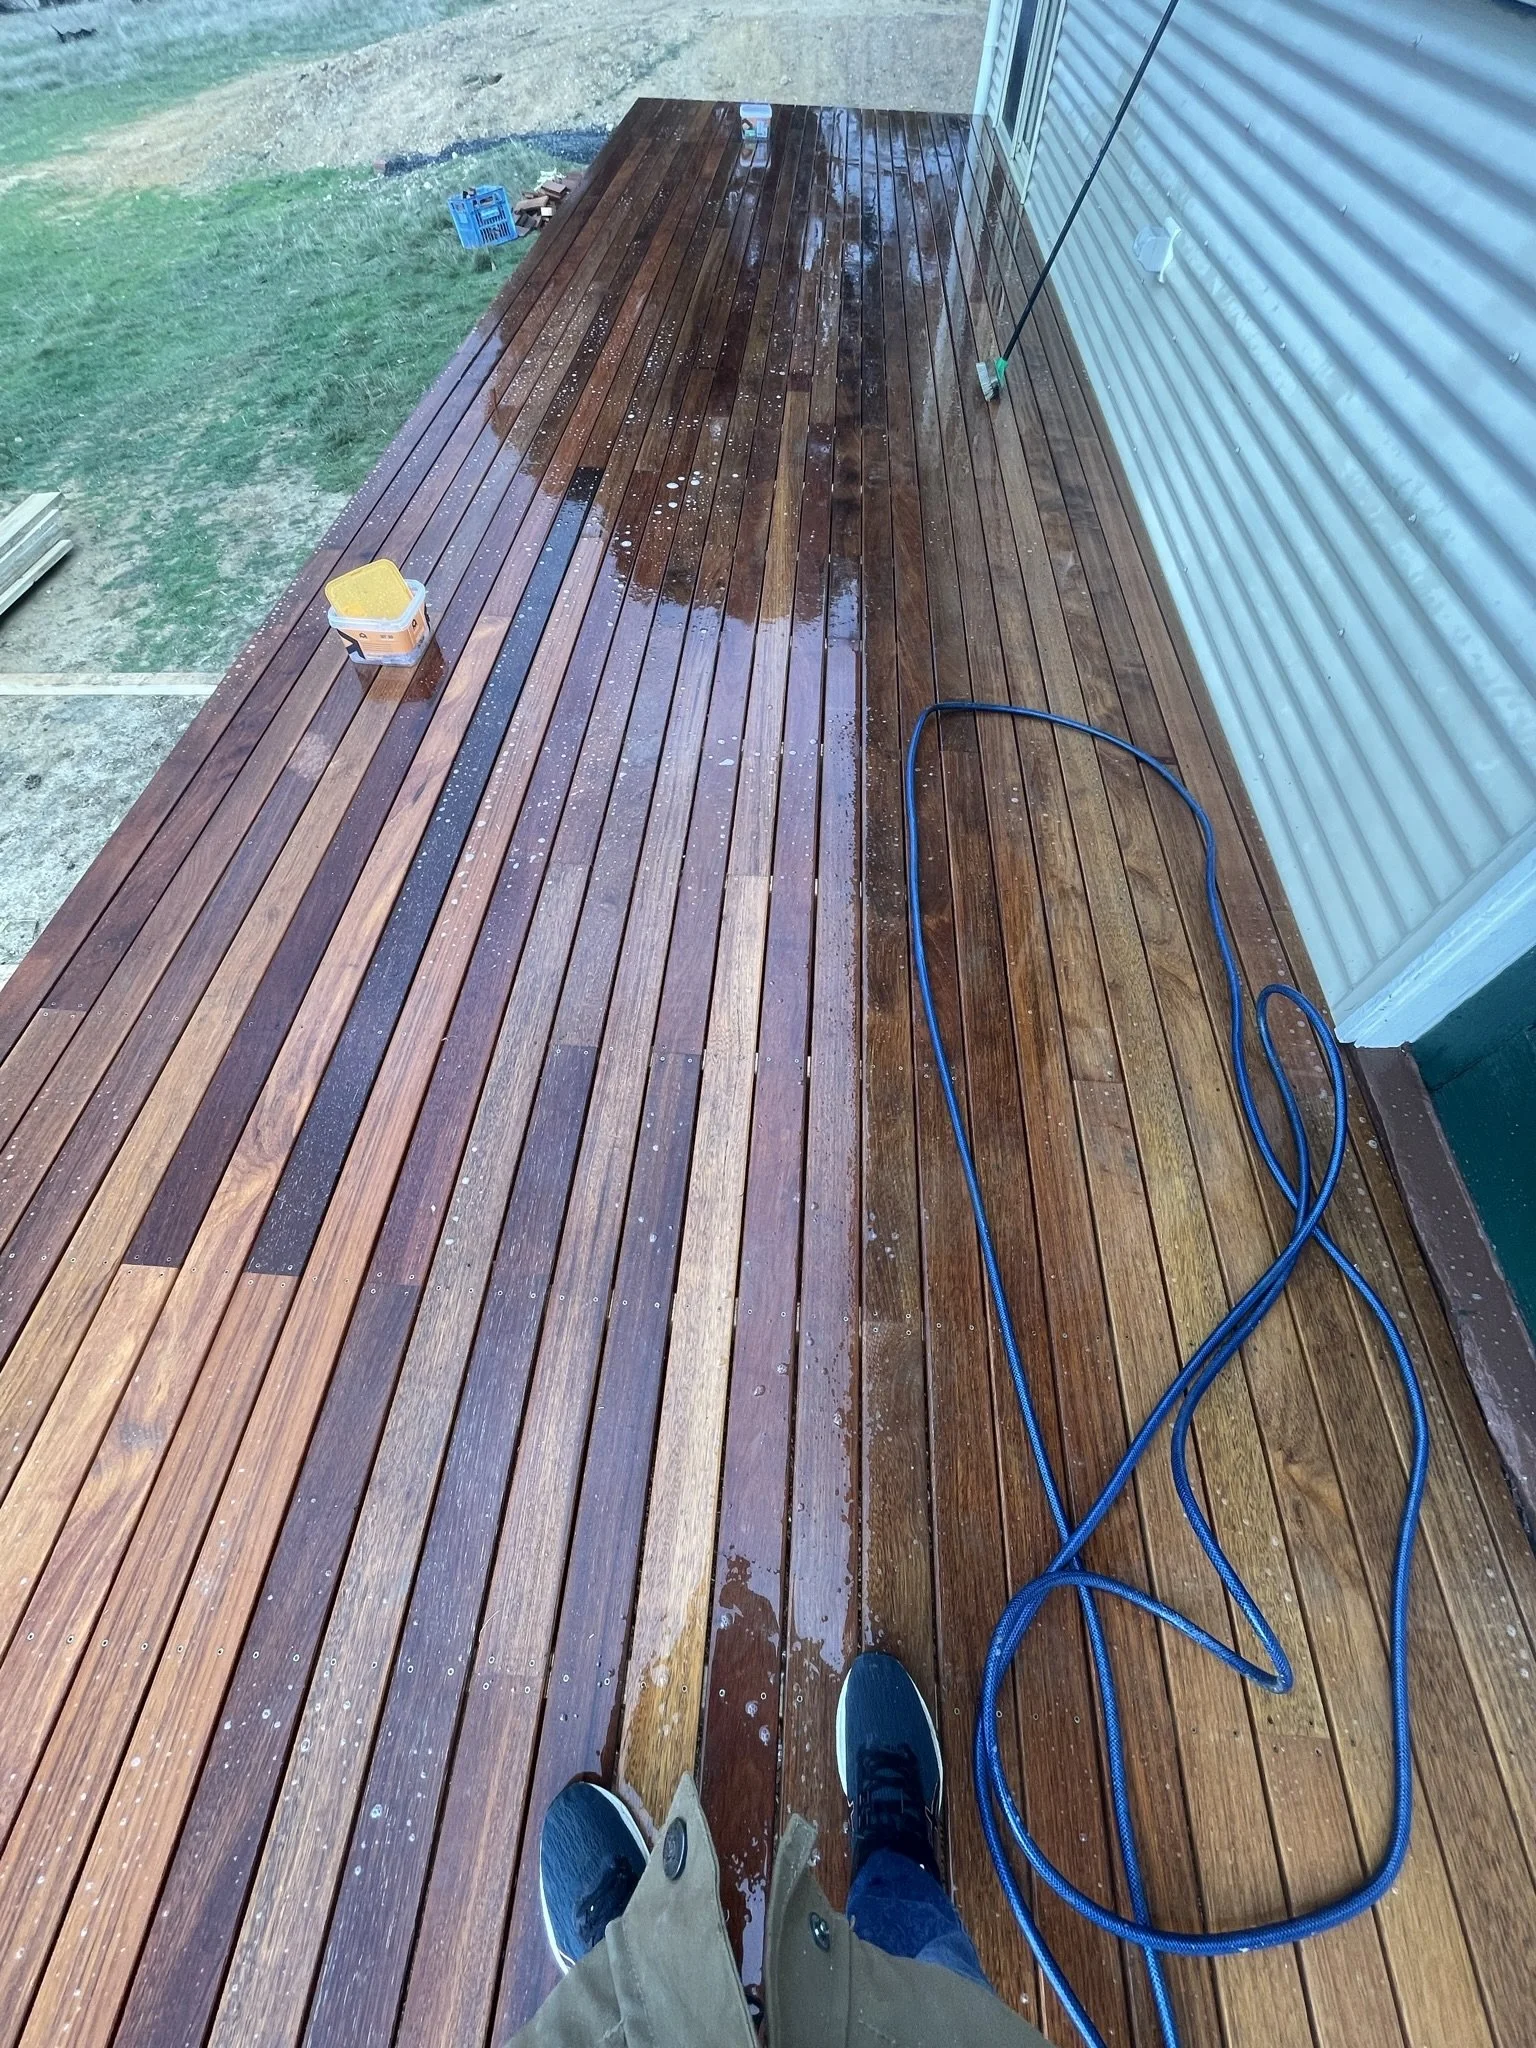
LAYING THE FLOORS
Running a straight edge over the existing floor it became apparent that the existing subfloor (which had been used AS a floor) was bowing in between joists. At this stage, I opted just to take the tops off the ridges with a belt sander and hope for the best. This was by far the harder job, with lots of kneeling, cajoling, accurate measuring (and inaccurate!) and detailed cutting.
After the sanding, we removed the skirting boards and cut the bottom 6mm off all the door trims to accept the new floorboards.
When the floors were laid I nailed the skirts back in place and set about gap filling, sanding and painting all the trim.


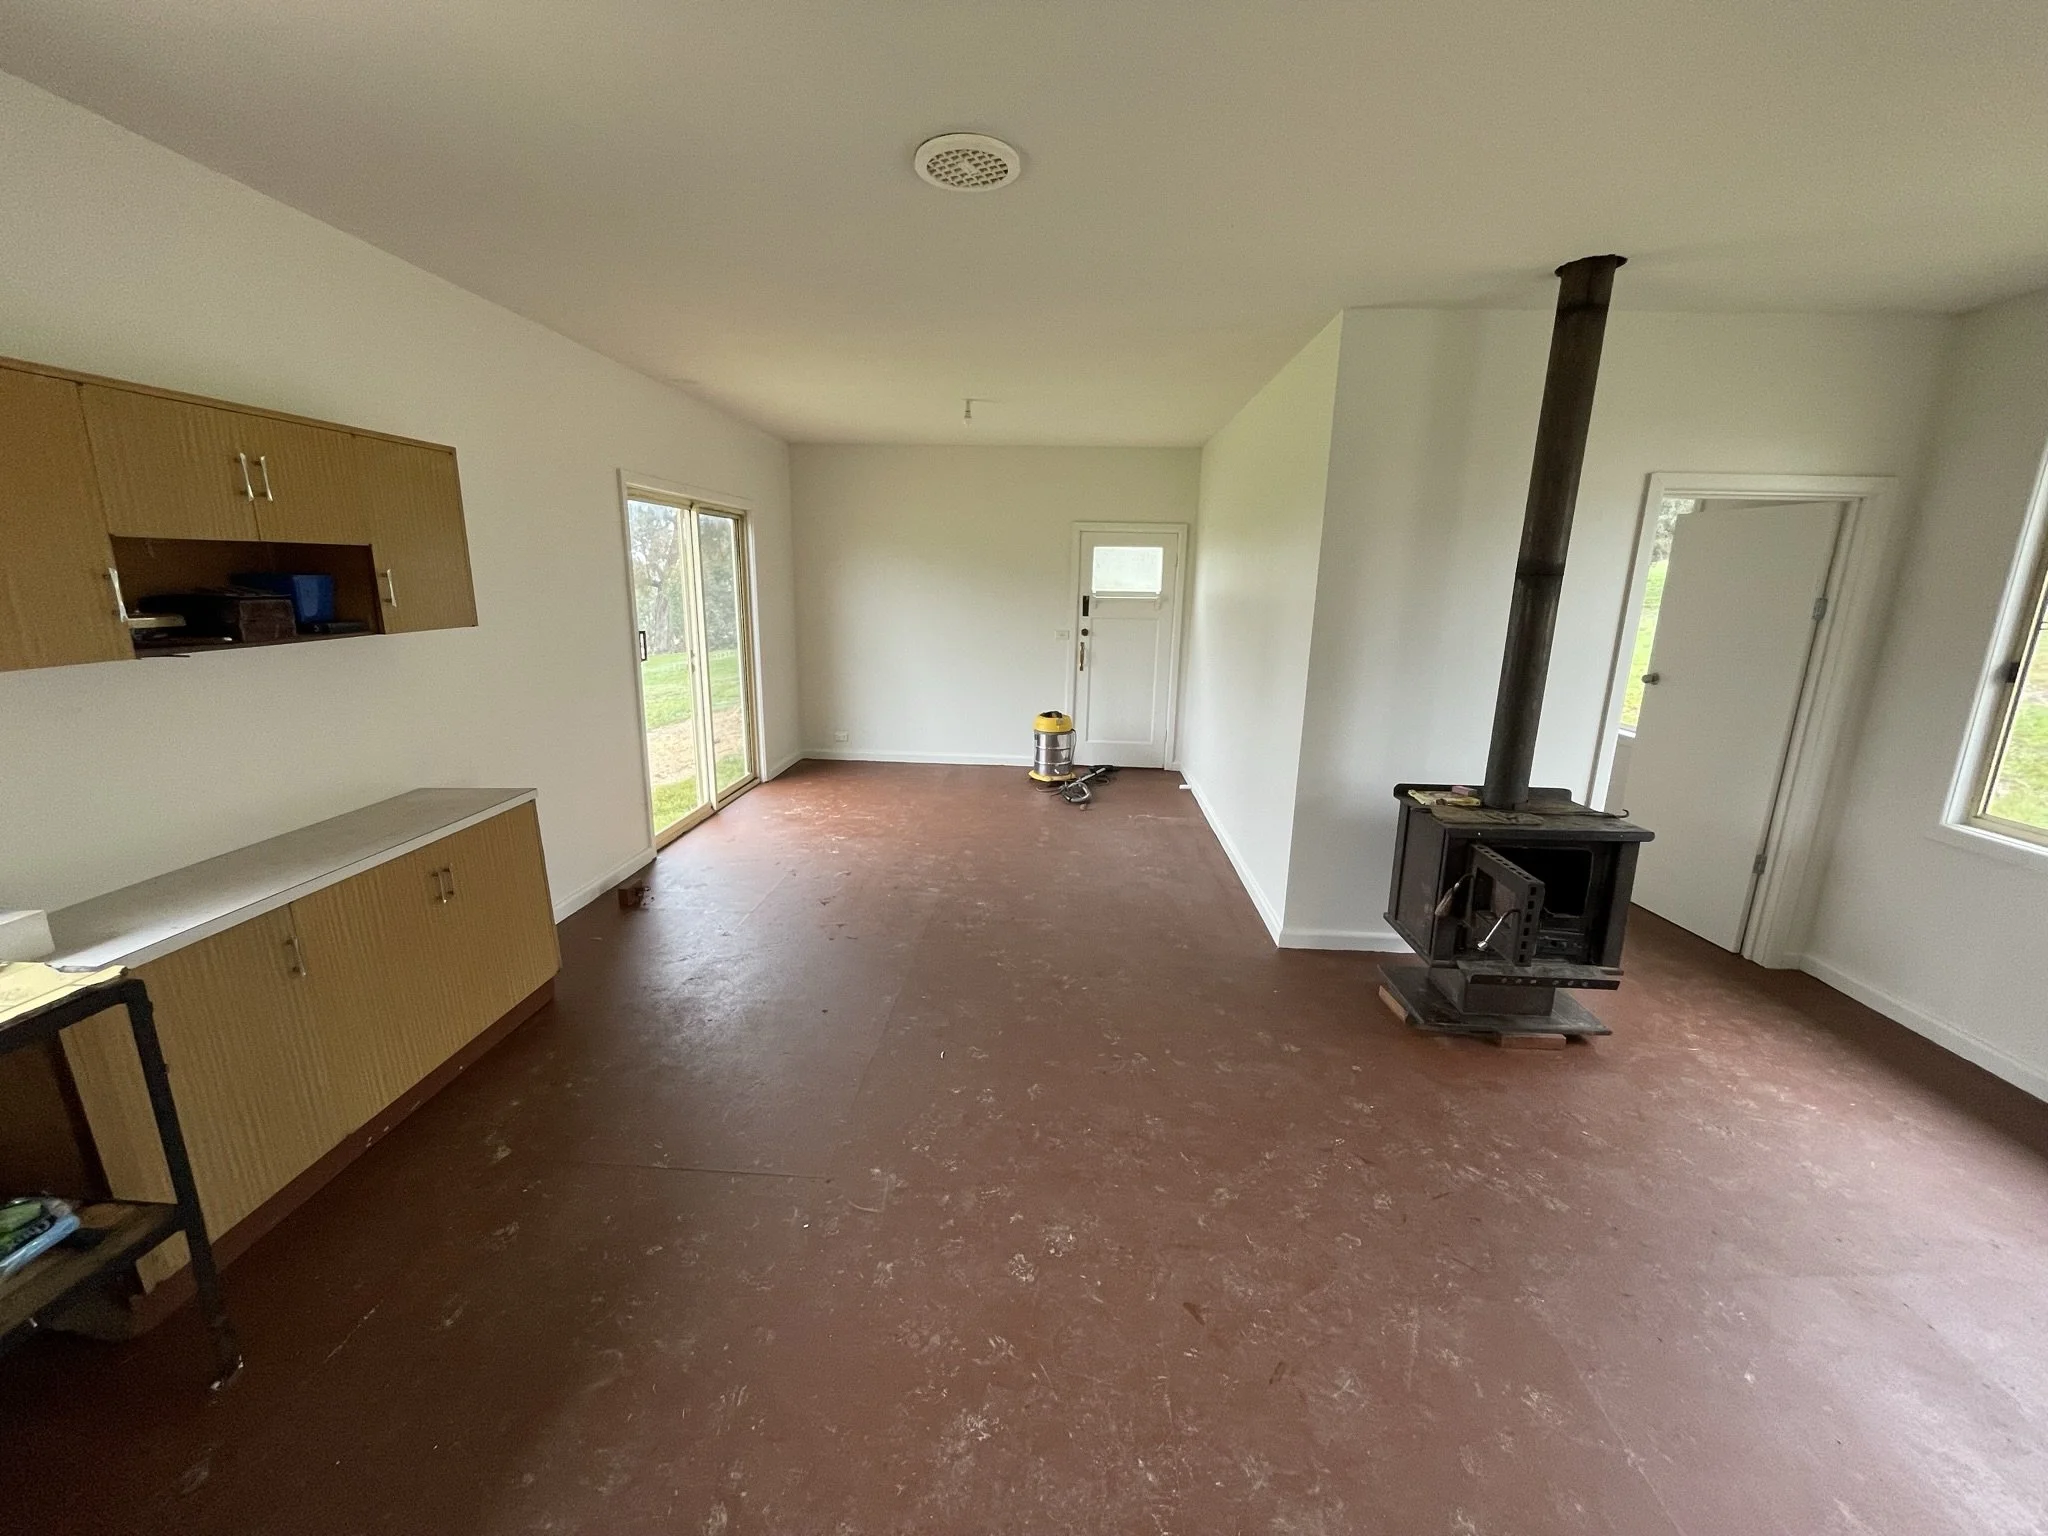
Making it more comfortable
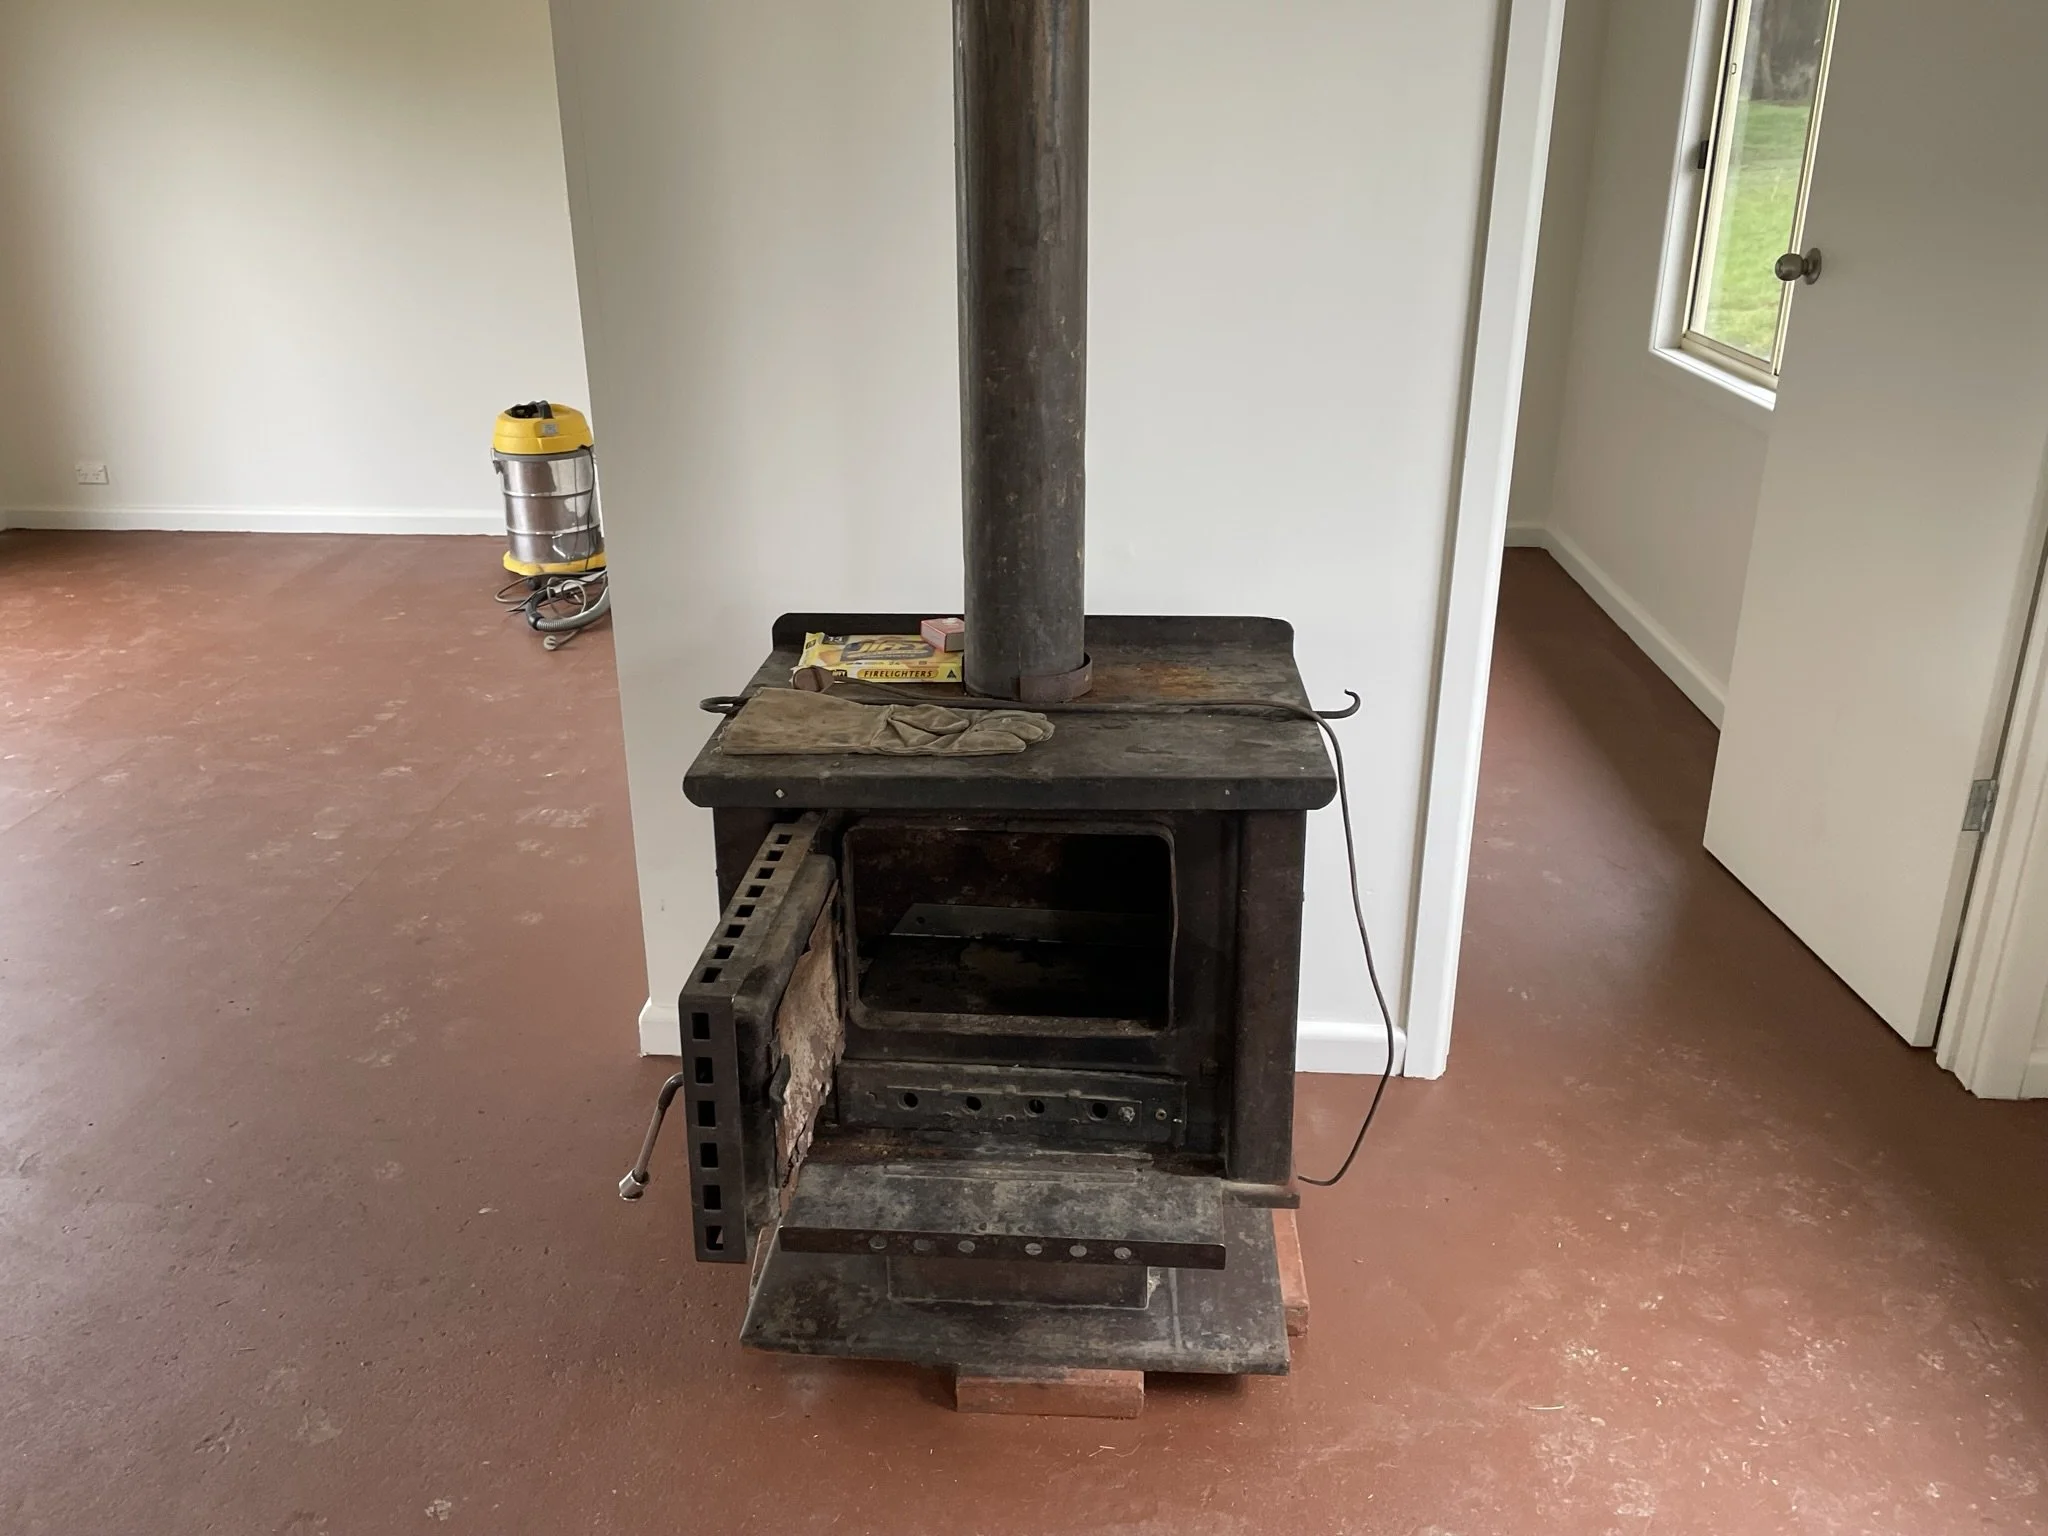
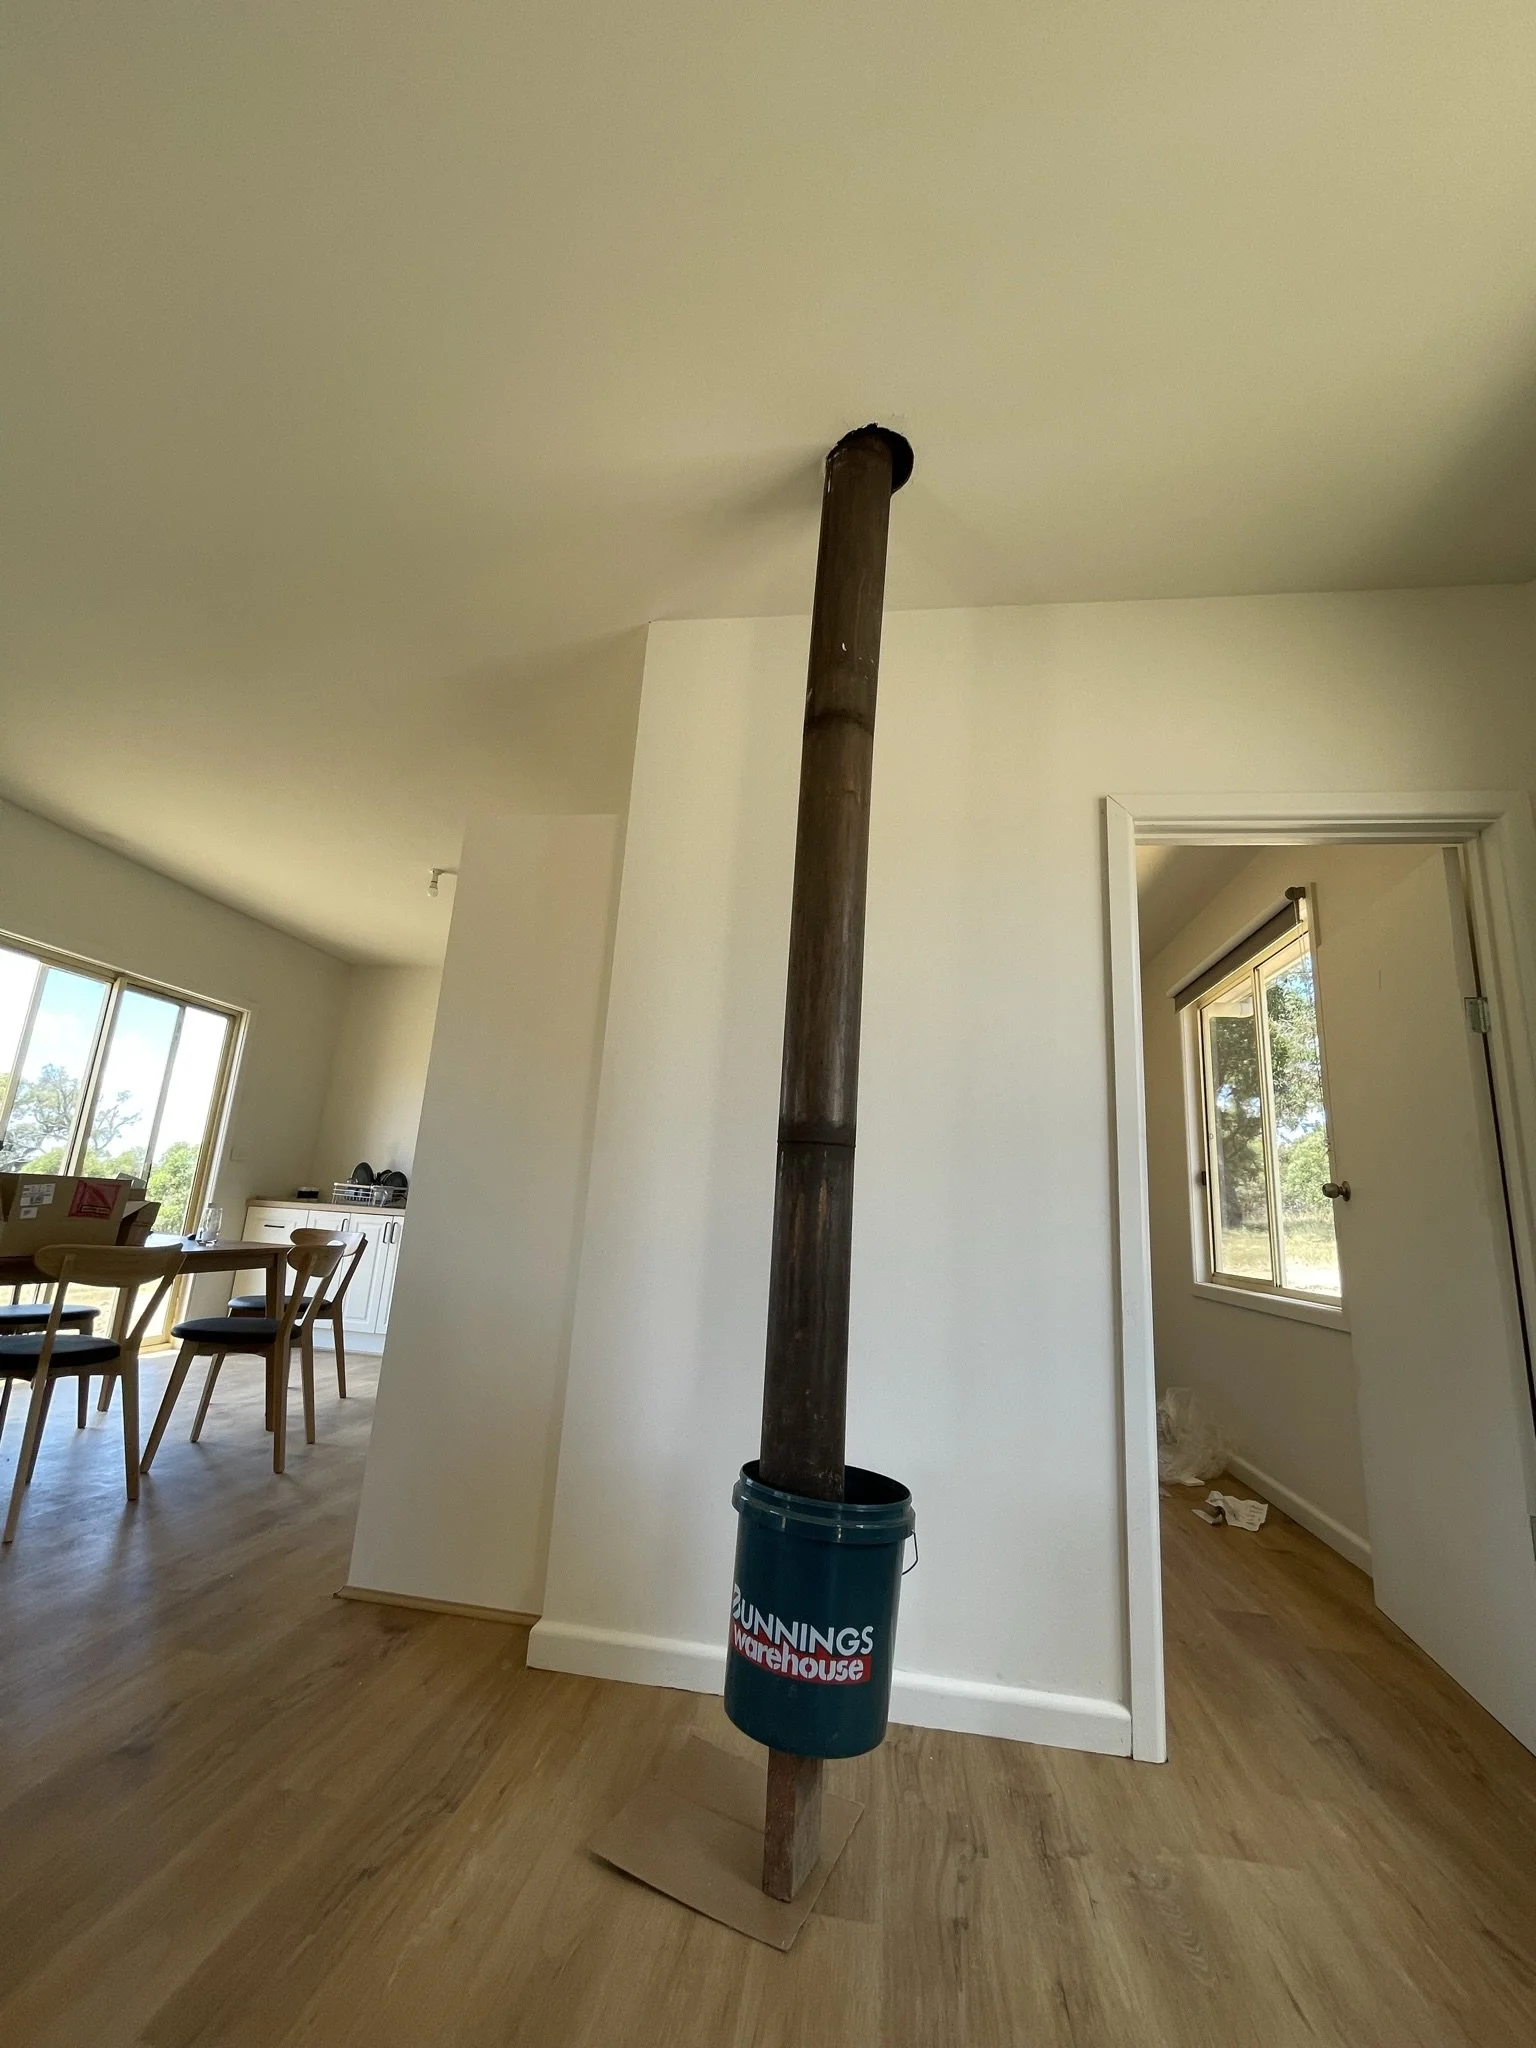
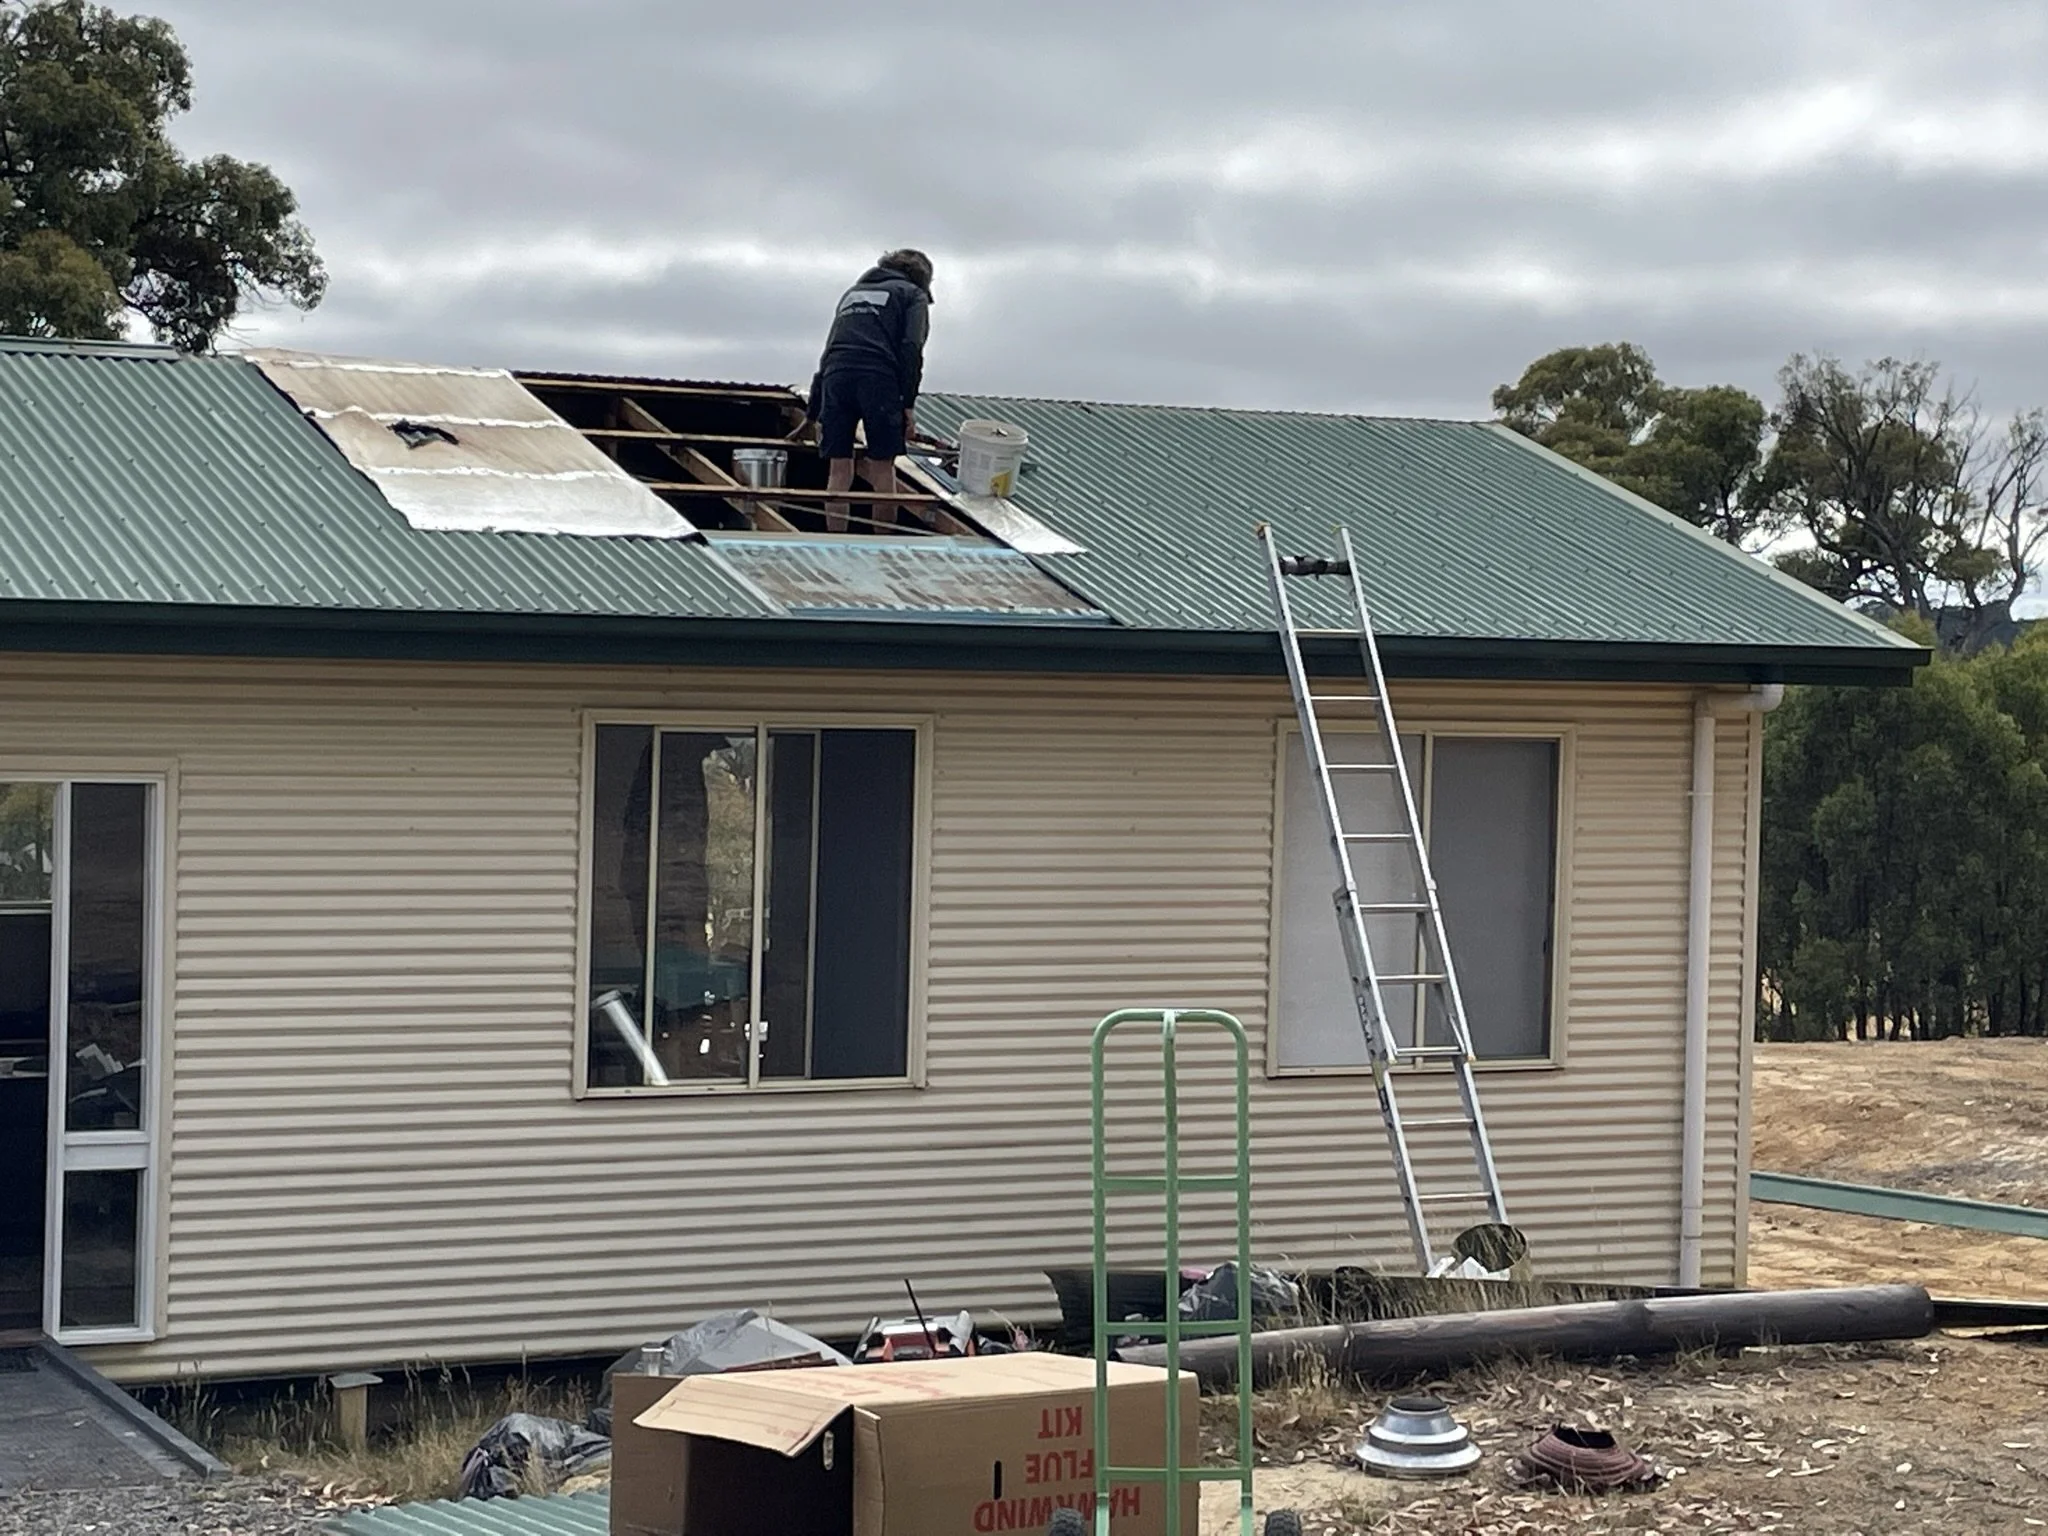
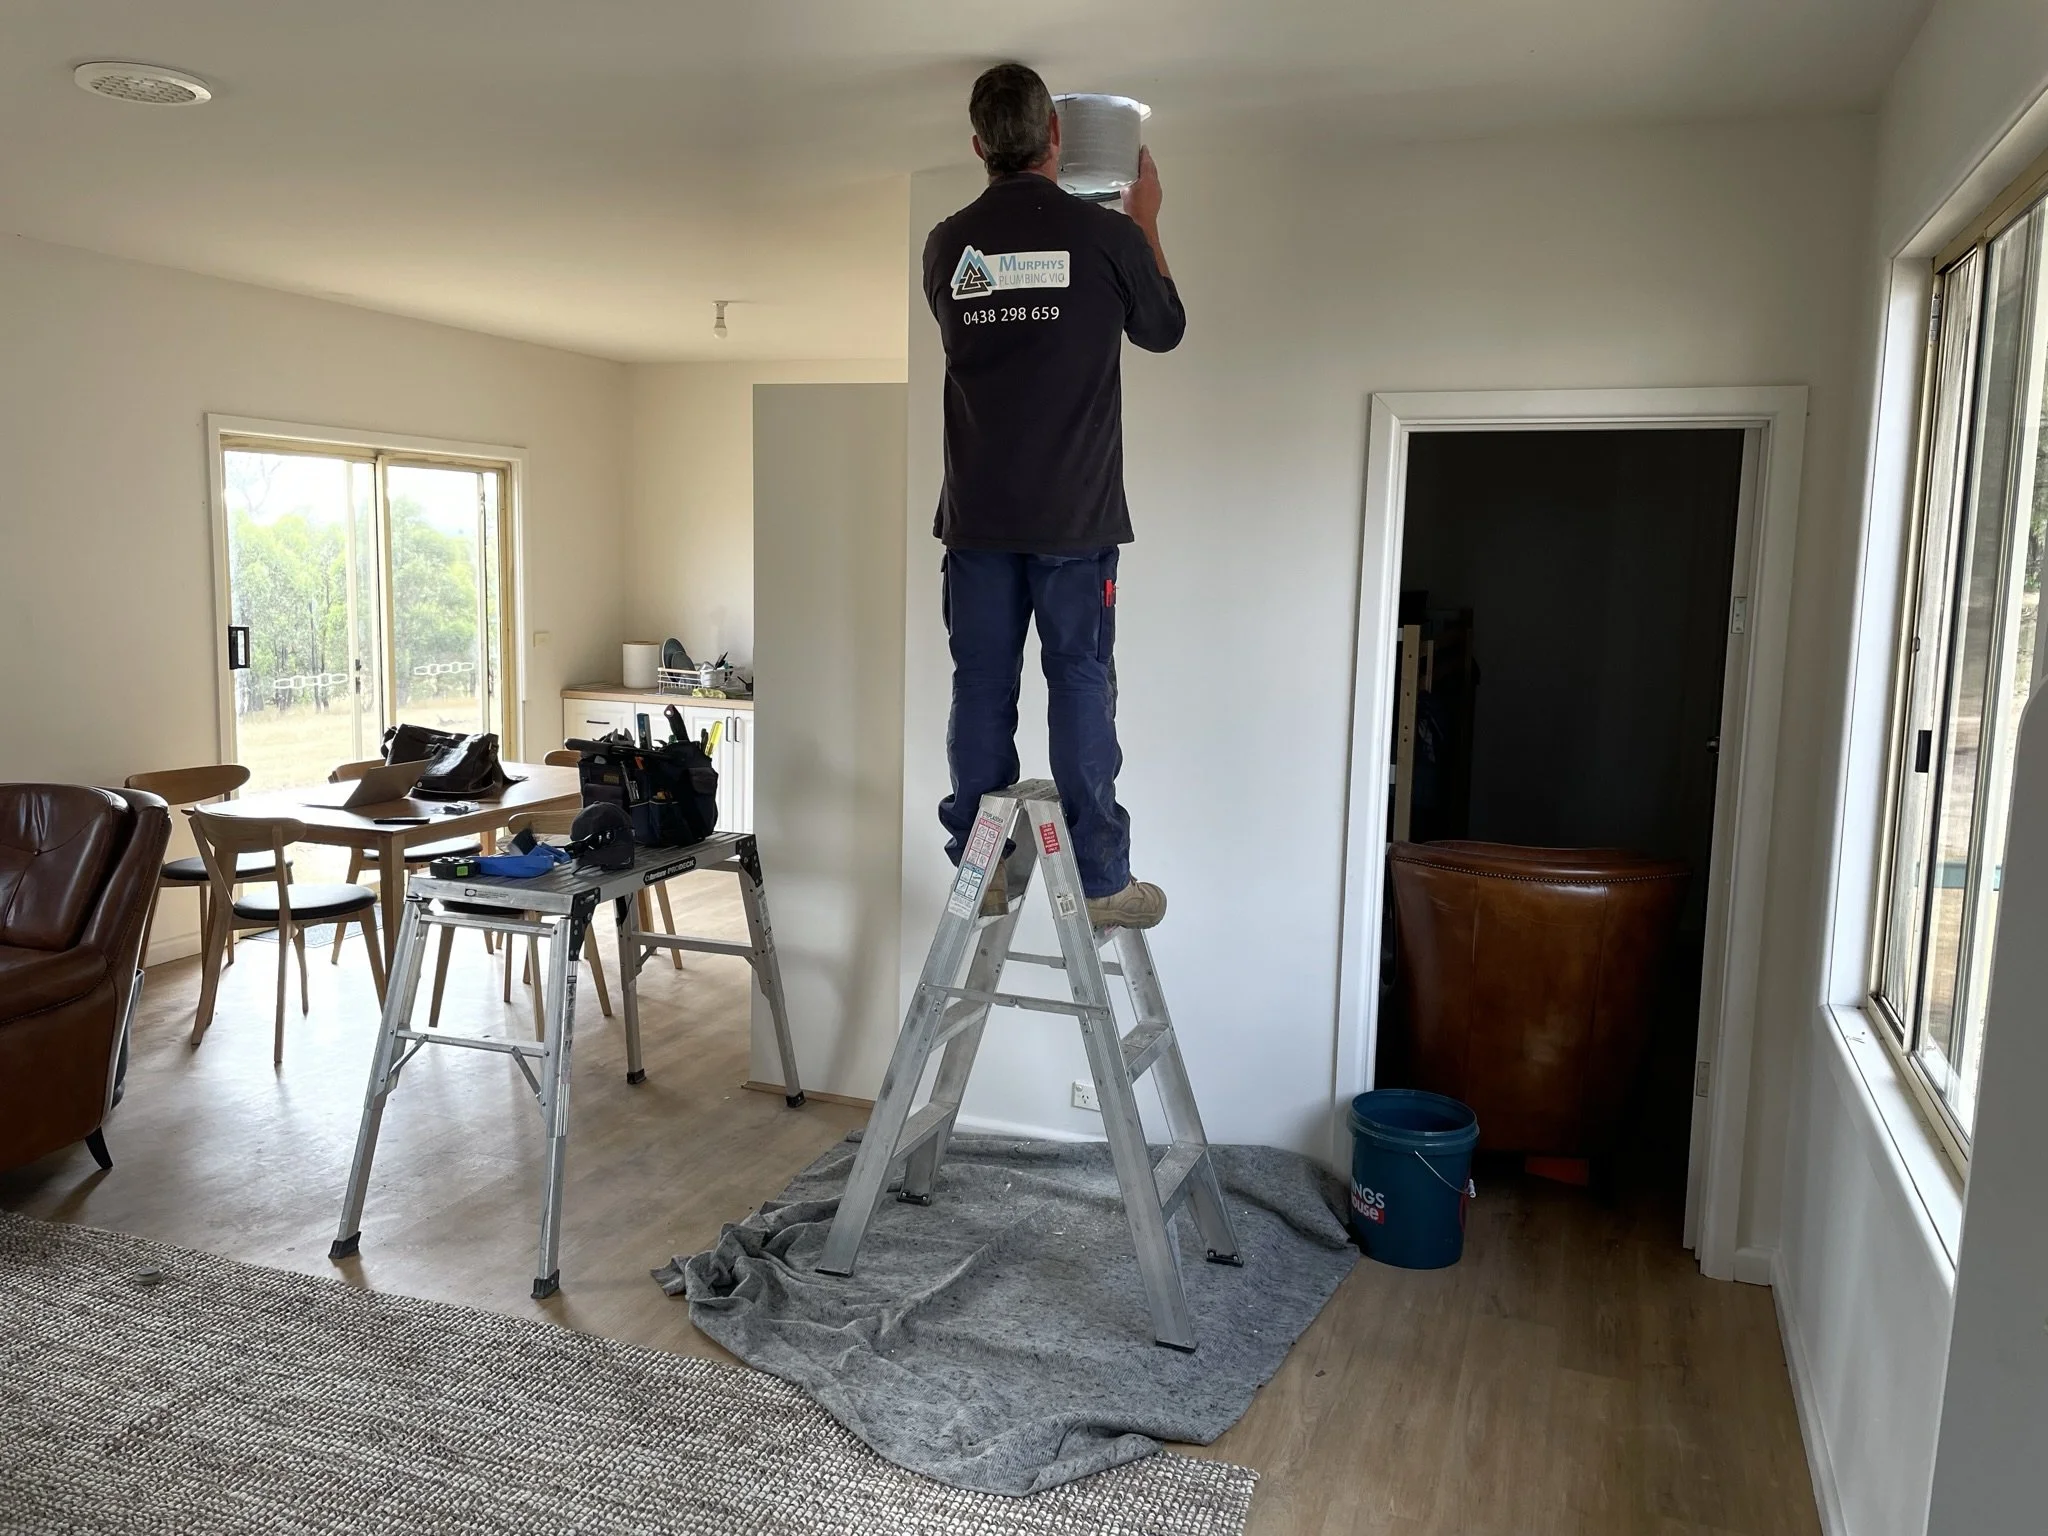
The old fireplace was a carbon monoxide trap and the hot water system was flaky so we replaced both. I was surprised to learn that a certified plumber is necessary for a wooden heater install, but we killed two birds with one stone by getting the same guys to install both hot water and the wood heater on the same day. Wood Heater is a Coonara Aussie Legend Stacker - good for 20sq houses. As the cottage is only 8sq it does a great job. The hot water system is an instantaneous gas-fired heater (not my ideal choice but good enough for now).

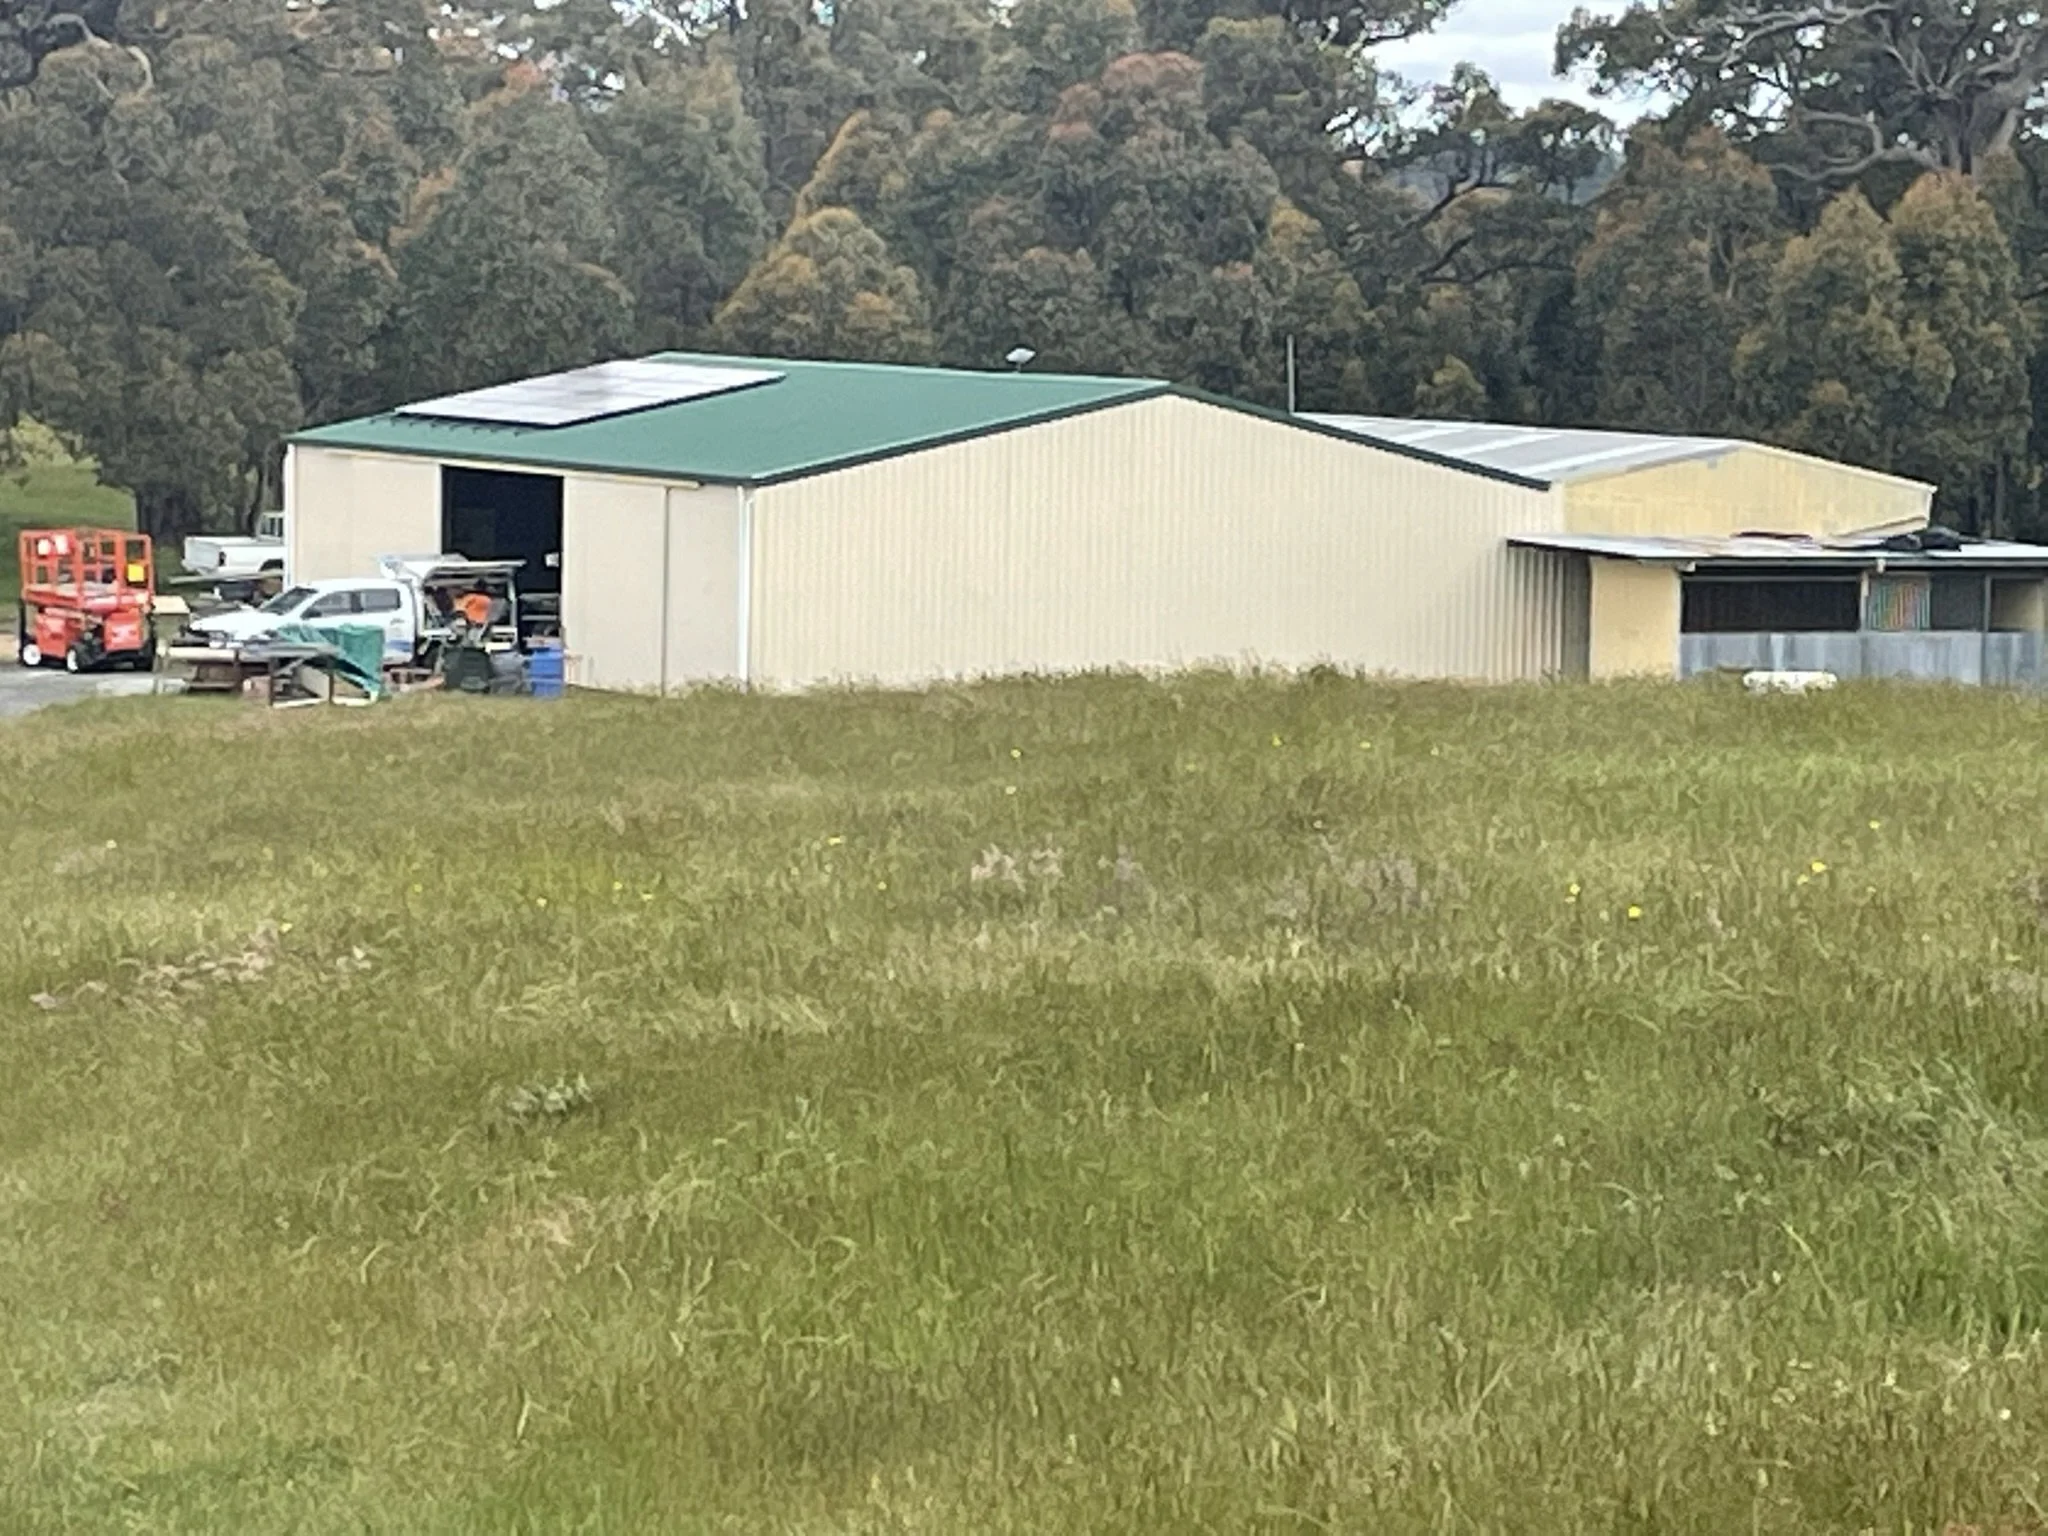
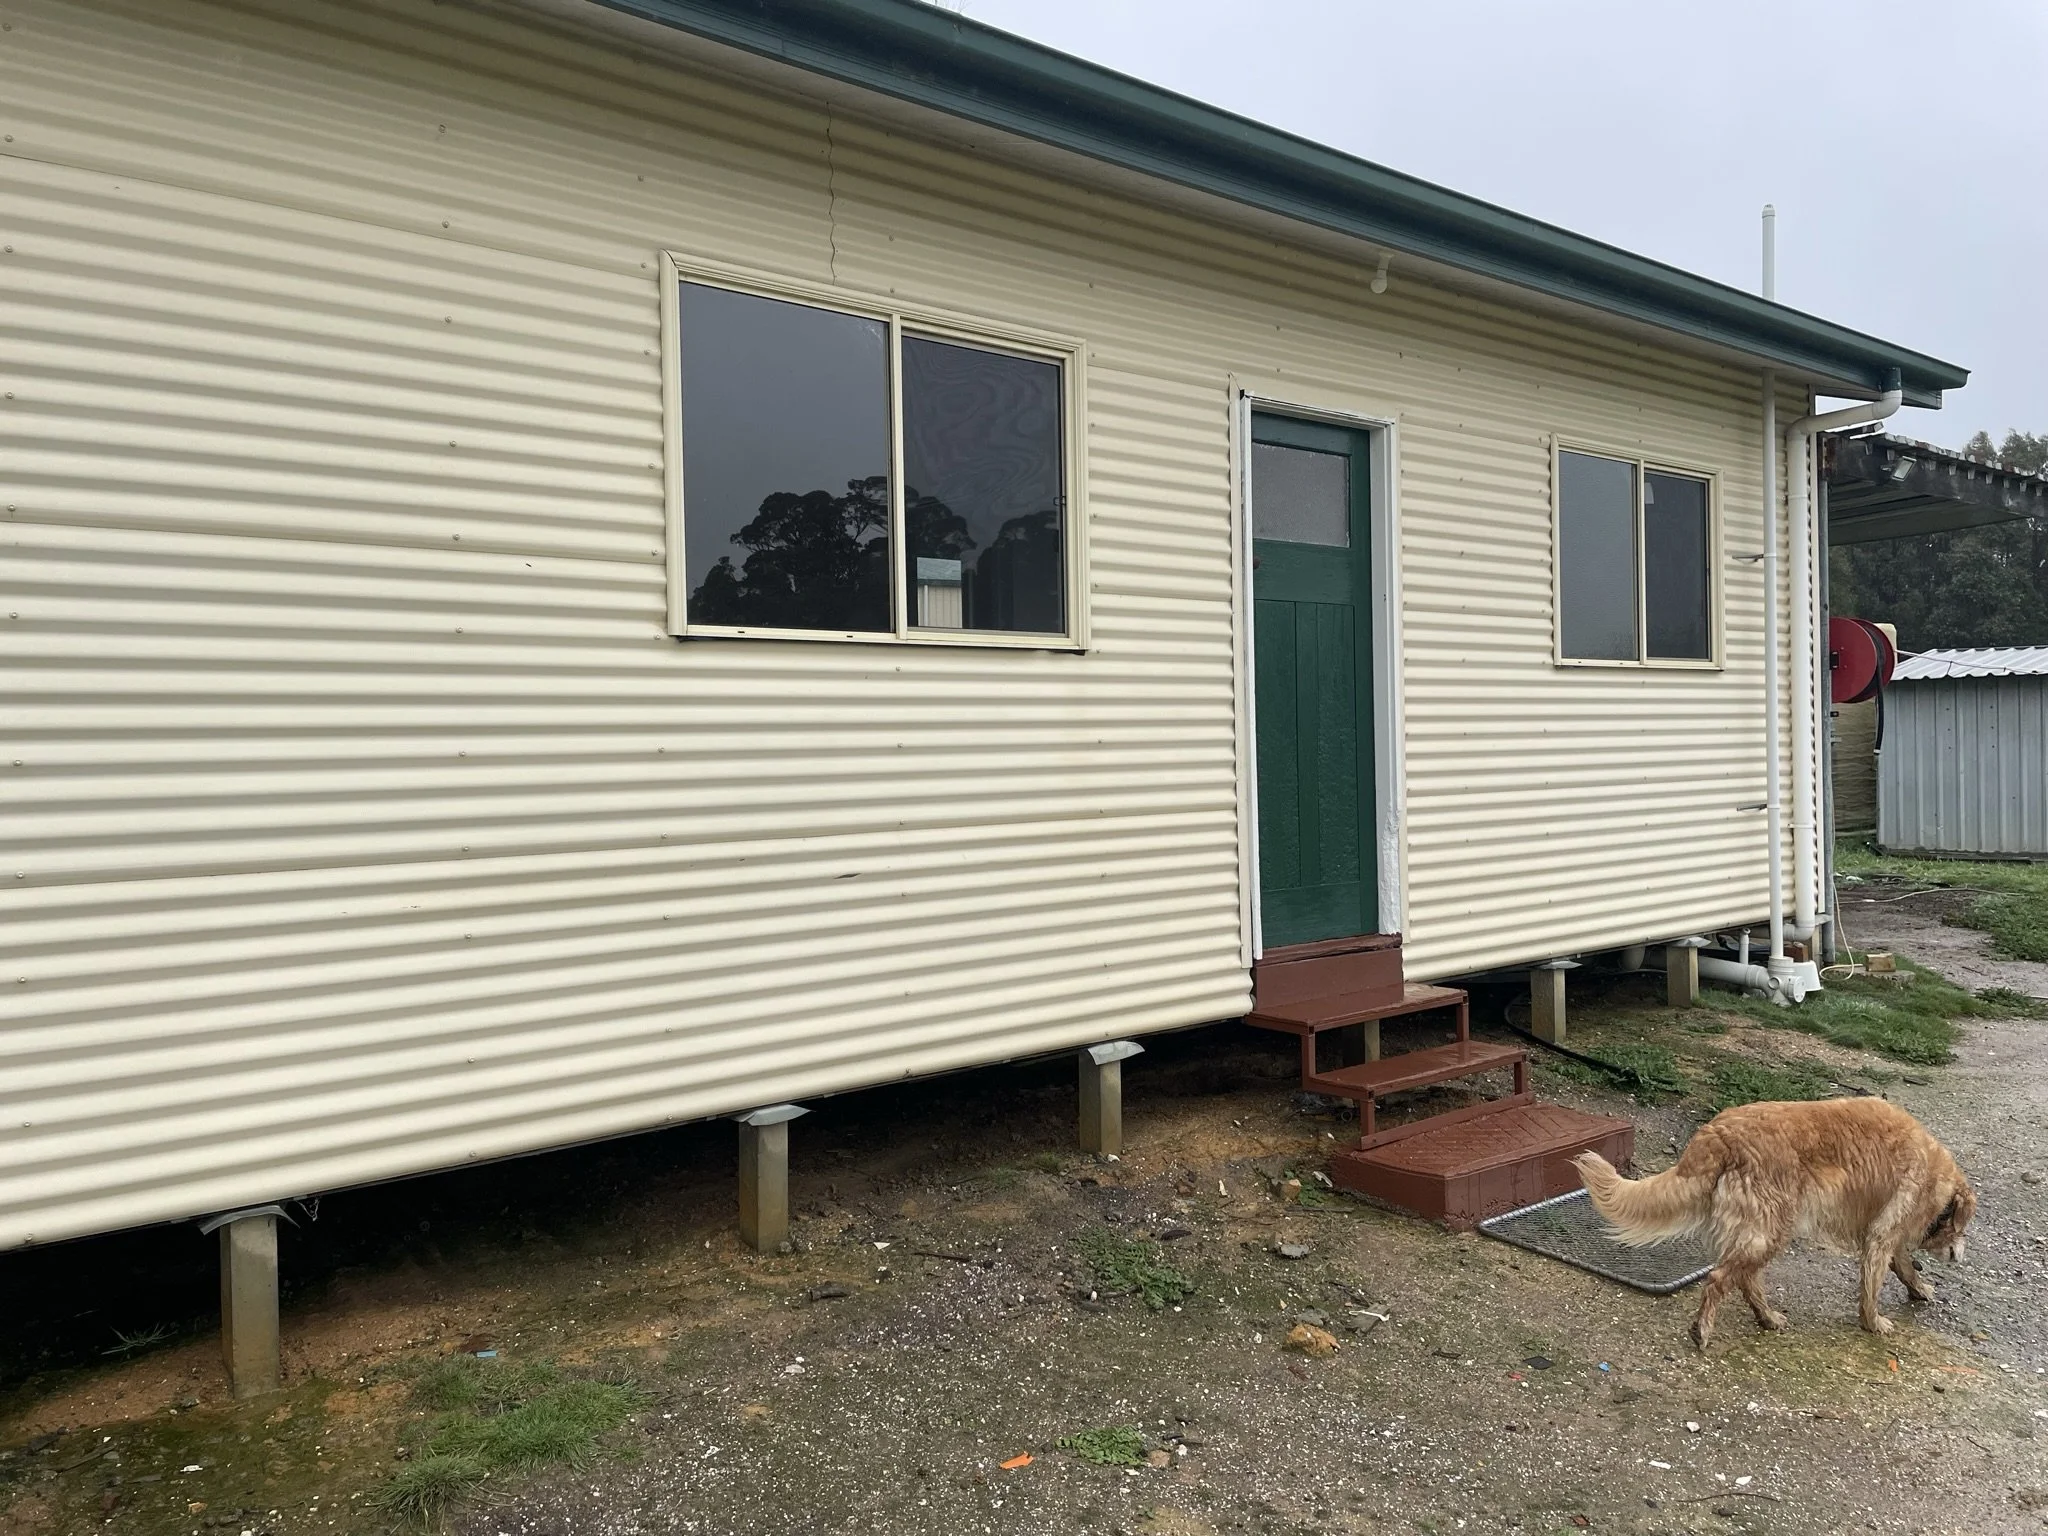
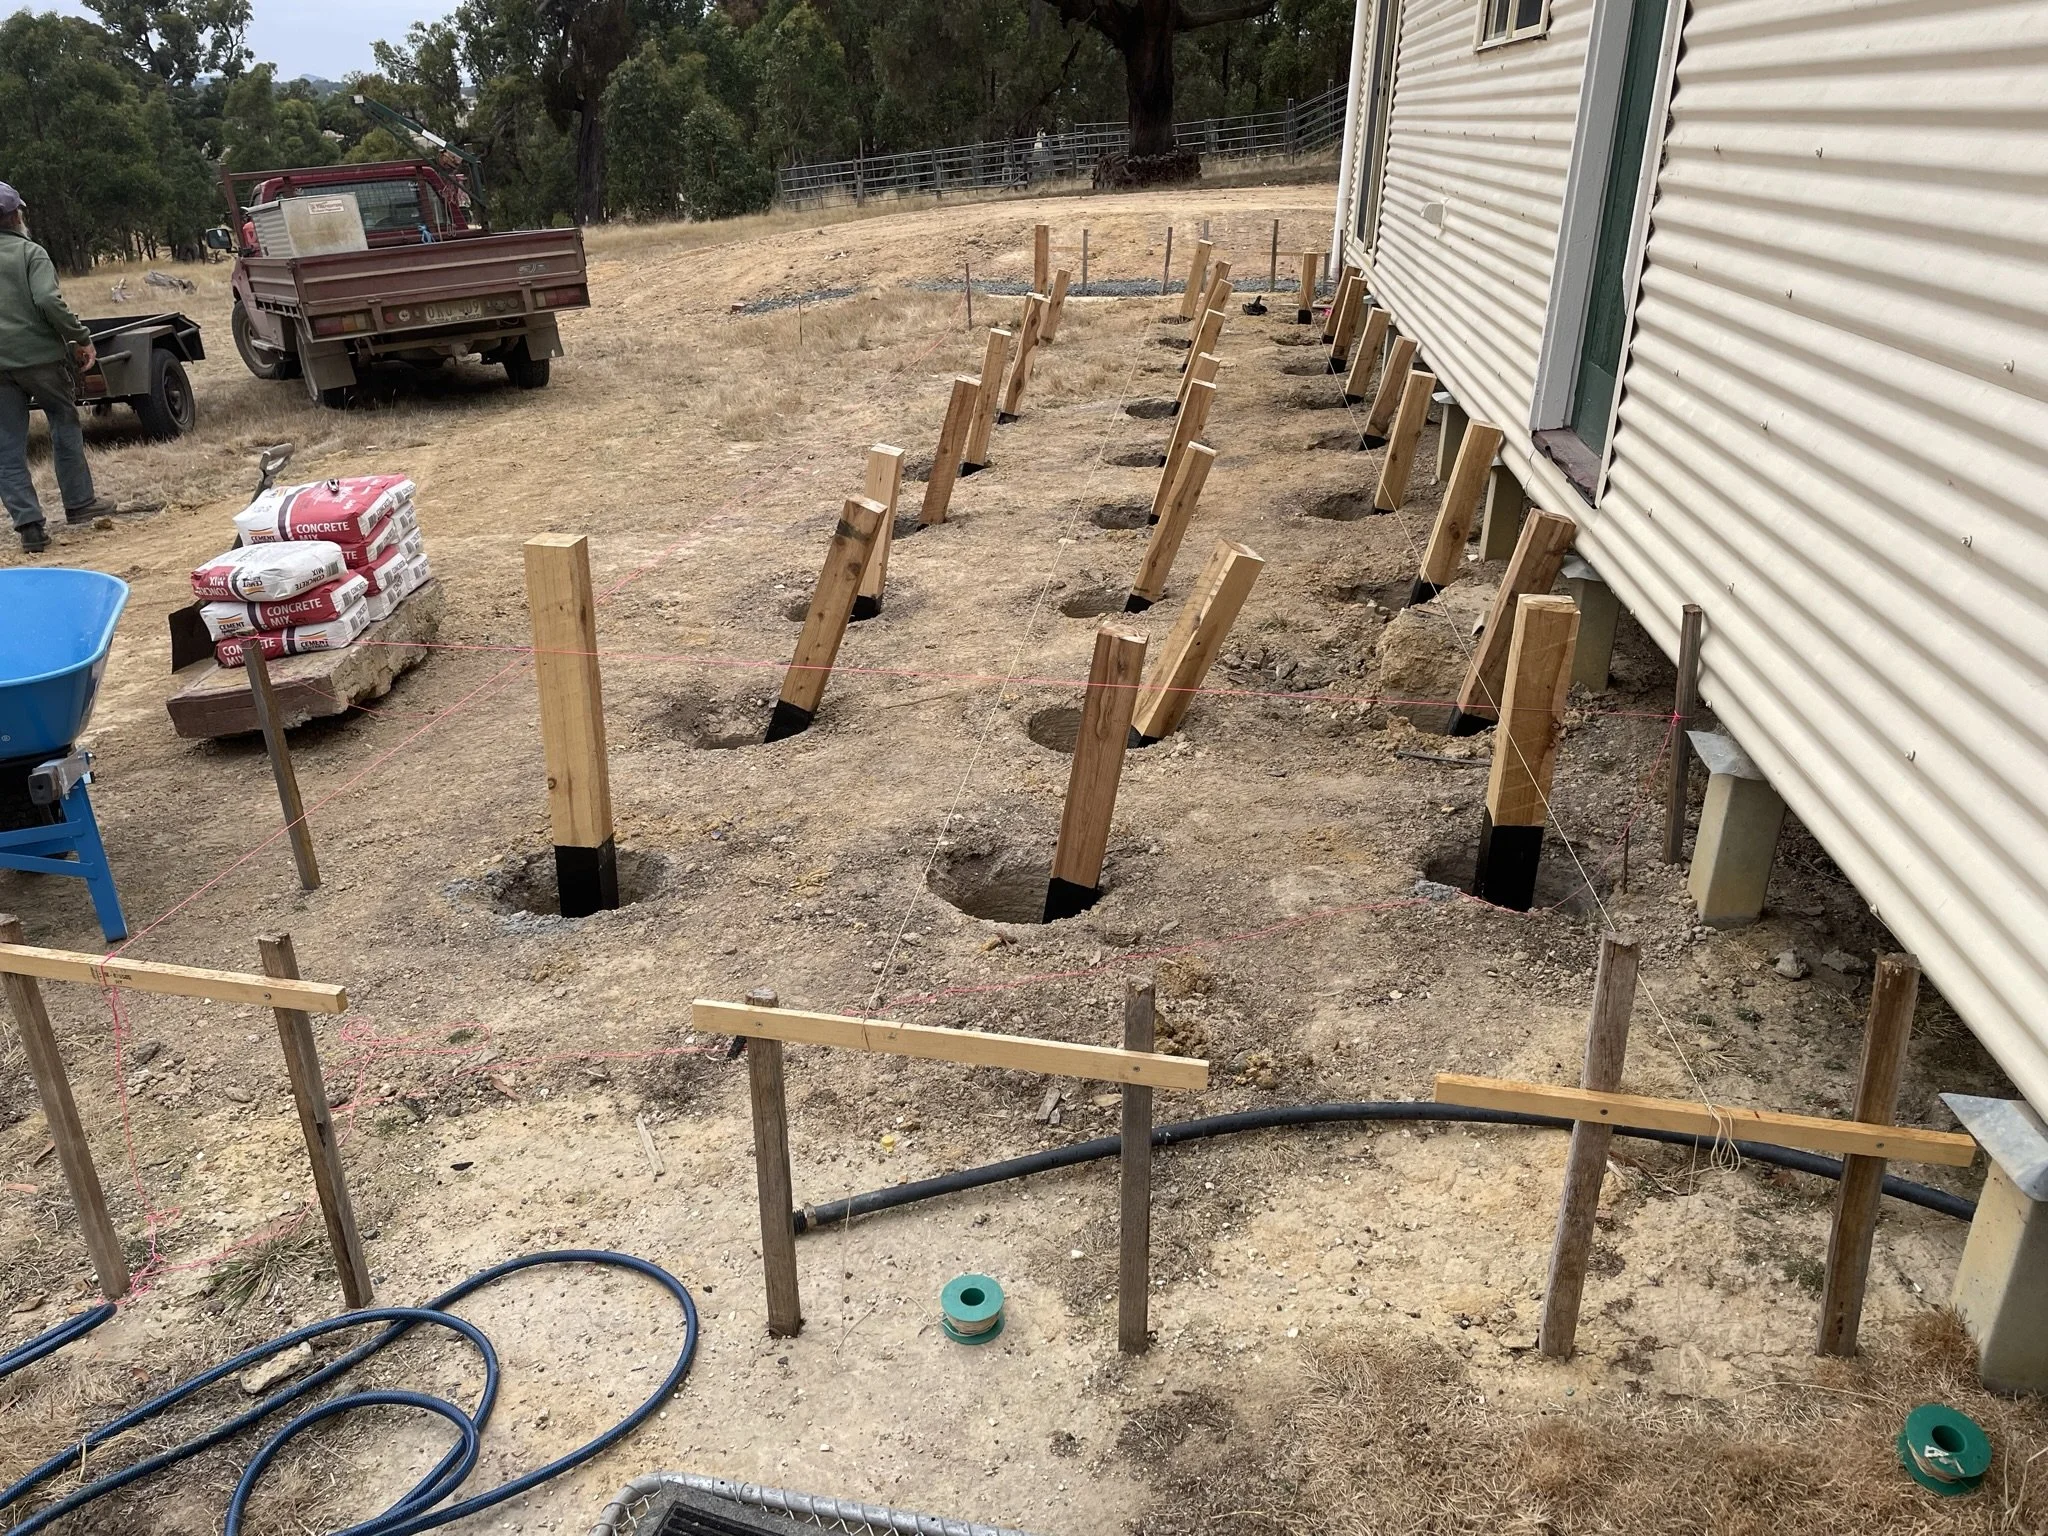
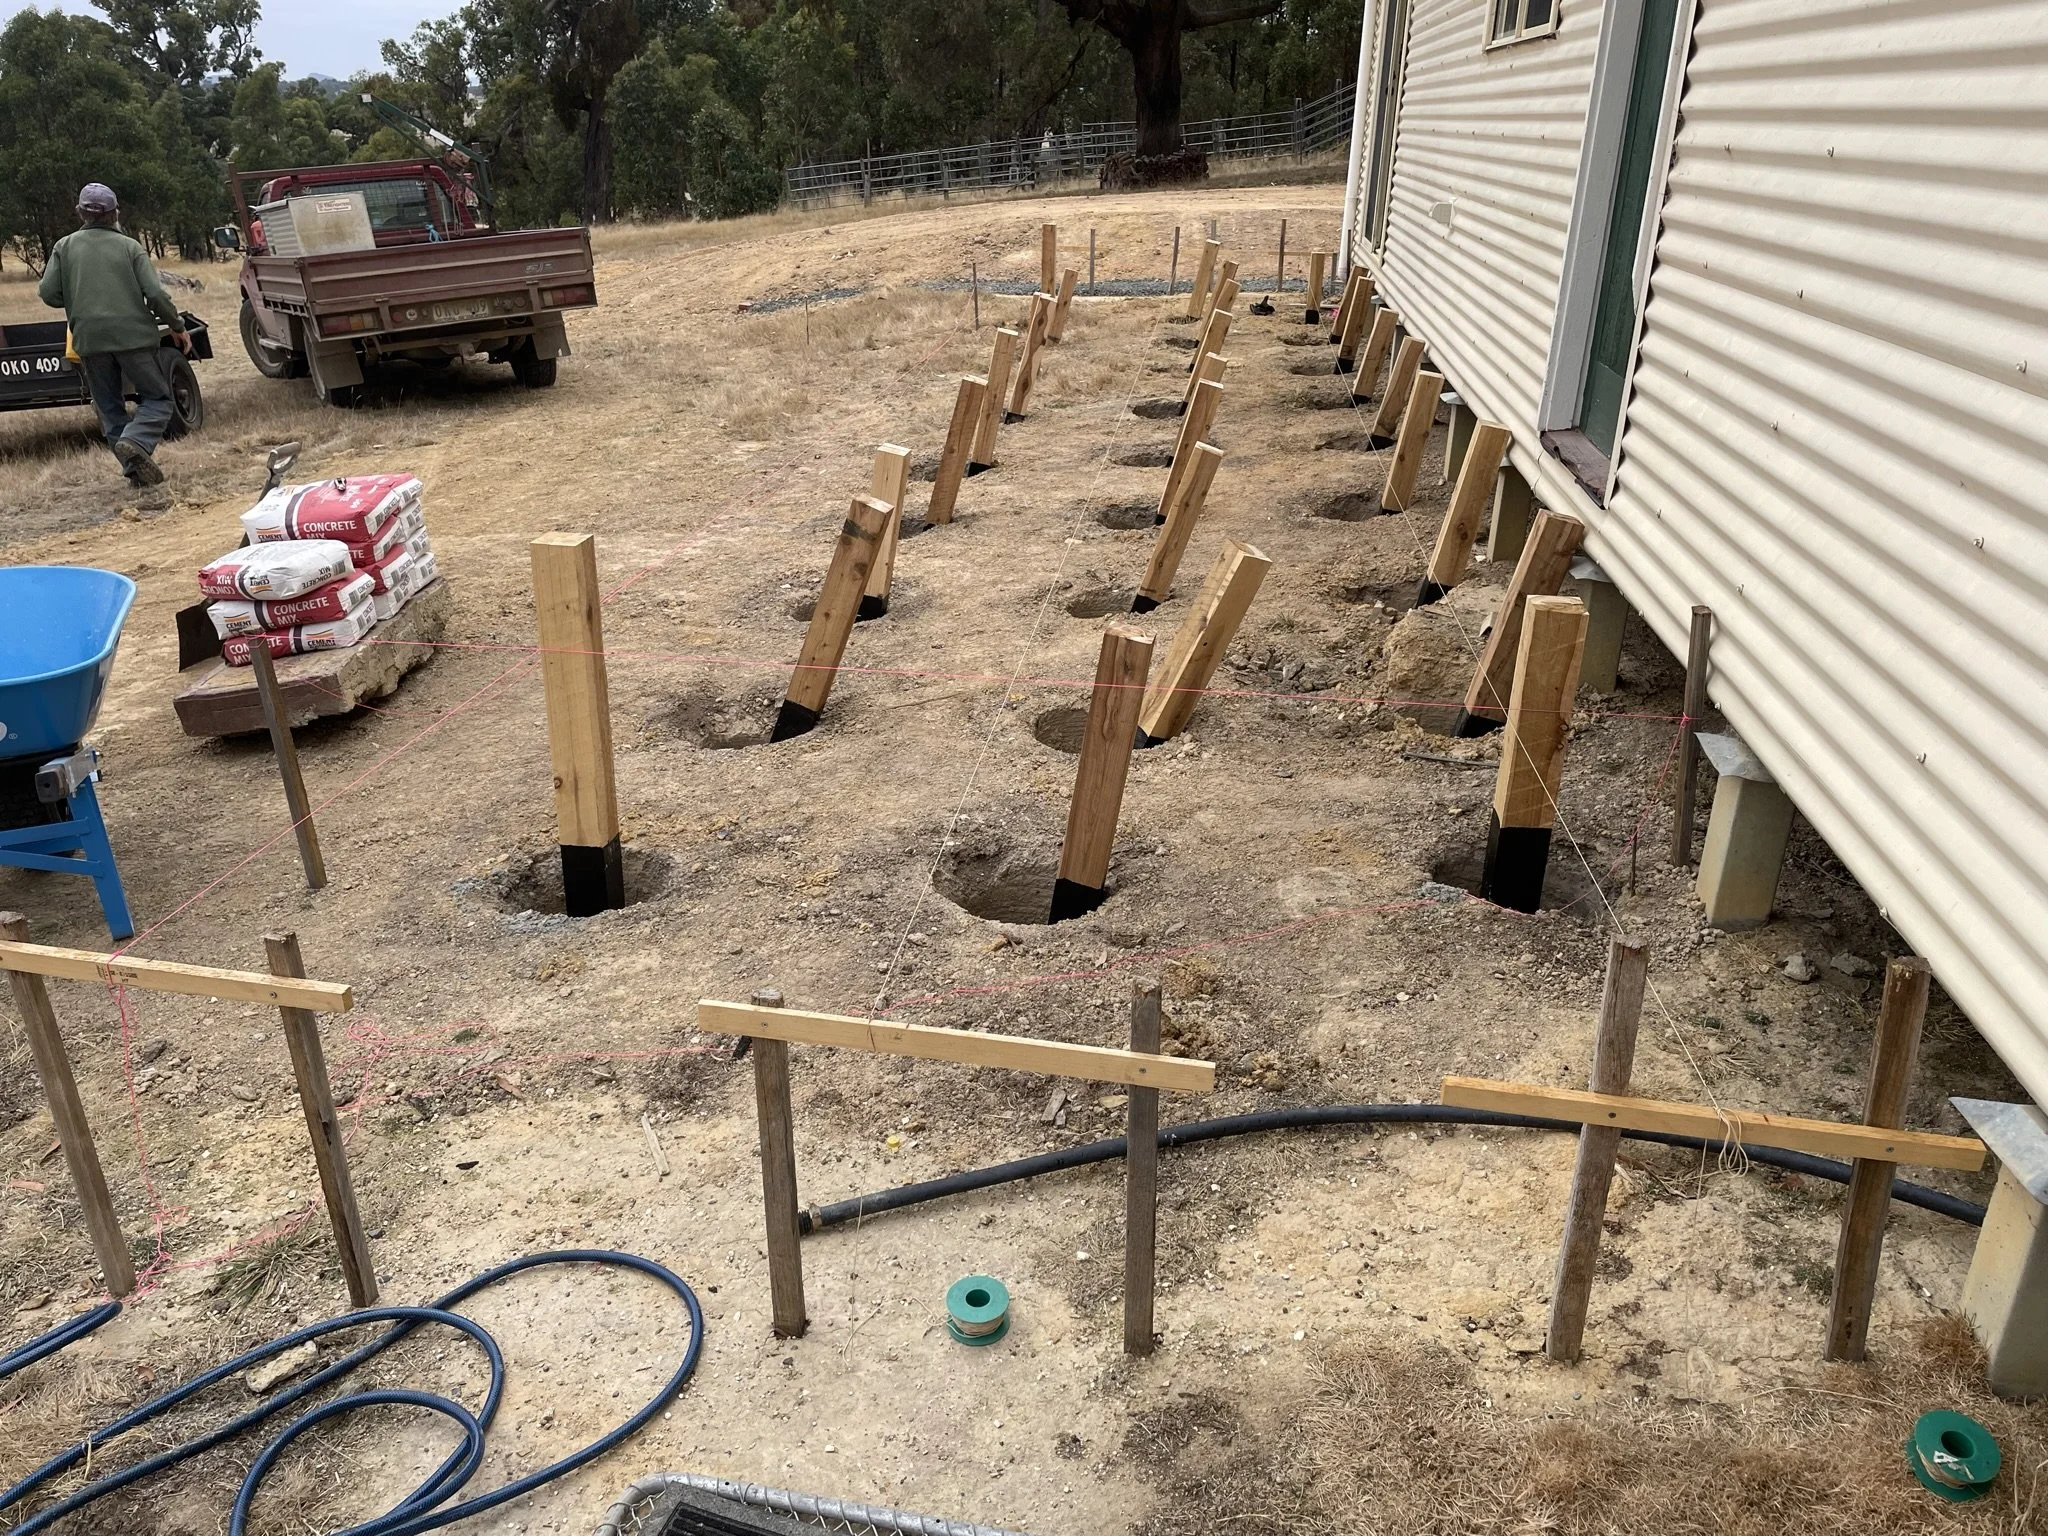
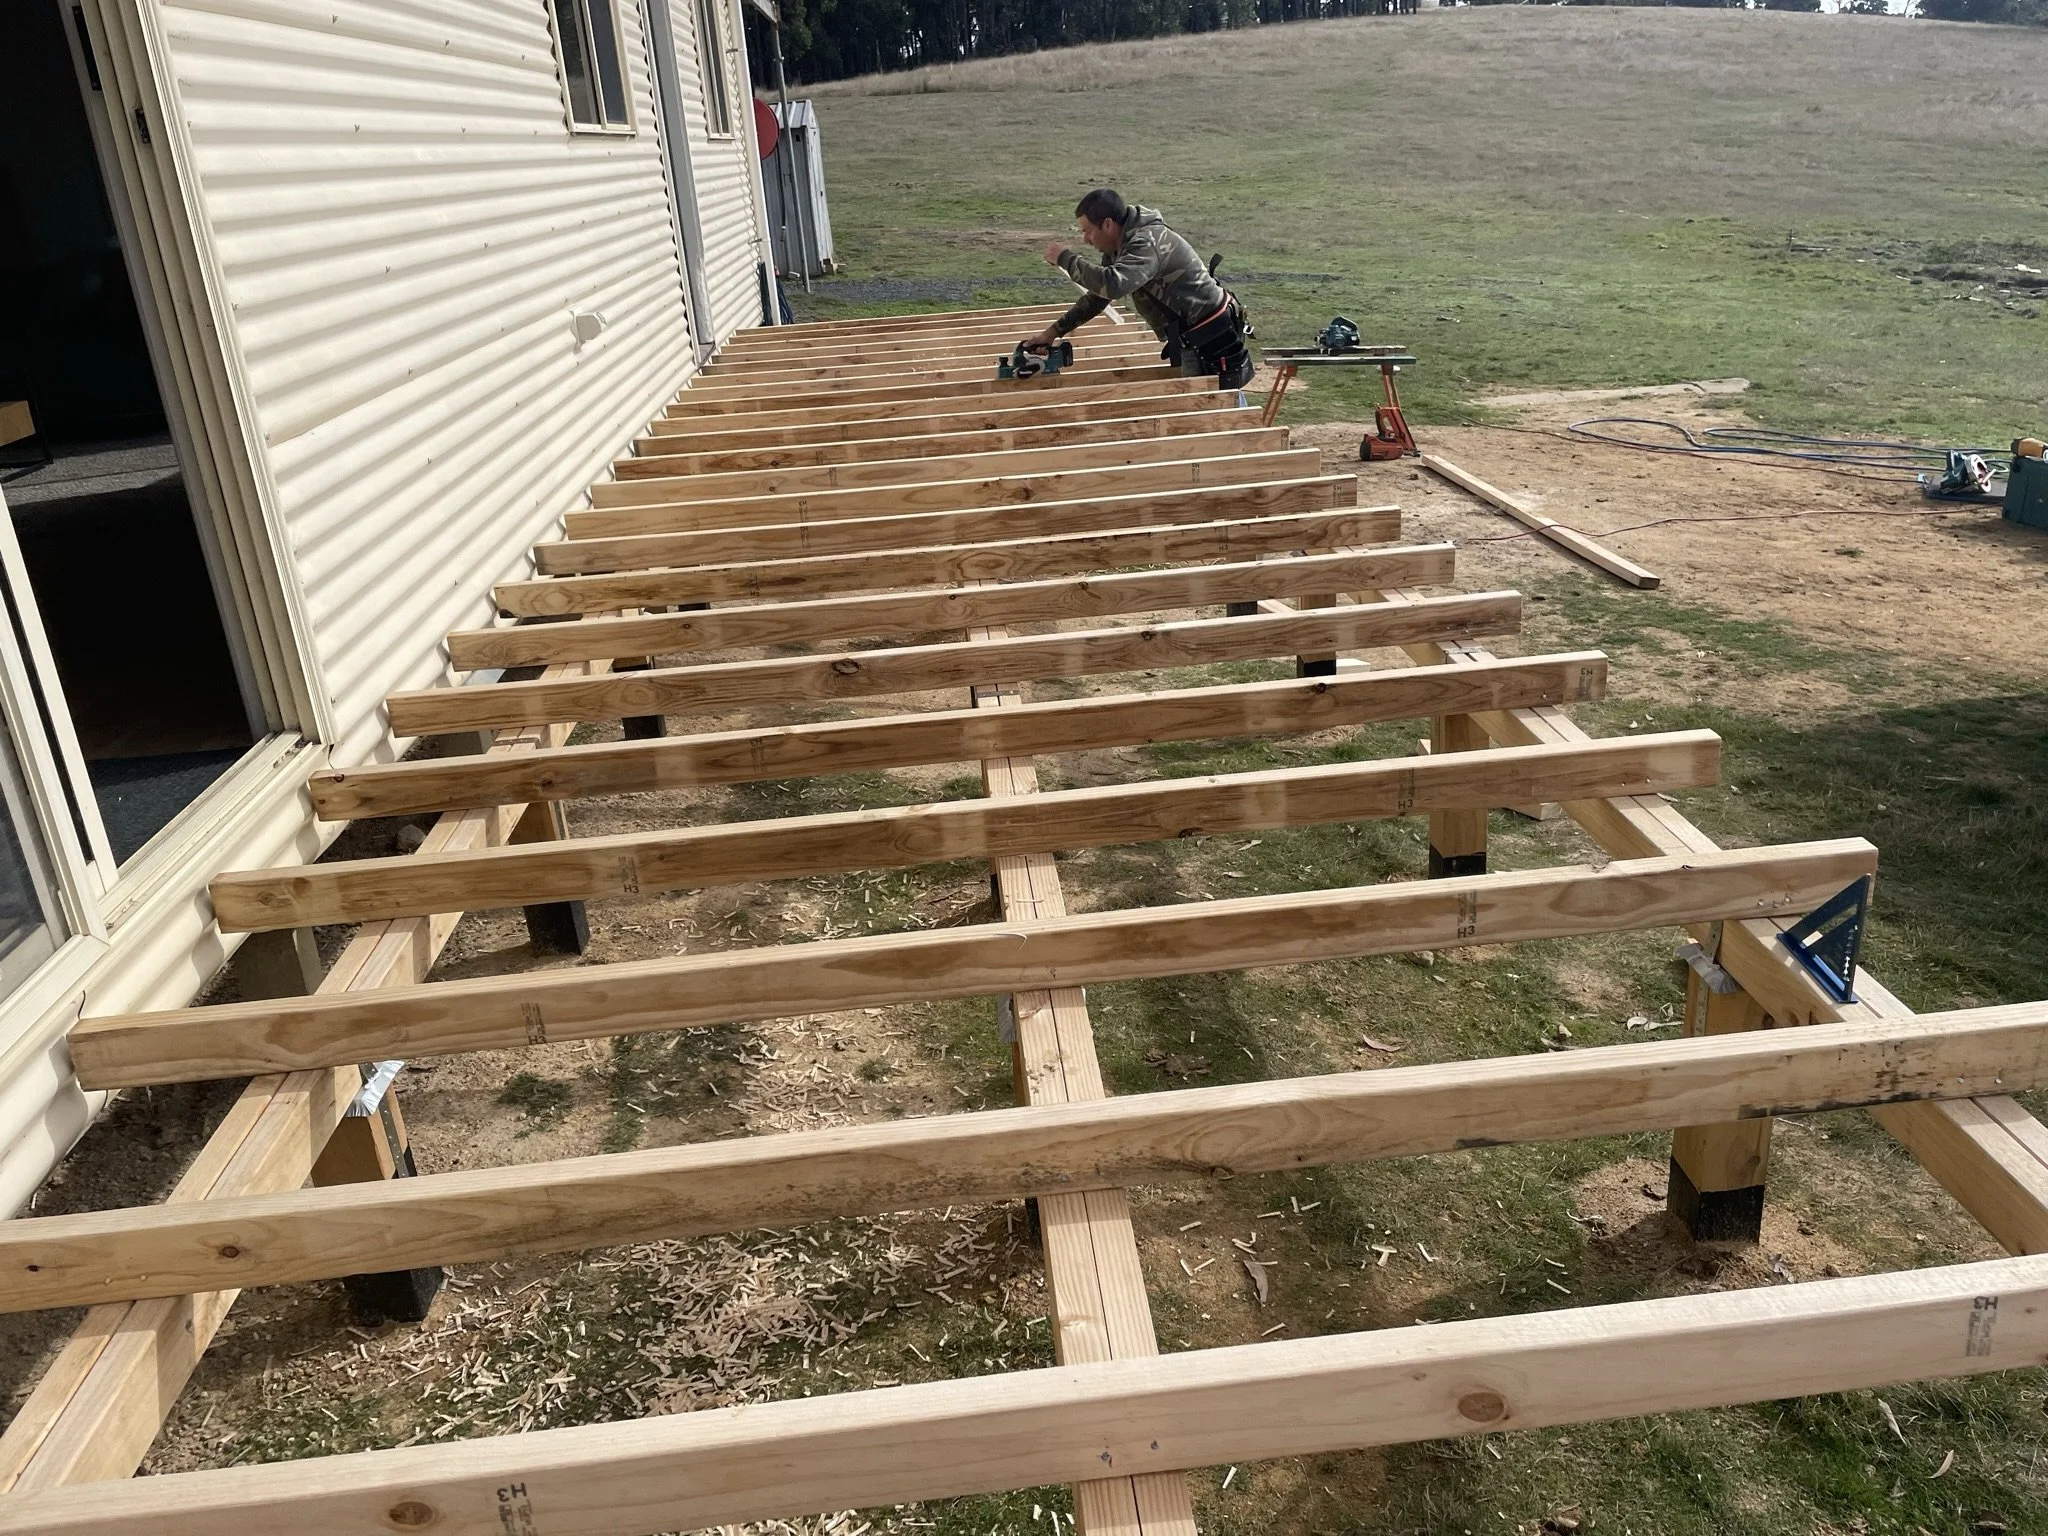
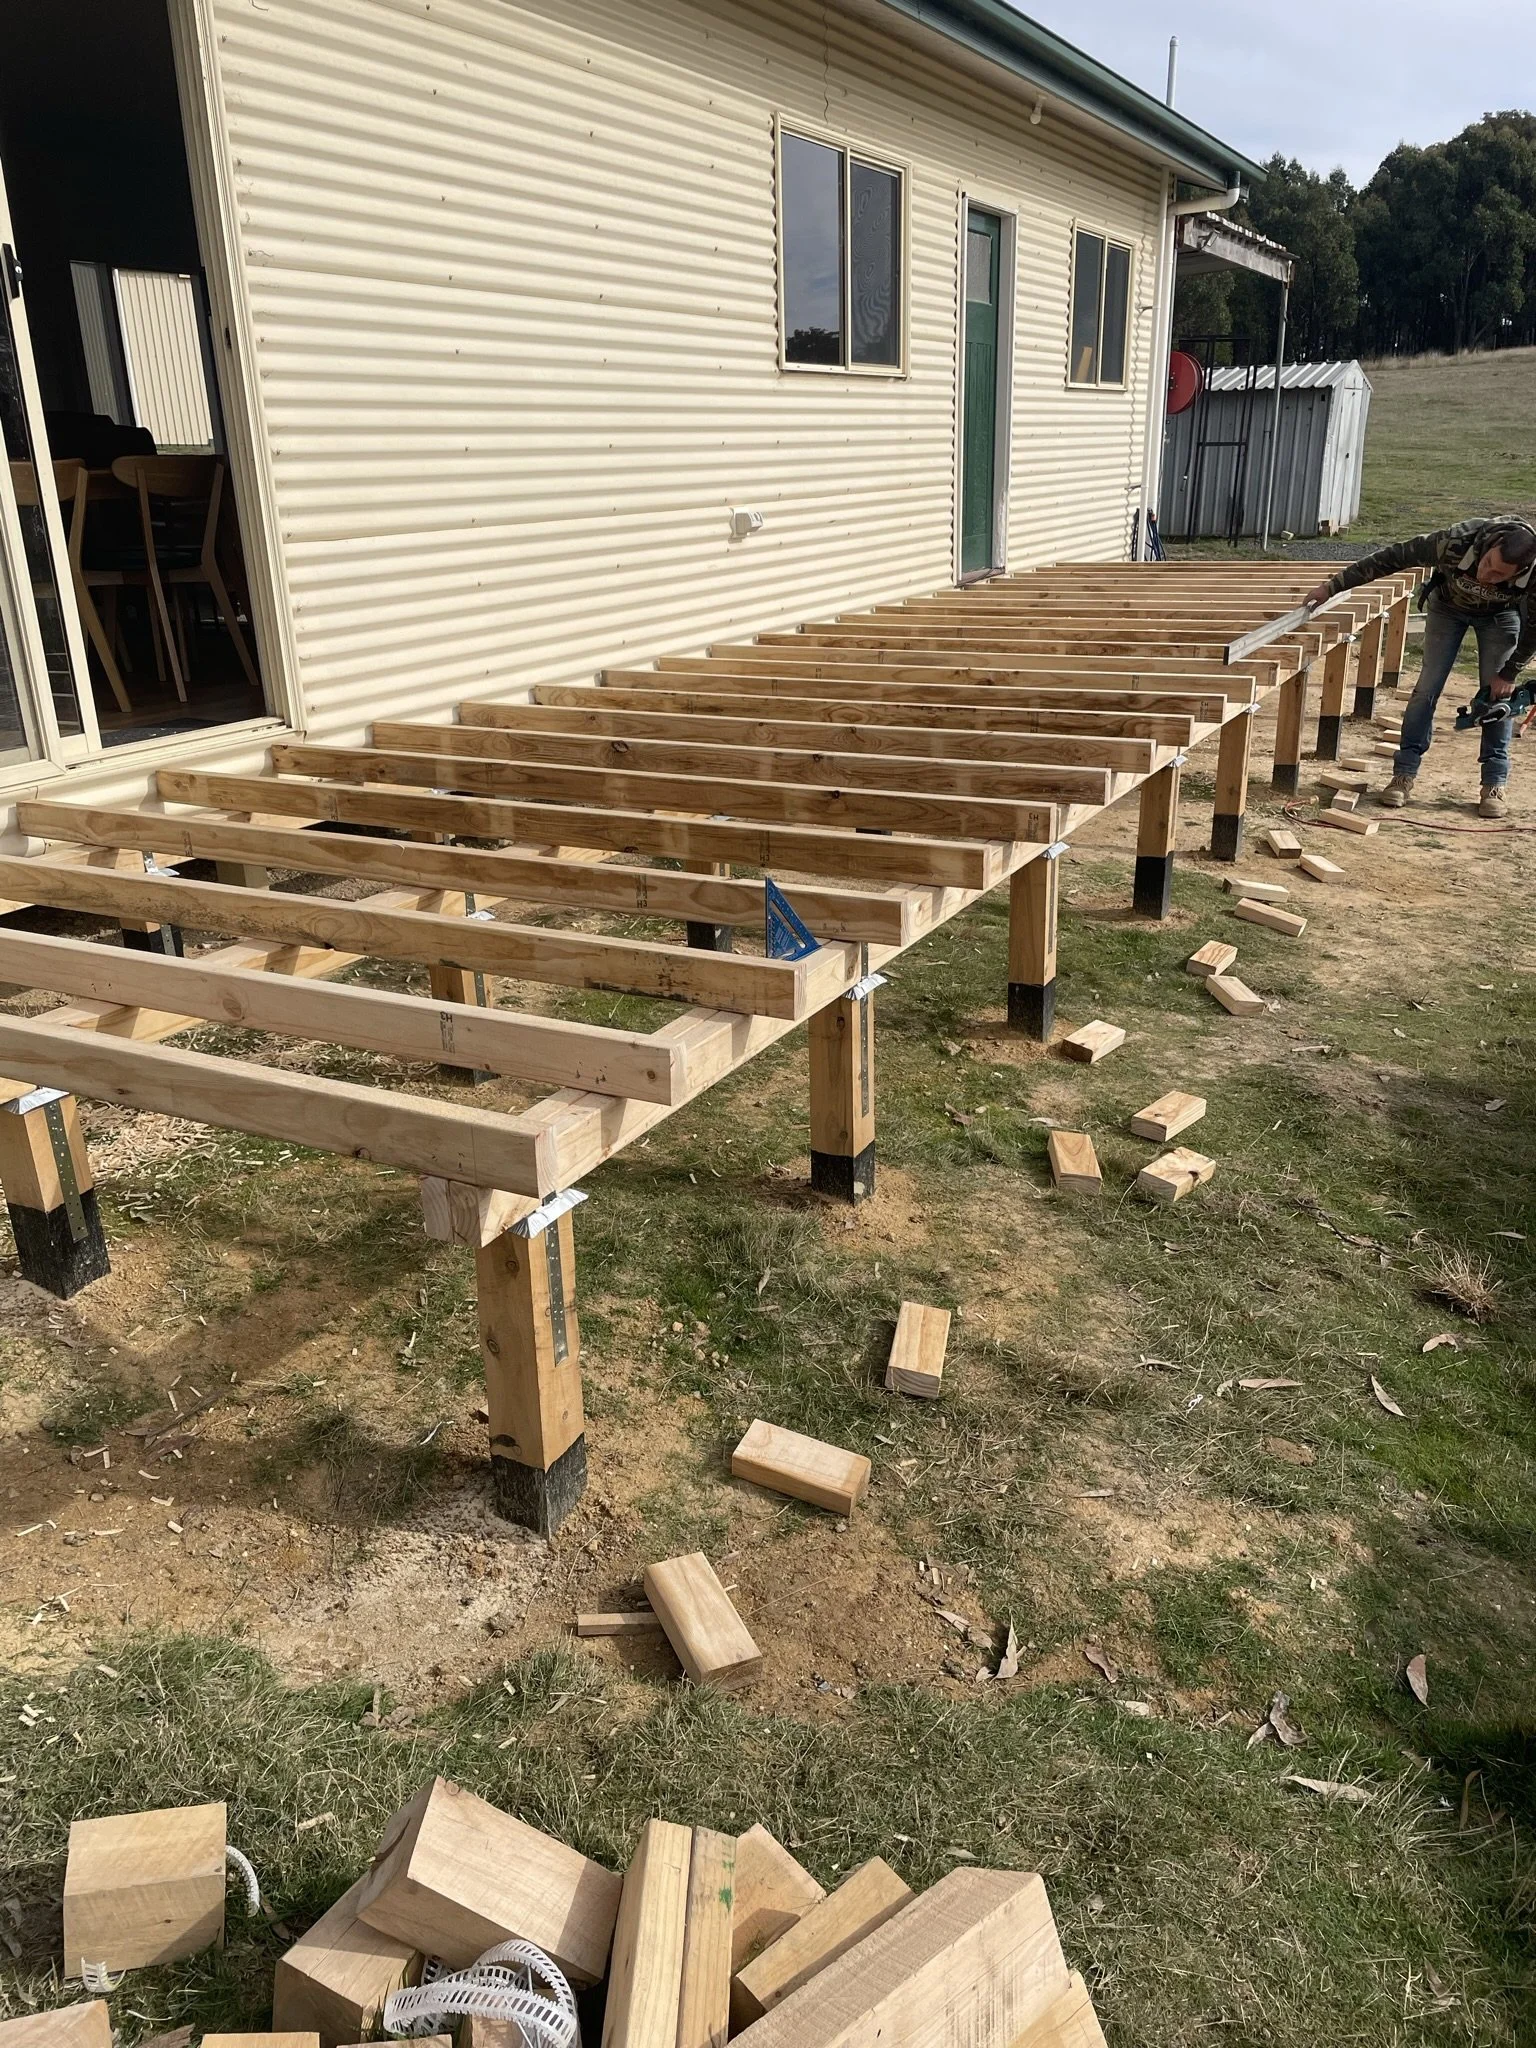
Building a Deck
The house REALLY needed a deck and a front door landing. Originally I intended to do it myself and I did make a start with the help of a farm contractor. However, it was becoming clear that we were going WAY too slow, and that I hadn’t necessarily designed it to be optimal… i.e. it was overbuilt!
Firstly we got some holes (27) dug for the posts, then I cut the posts, painted them with tar and dropped them in place. 60 bags of hand-mixed concrete later we had the posts installed ready to be cut to size (getting a hint as to why this was taking so long?). Found the level with a new laser level I picked up on super-special and then spent another day cutting them to height. After laminating the bearers, I looked at our progress and decided to call in a carpenter. A local guy Sam, came along. On his first morning he acheived more than I would have in 3 days. Just goes to show a) have the right tools b) know what you’re going to do c) have the skills from decades of experience to do it quickly.
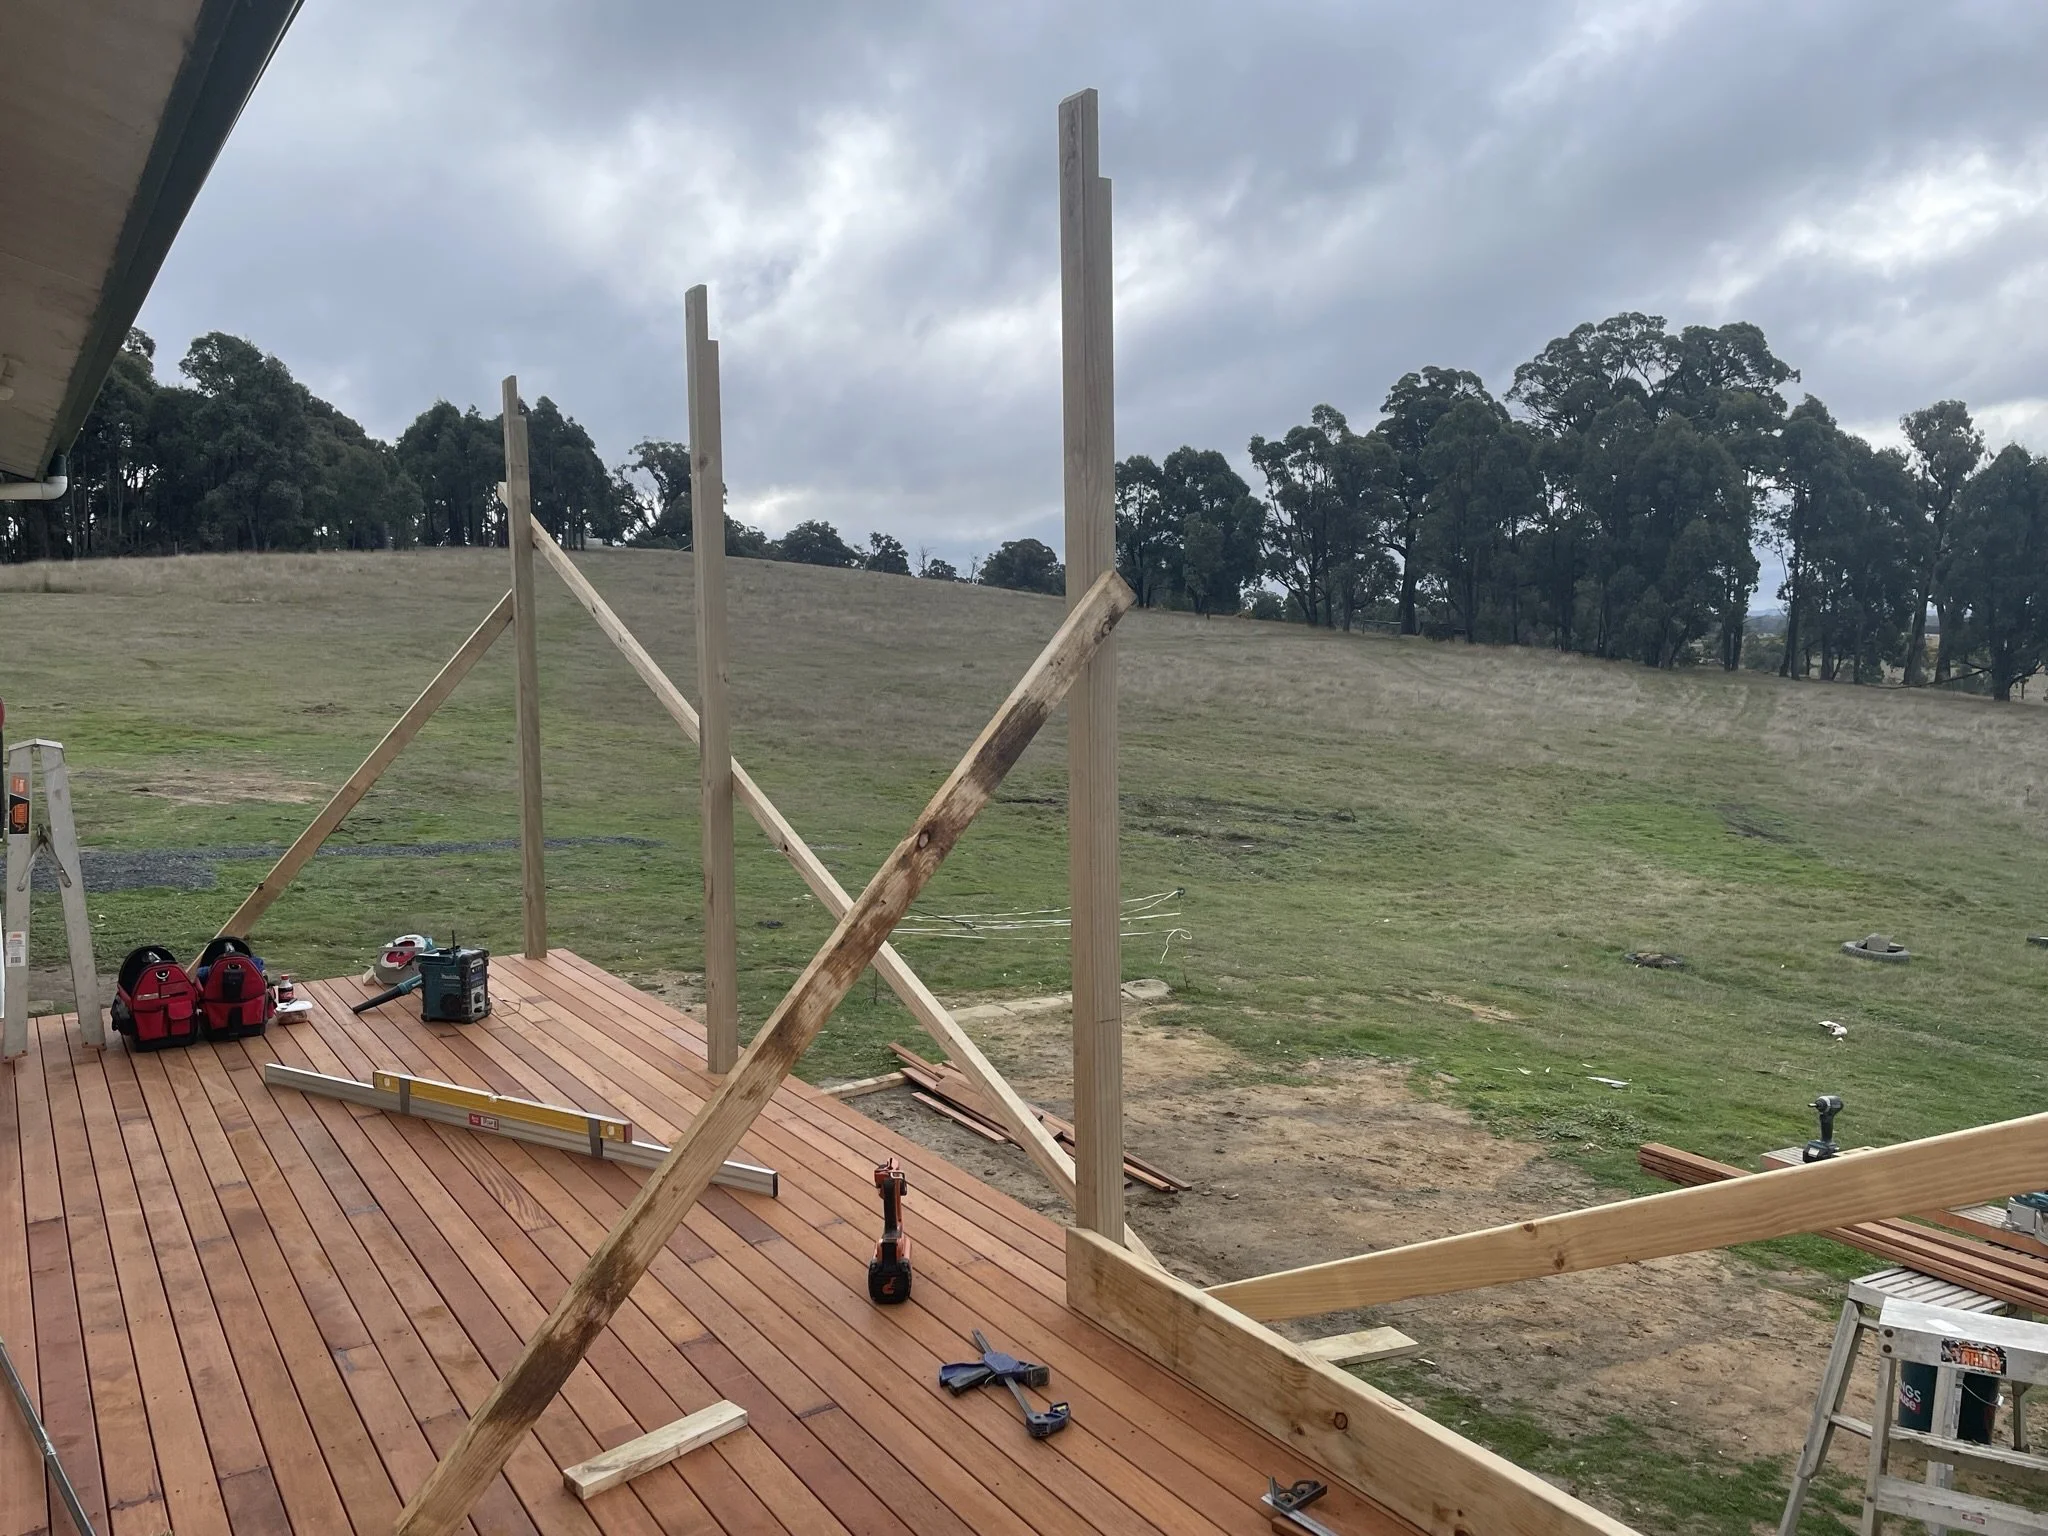
After this quick start, we upped our ambition and decided to include the verandah roof as well as the front landing. I could not be happier!
We inverted the slope of the verandah to maximize the view and the winter sun. Let’s see what happens in Summer!


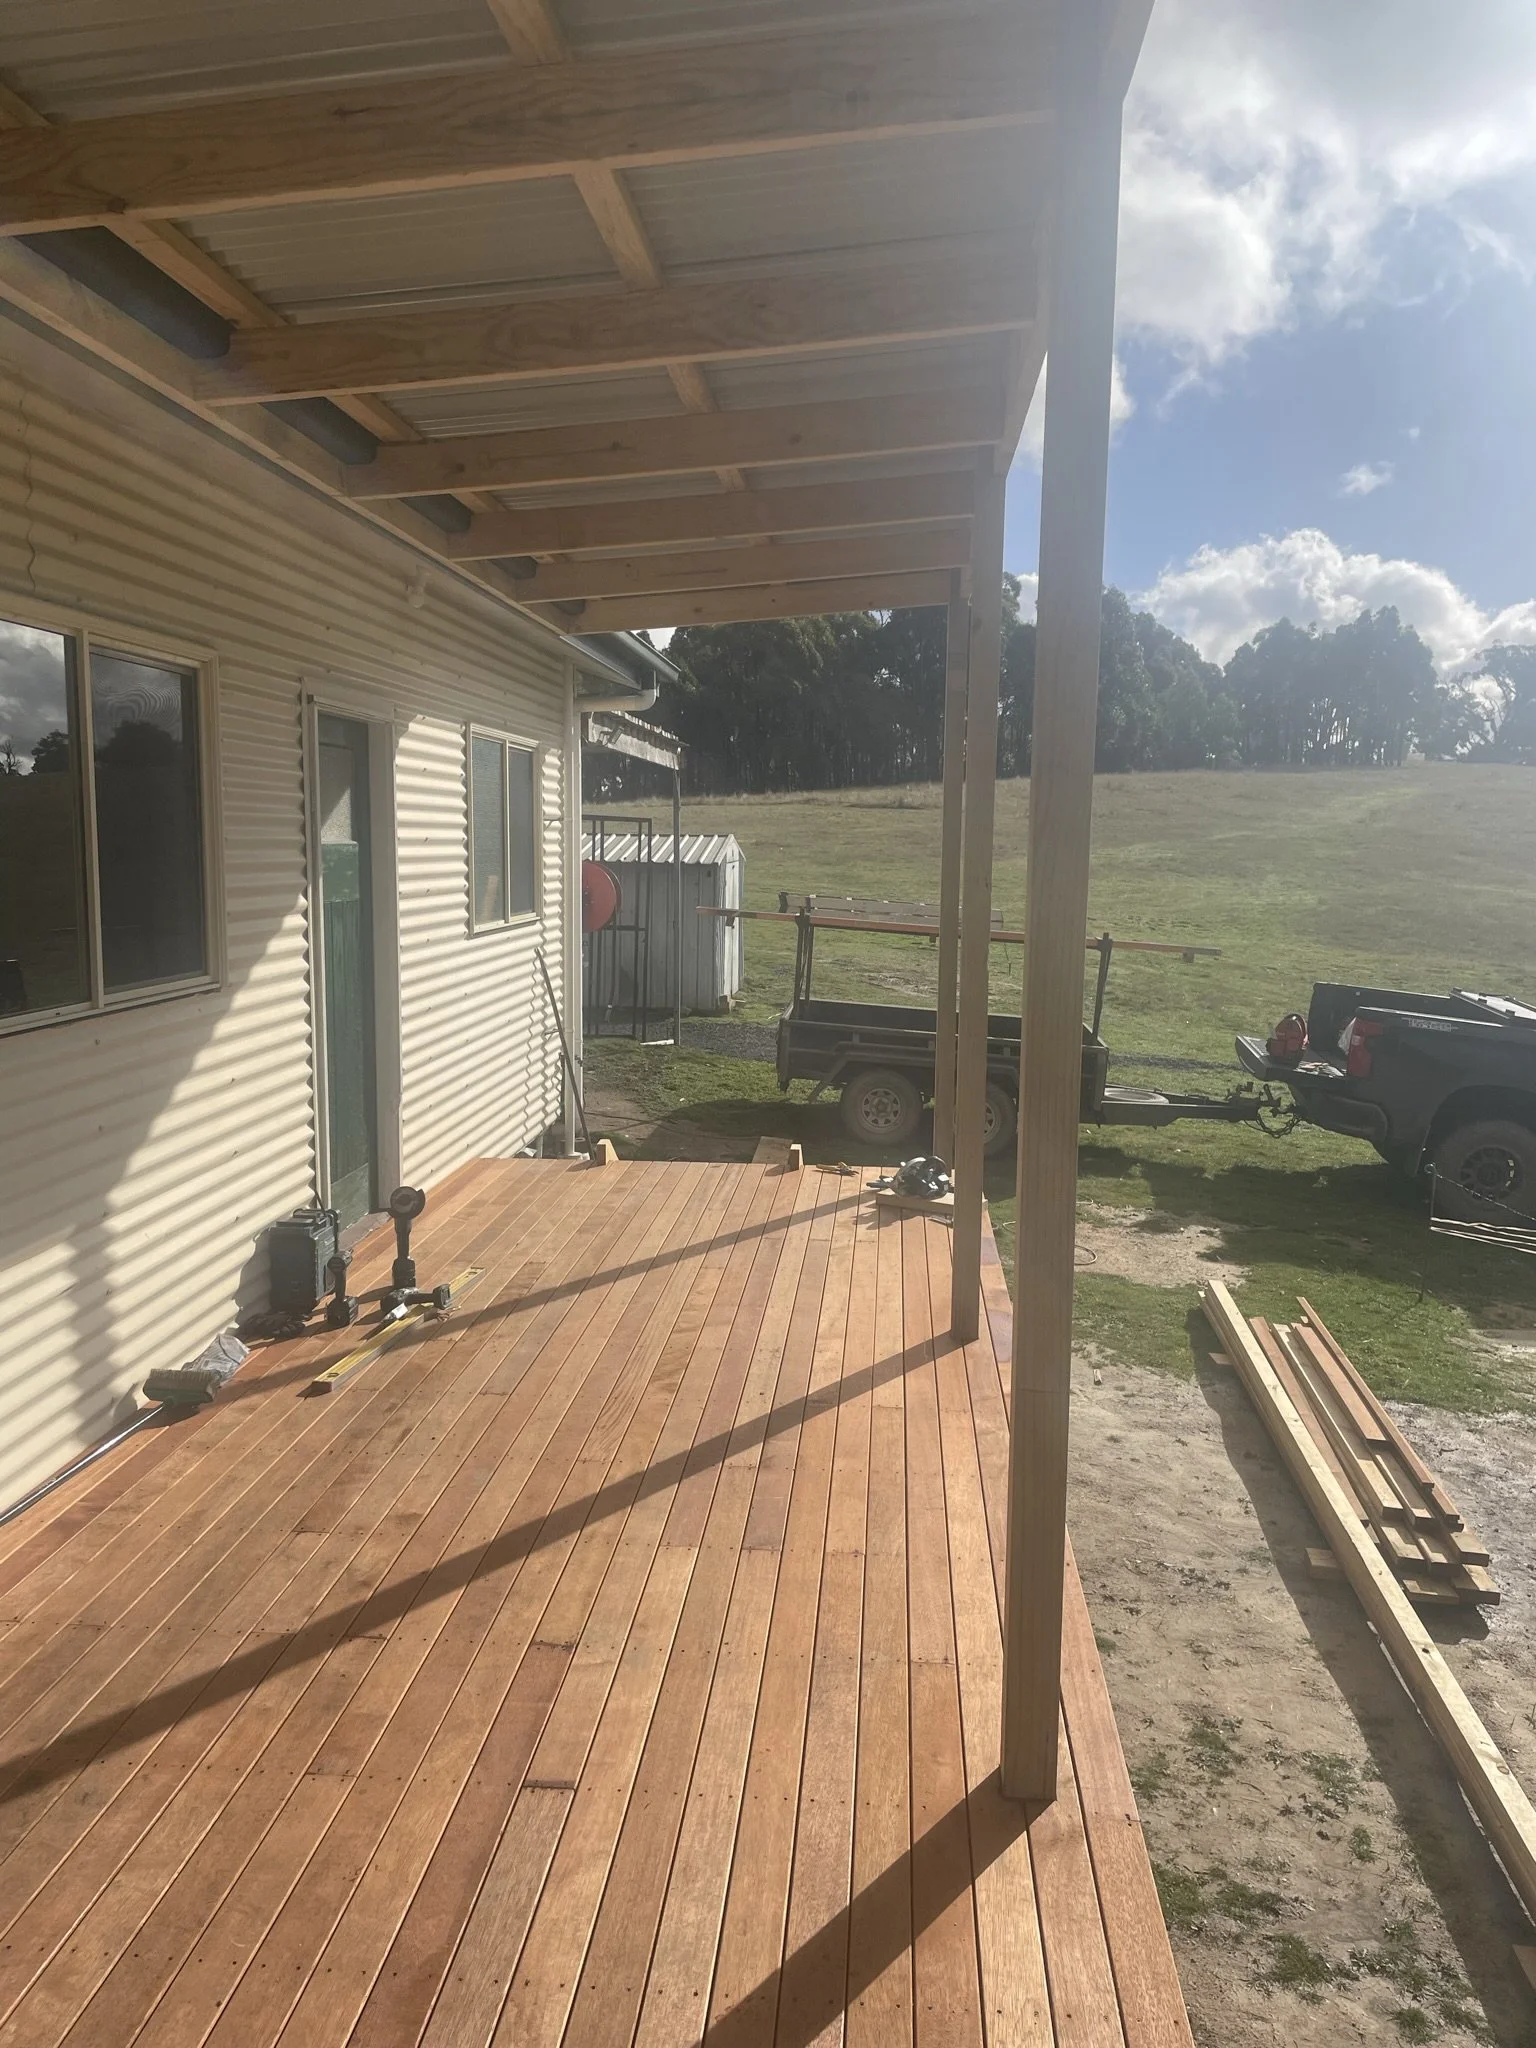

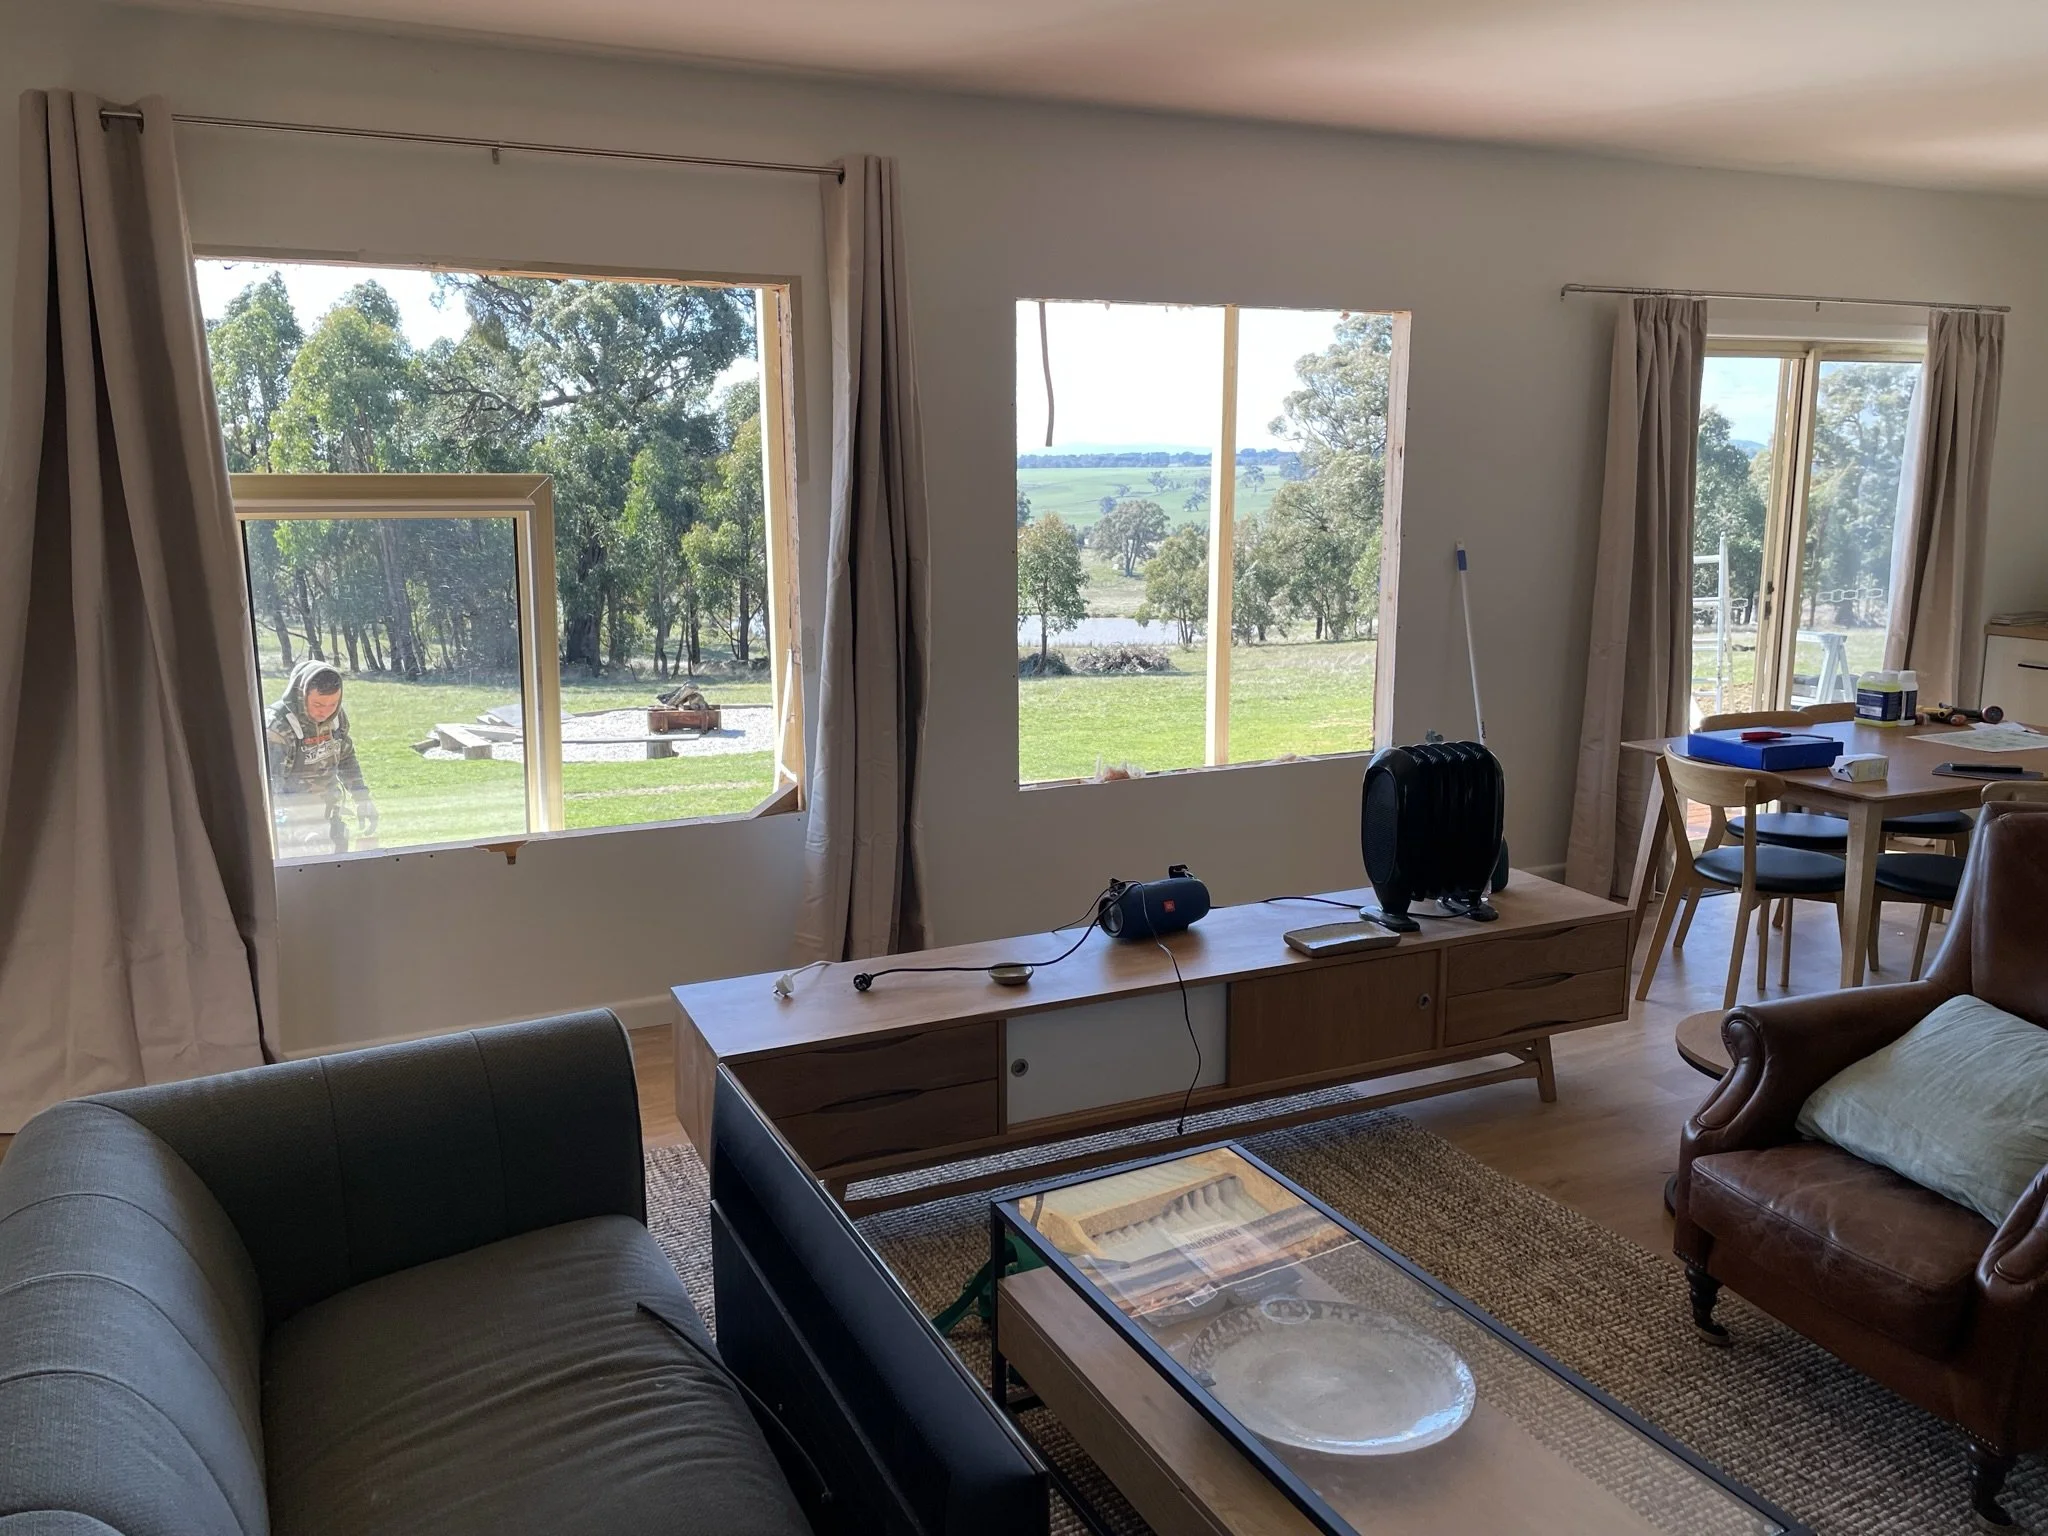
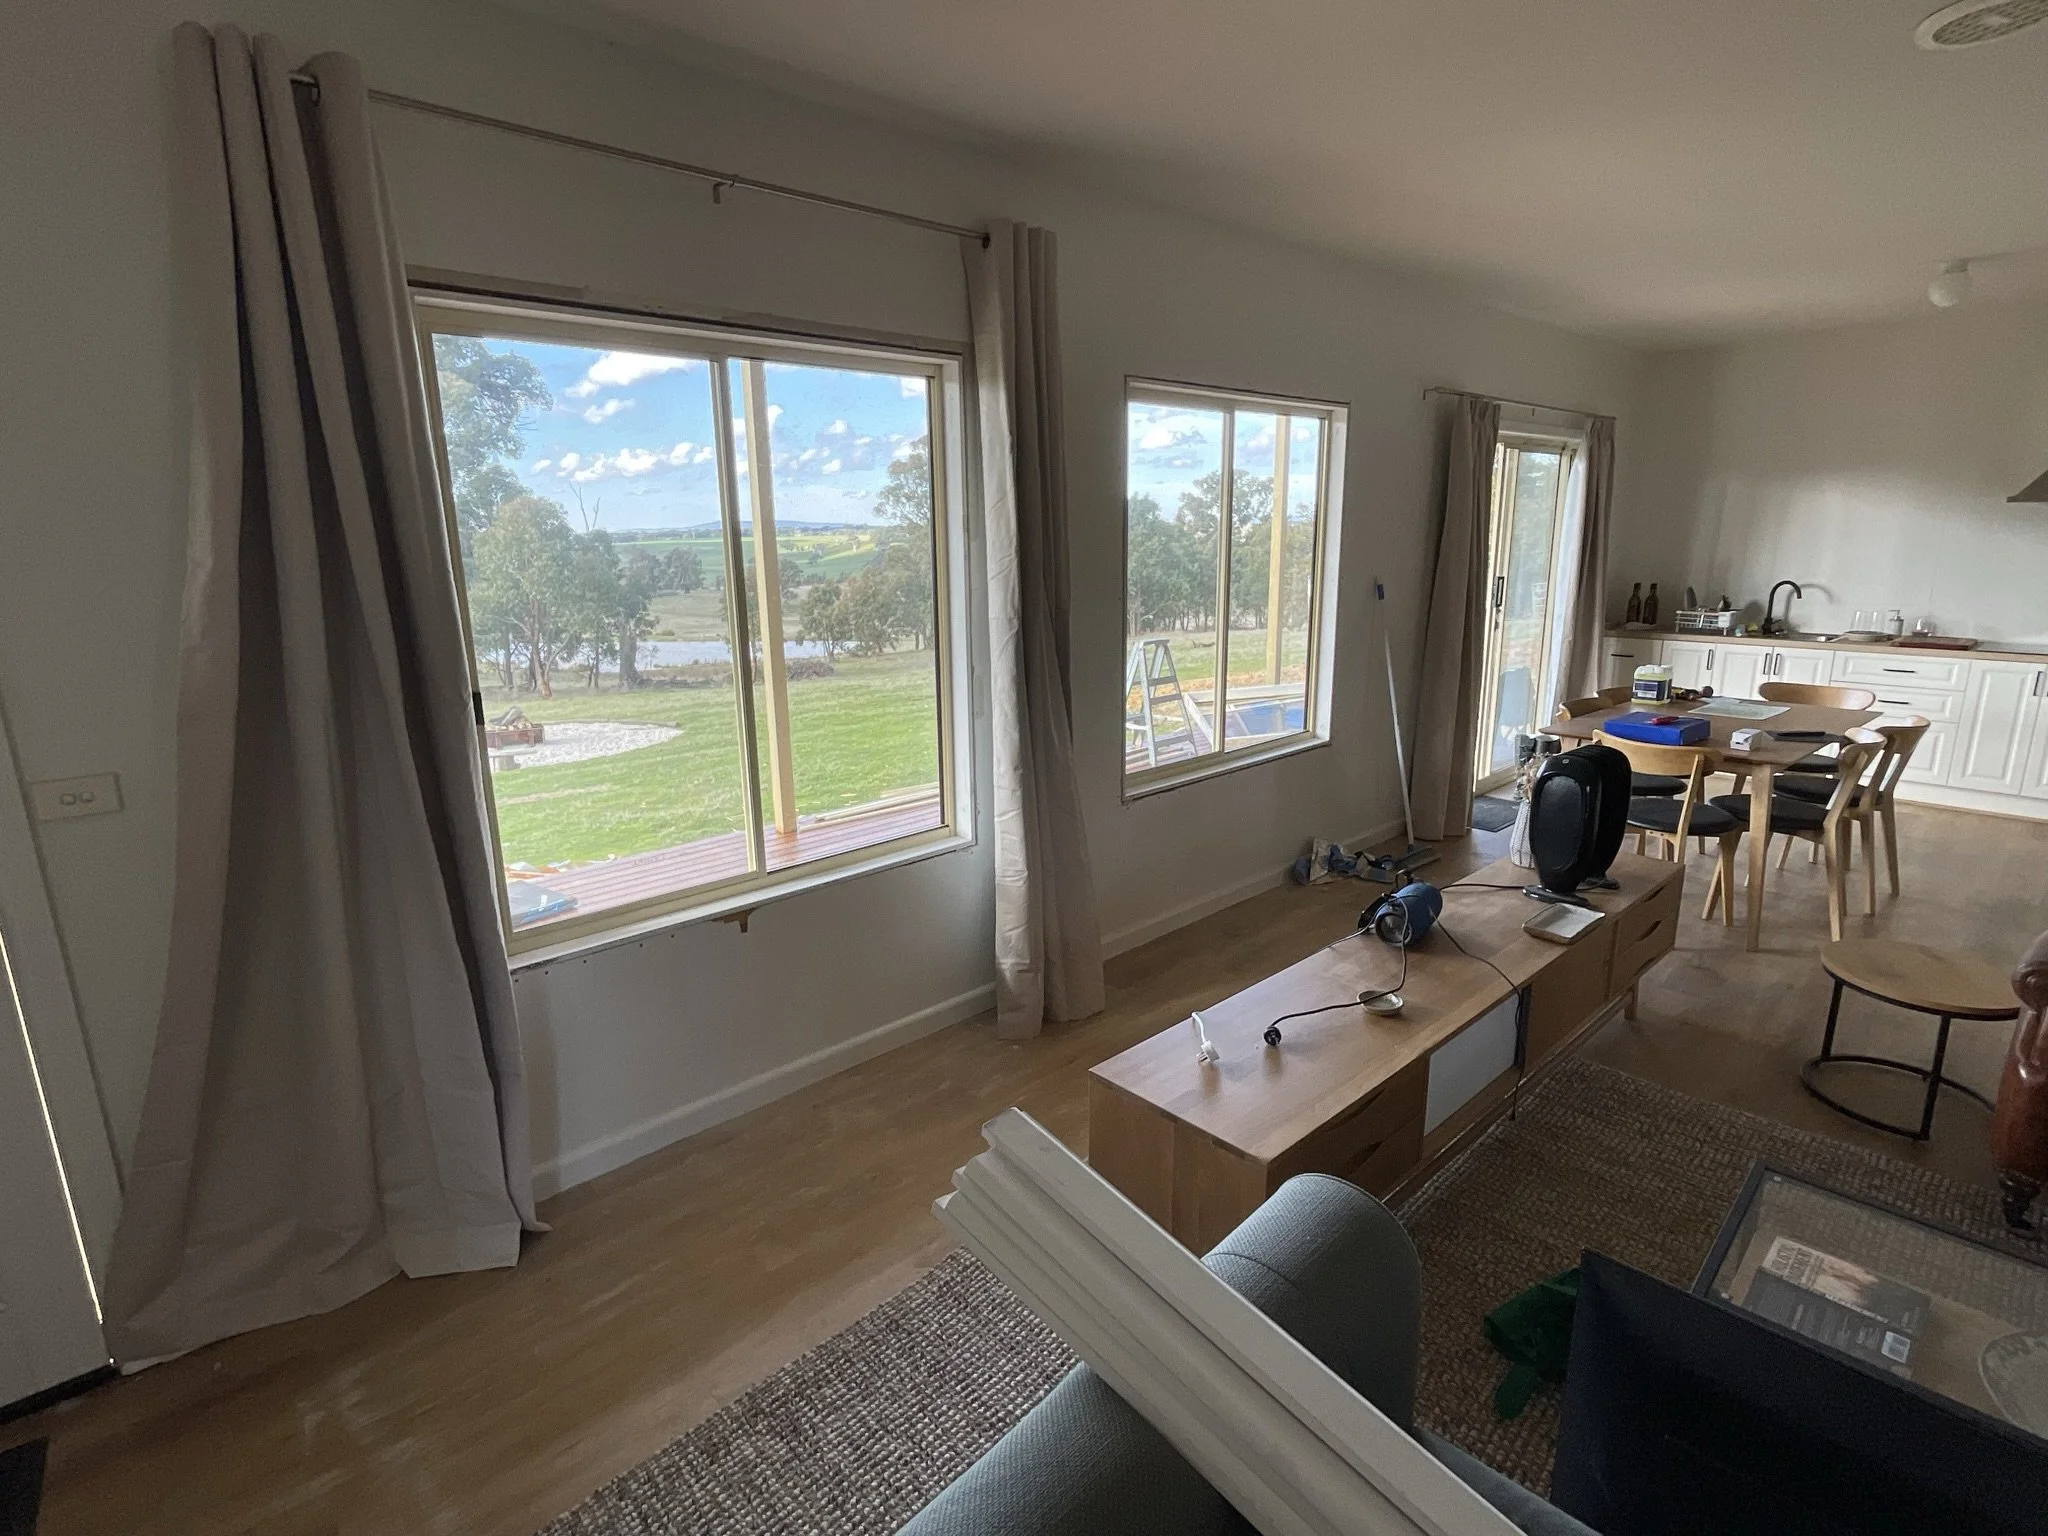
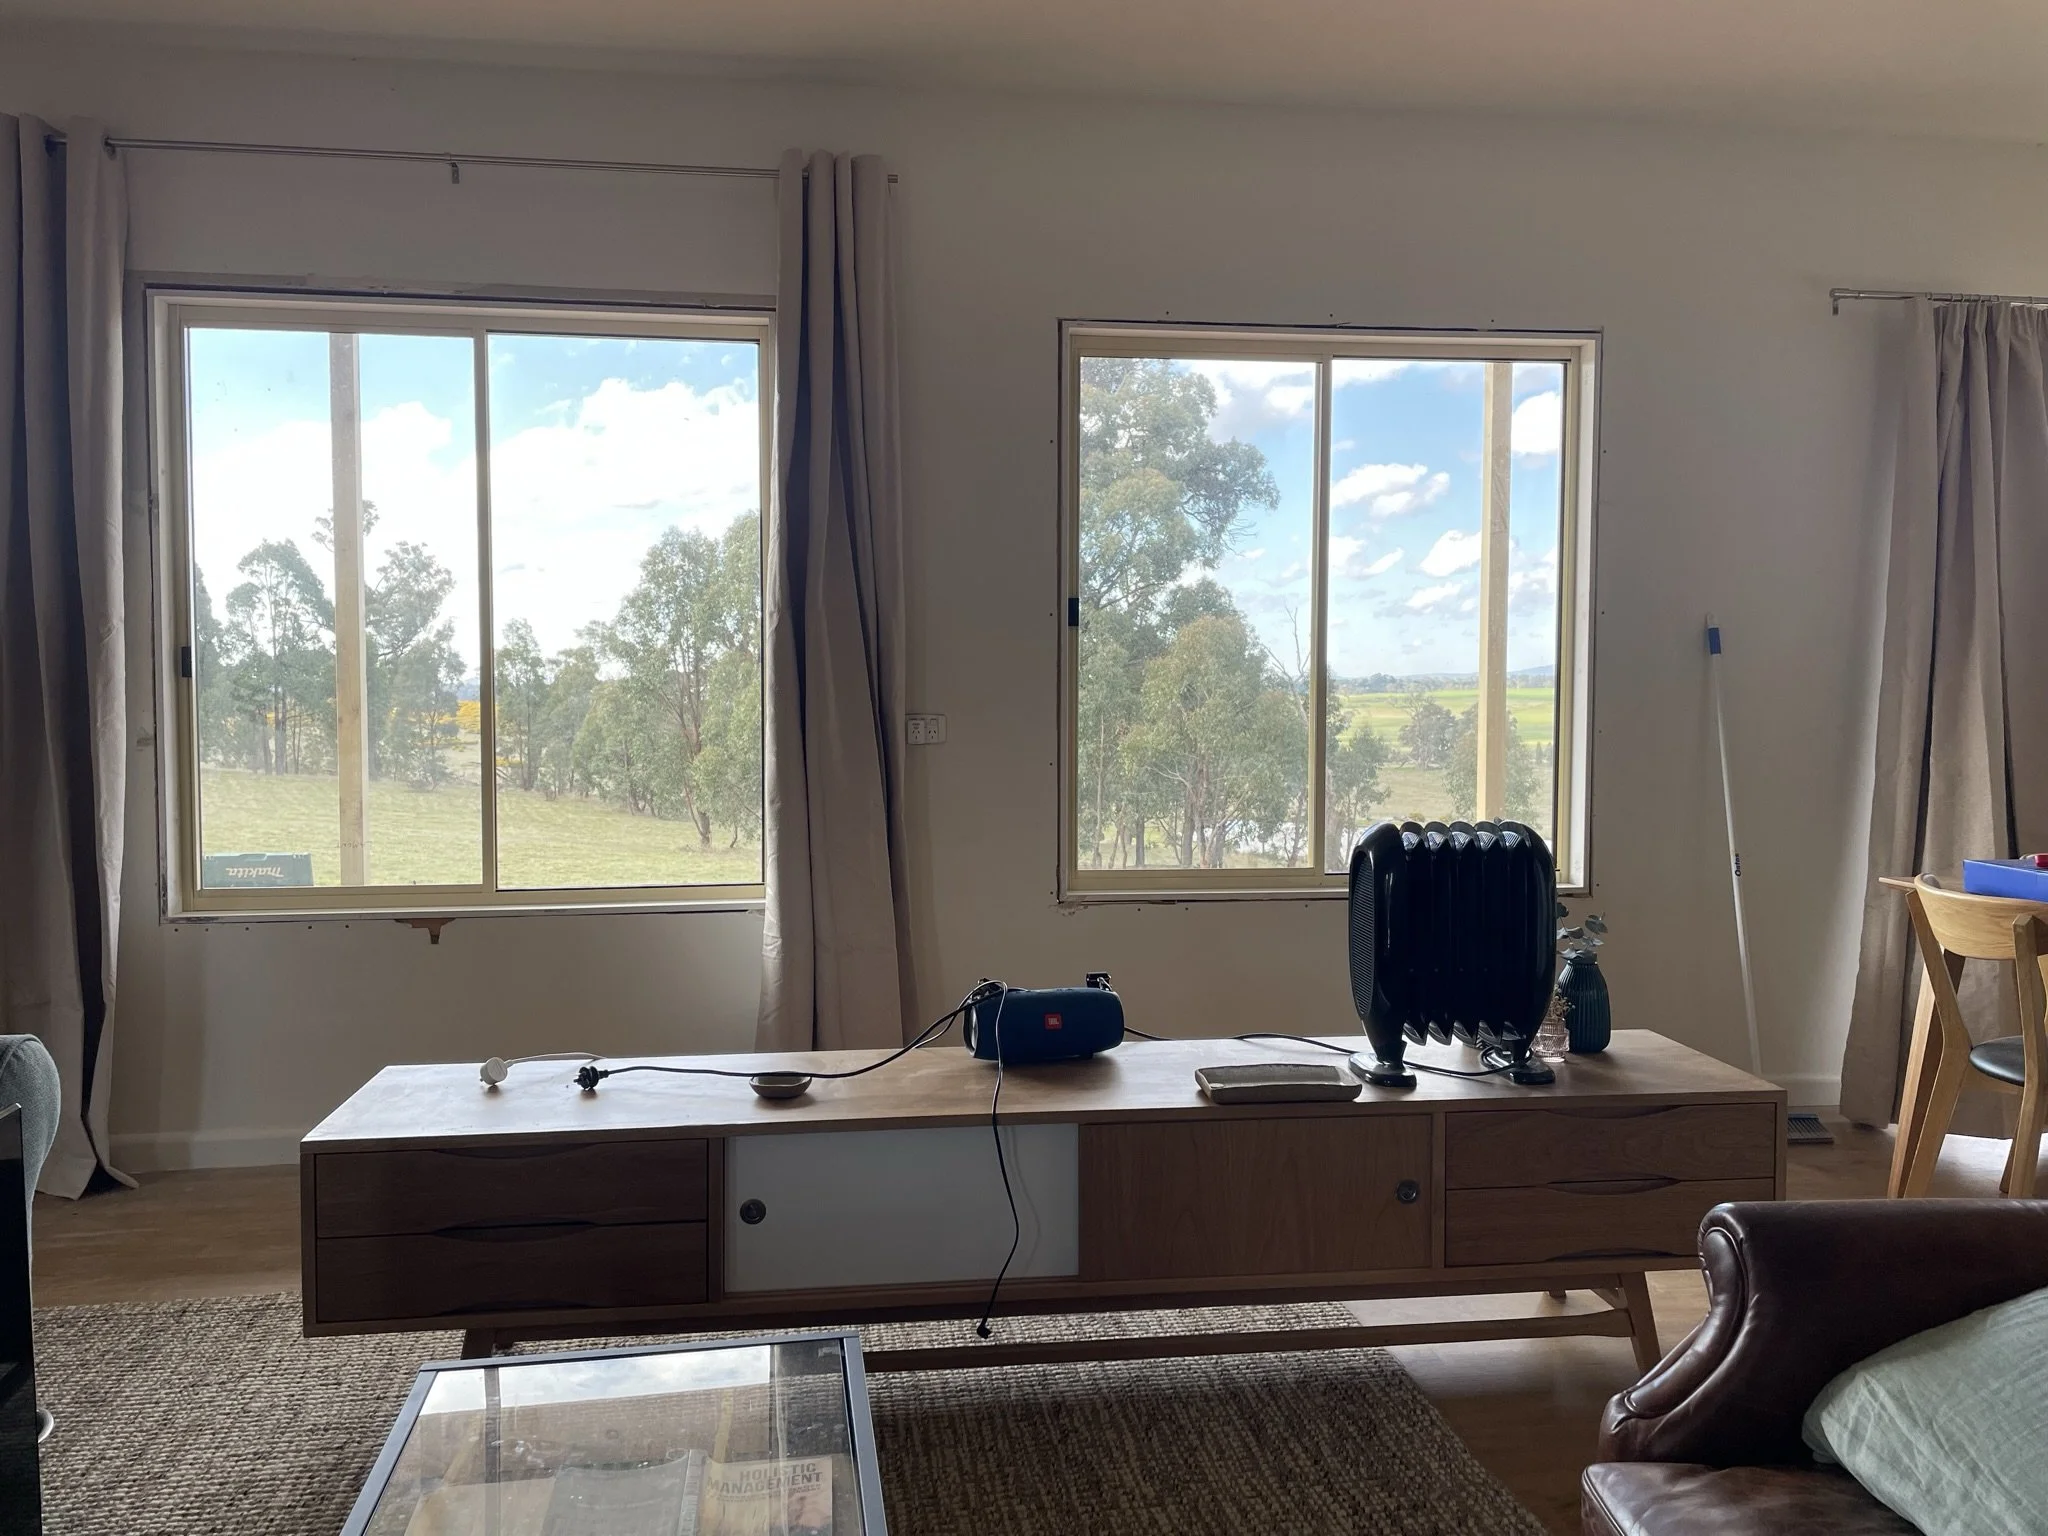
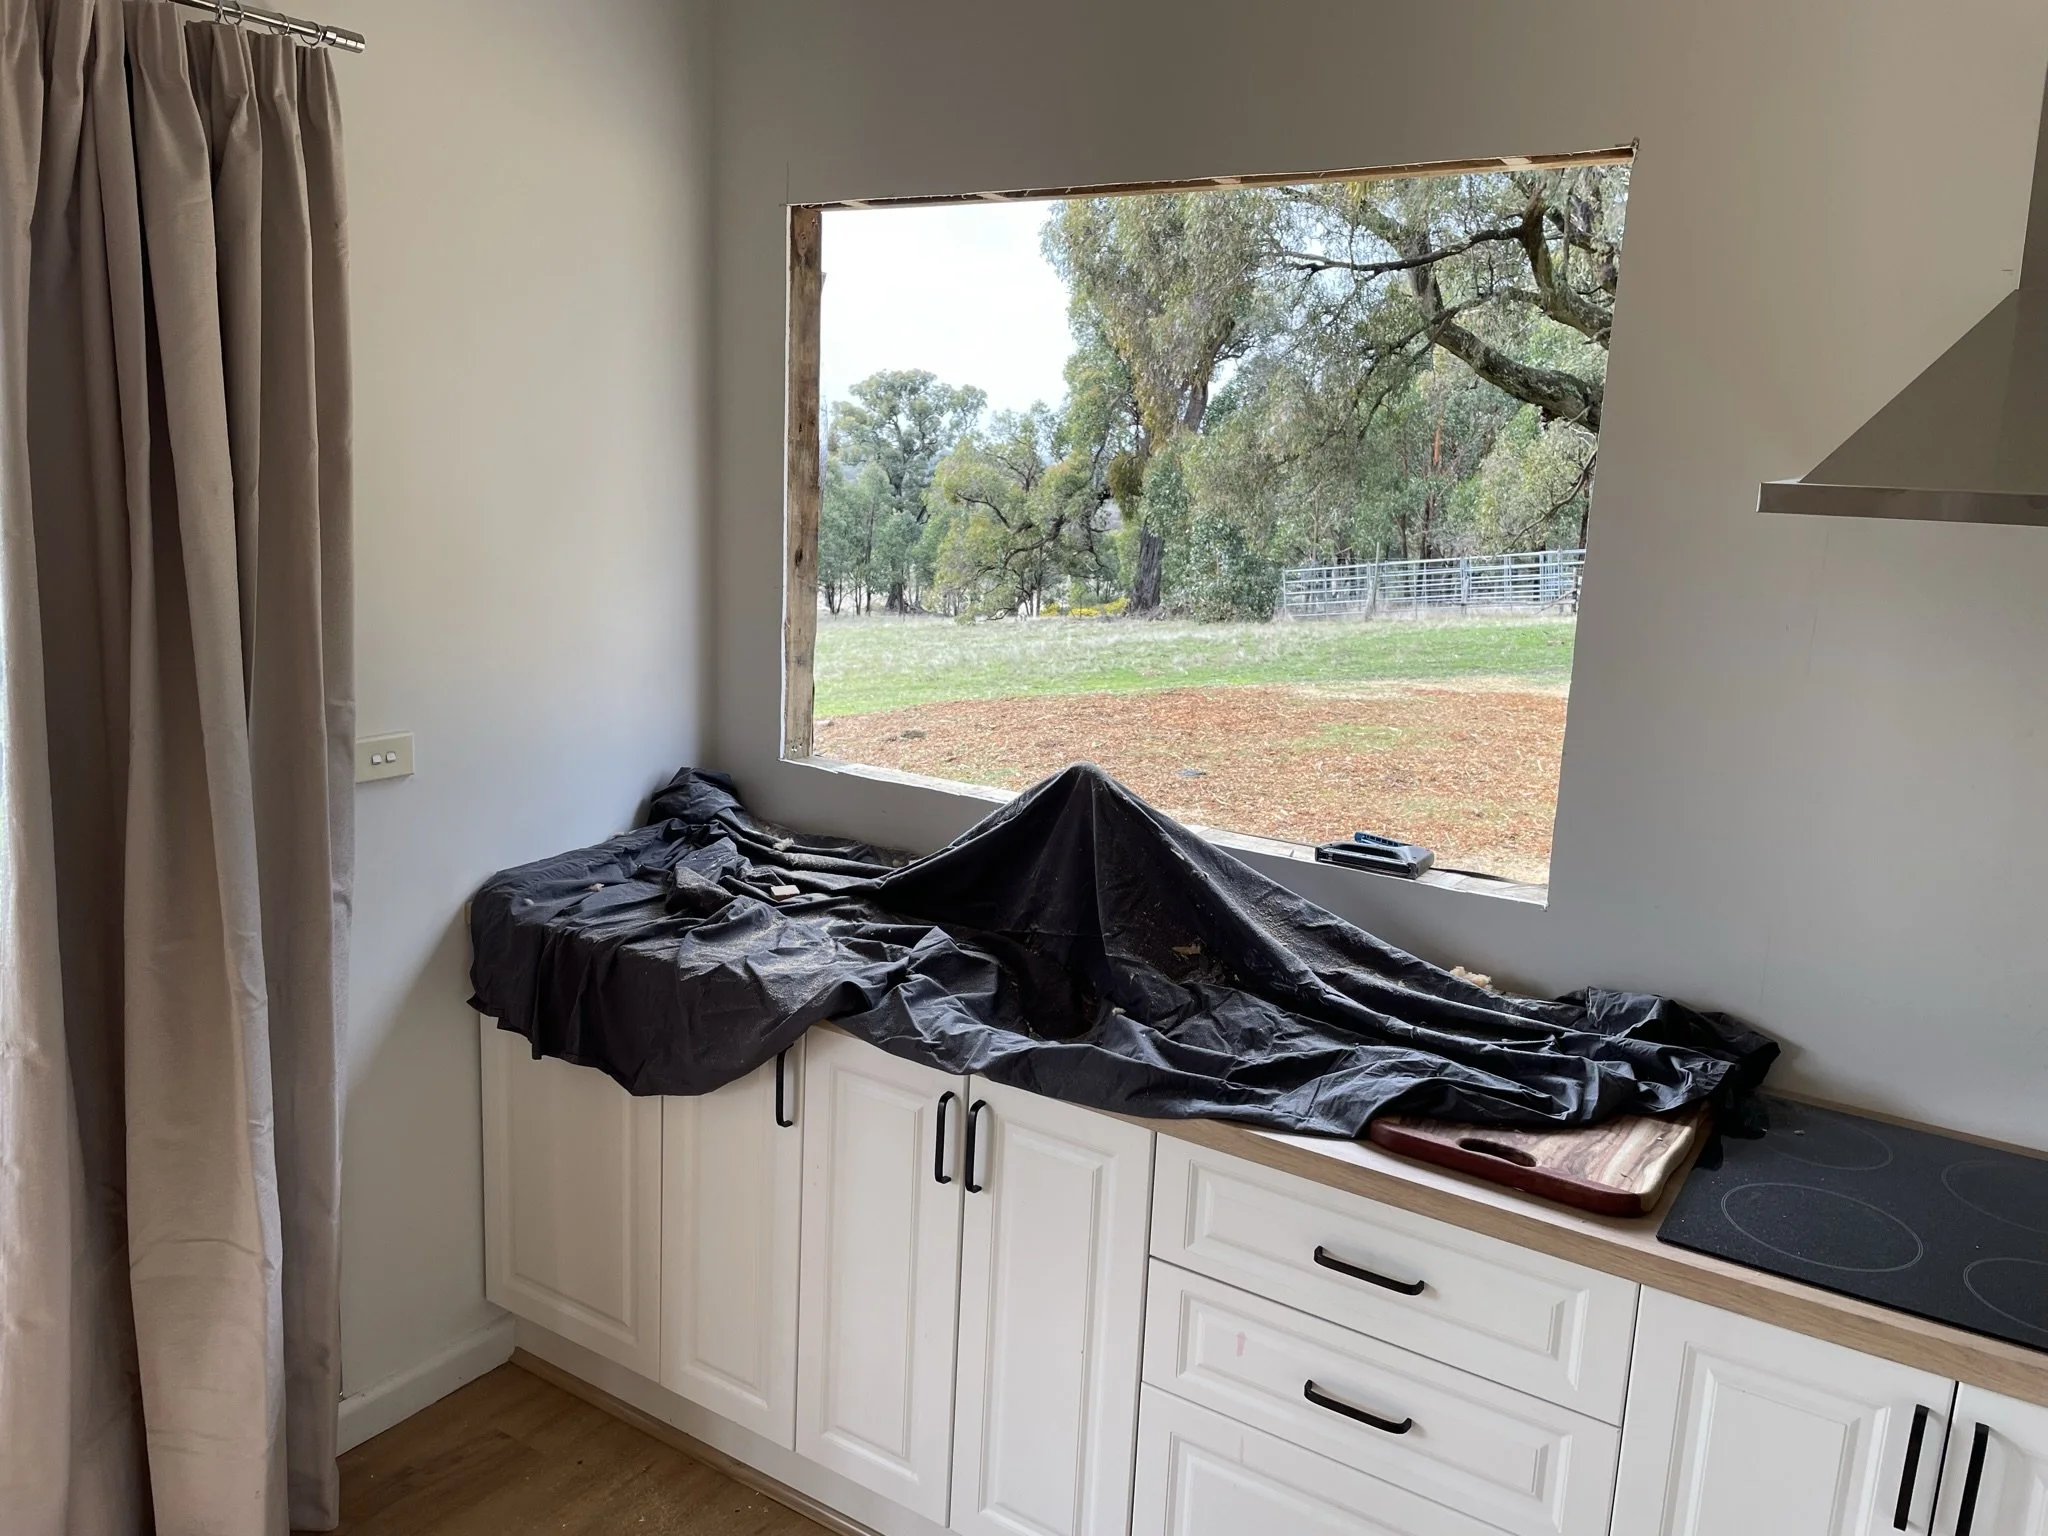
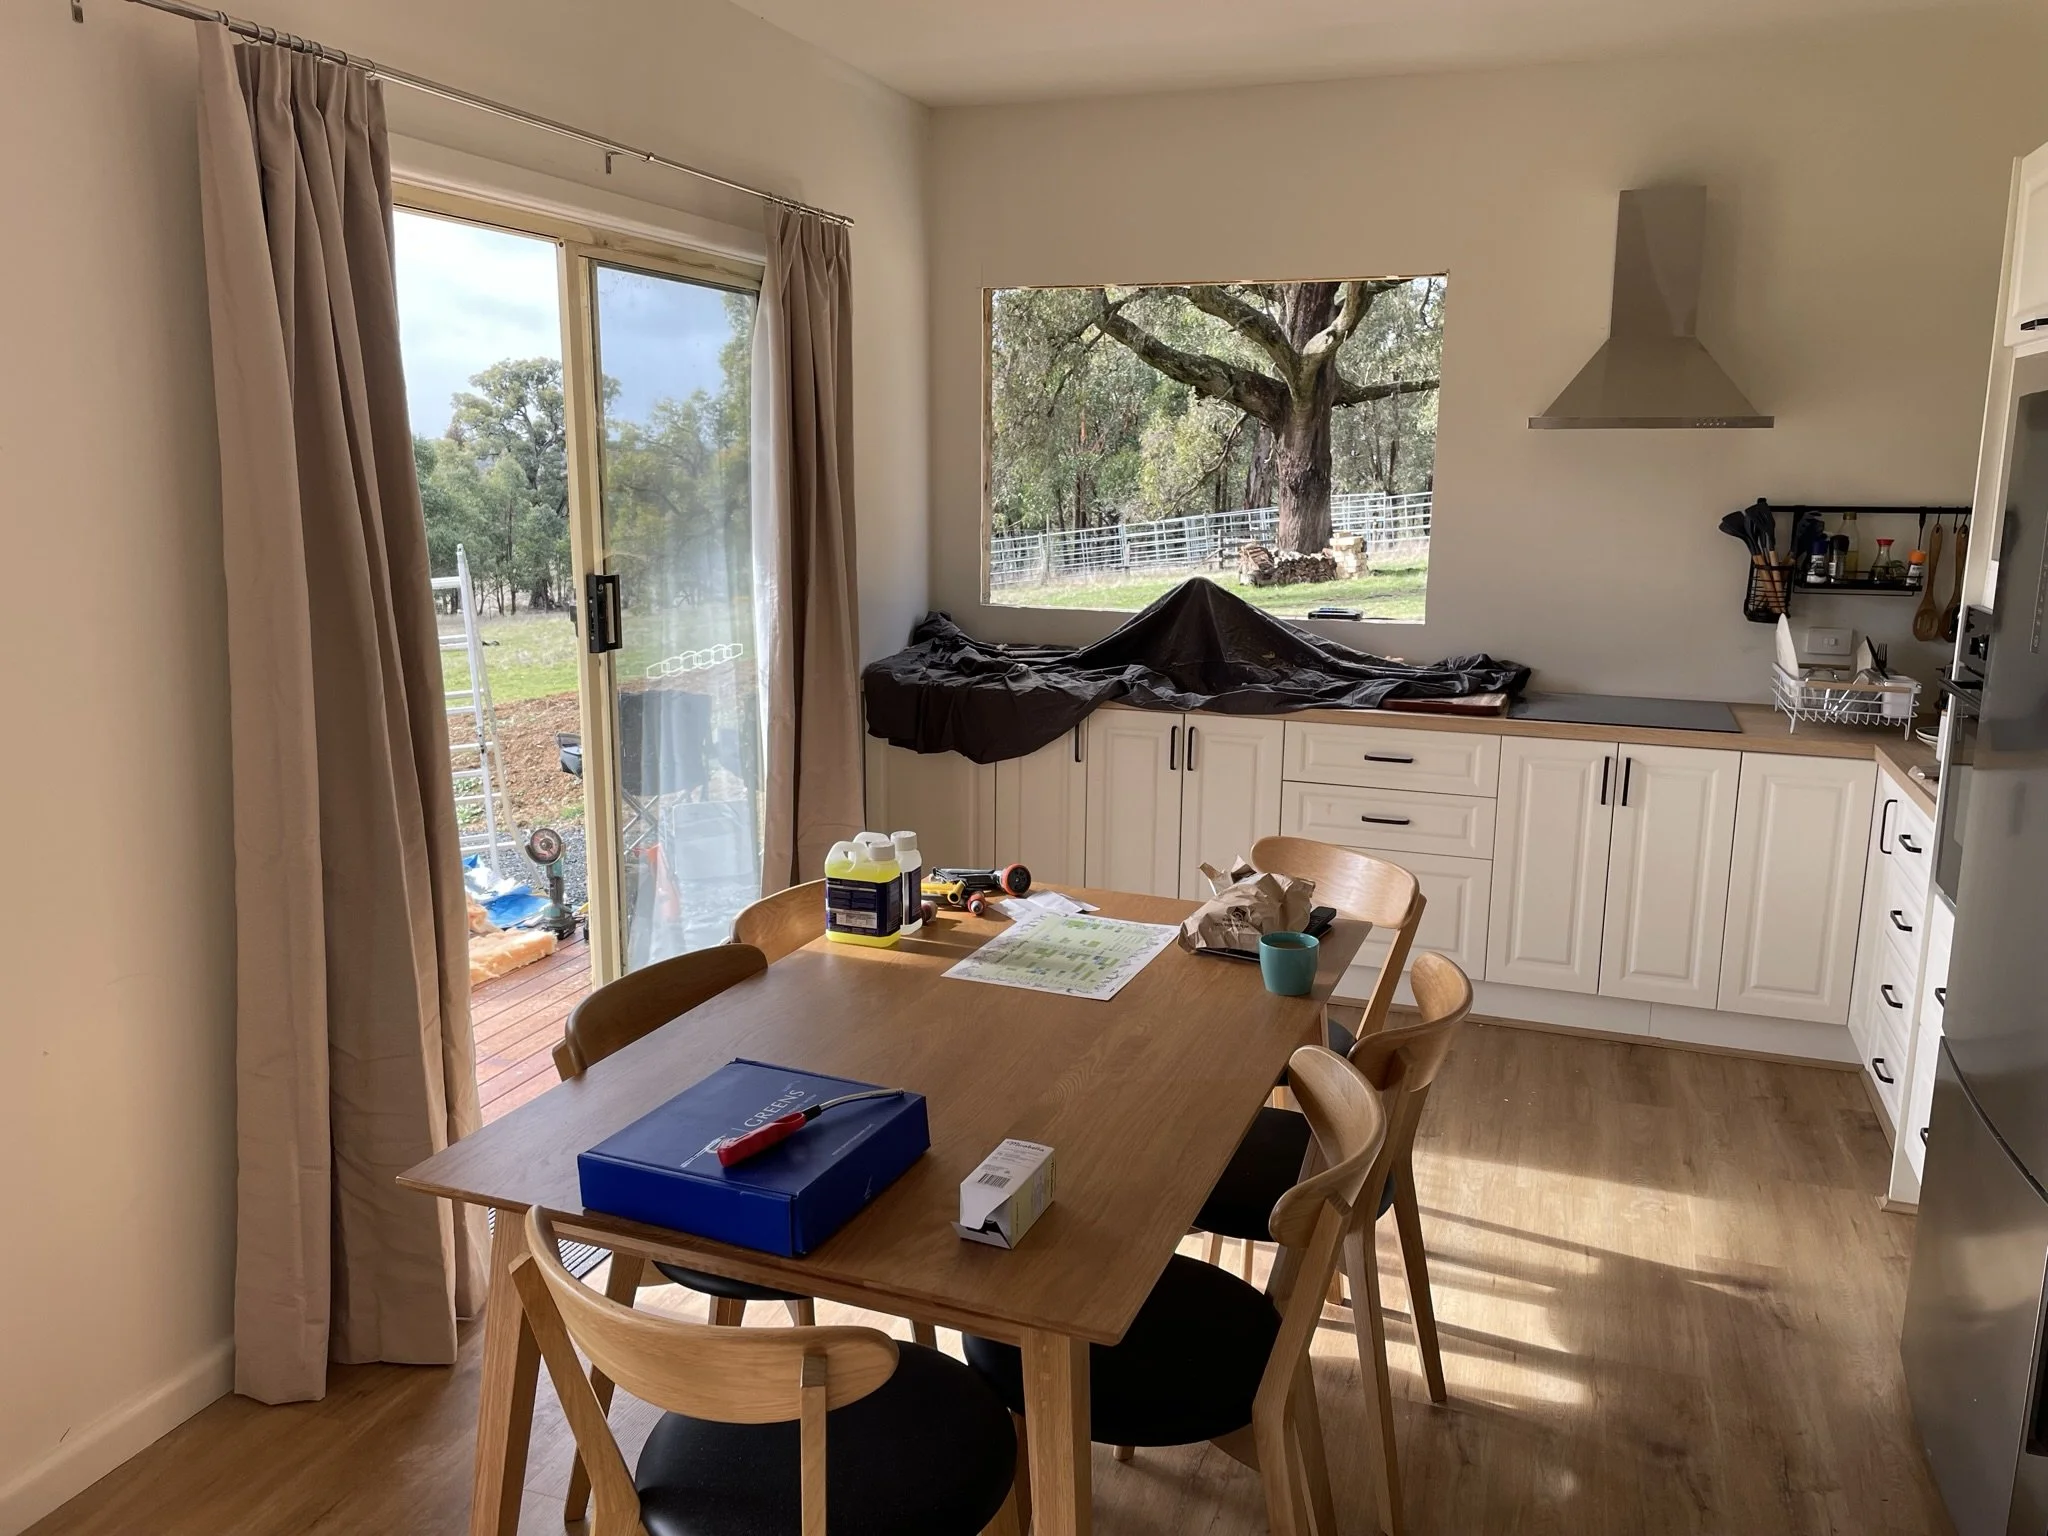
INCREASING LIGHT AND IMPROVING THE VIEW
The cottage didn’t have a shortage of windows, it’s just they looked out the wrong way! From the moment we stepped into the cottage (pre-purchase) we knew we would be adding windows along the north wall. And once we’d designed the kitchen we knew we wanted a window above the sink on the east wall.
We opted for much longer windows than existed on the north wall, and reused the old window for the new kitchen window. Again, our chippy smashed this out in record time (2 days start to finish) which included cutting the holes in the wall, installing window jamb and lintels, levelling it up, installing the waterproofing and window, and apply in the trim both inside and outside. Legend.
To stop any draught, I installed blackout, floor length curtains on every window (except the kitchen which will come later).
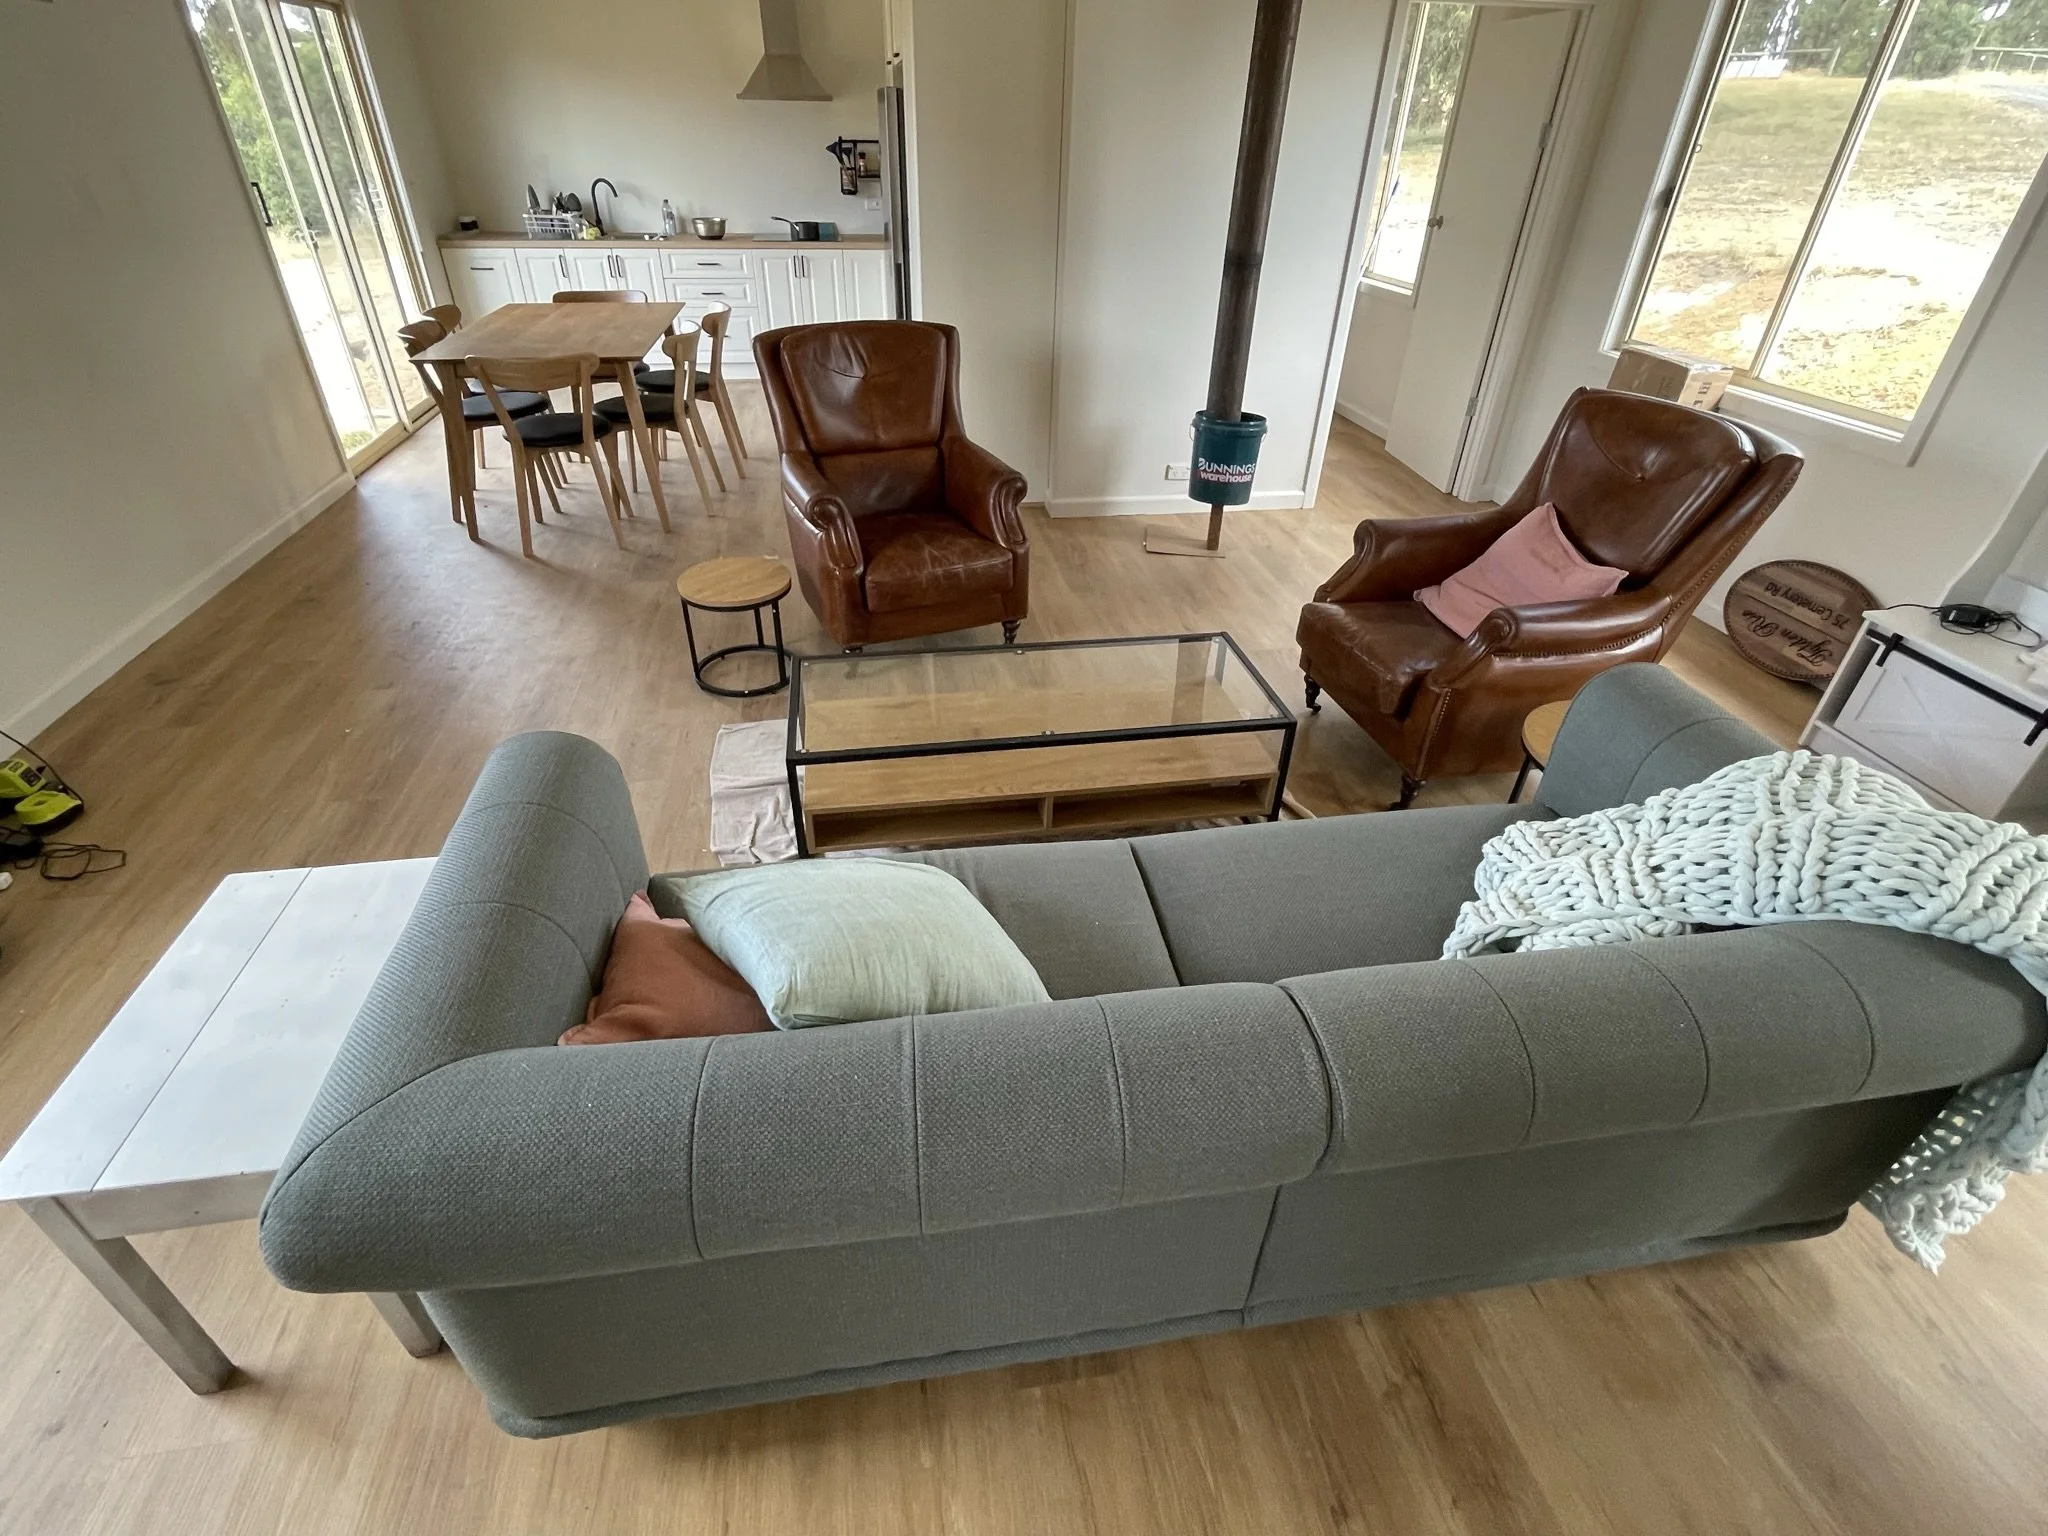
The room is now much brighter and spacious, it’s really changed the feel of the main room.